> For the complete documentation index, see [llms.txt](https://www.boxhero.io/docs/llms.txt). Markdown versions of documentation pages are available by appending `.md` to page URLs; this page is available as [Markdown](https://www.boxhero.io/docs/getting-started.md).
# Getting Started
Learn how to get started with BoxHero for effective inventory tracking. Our step-by-step guide covers creating teams, adding items, managing transactions, inviting team members, and more.
***
## Sign Up
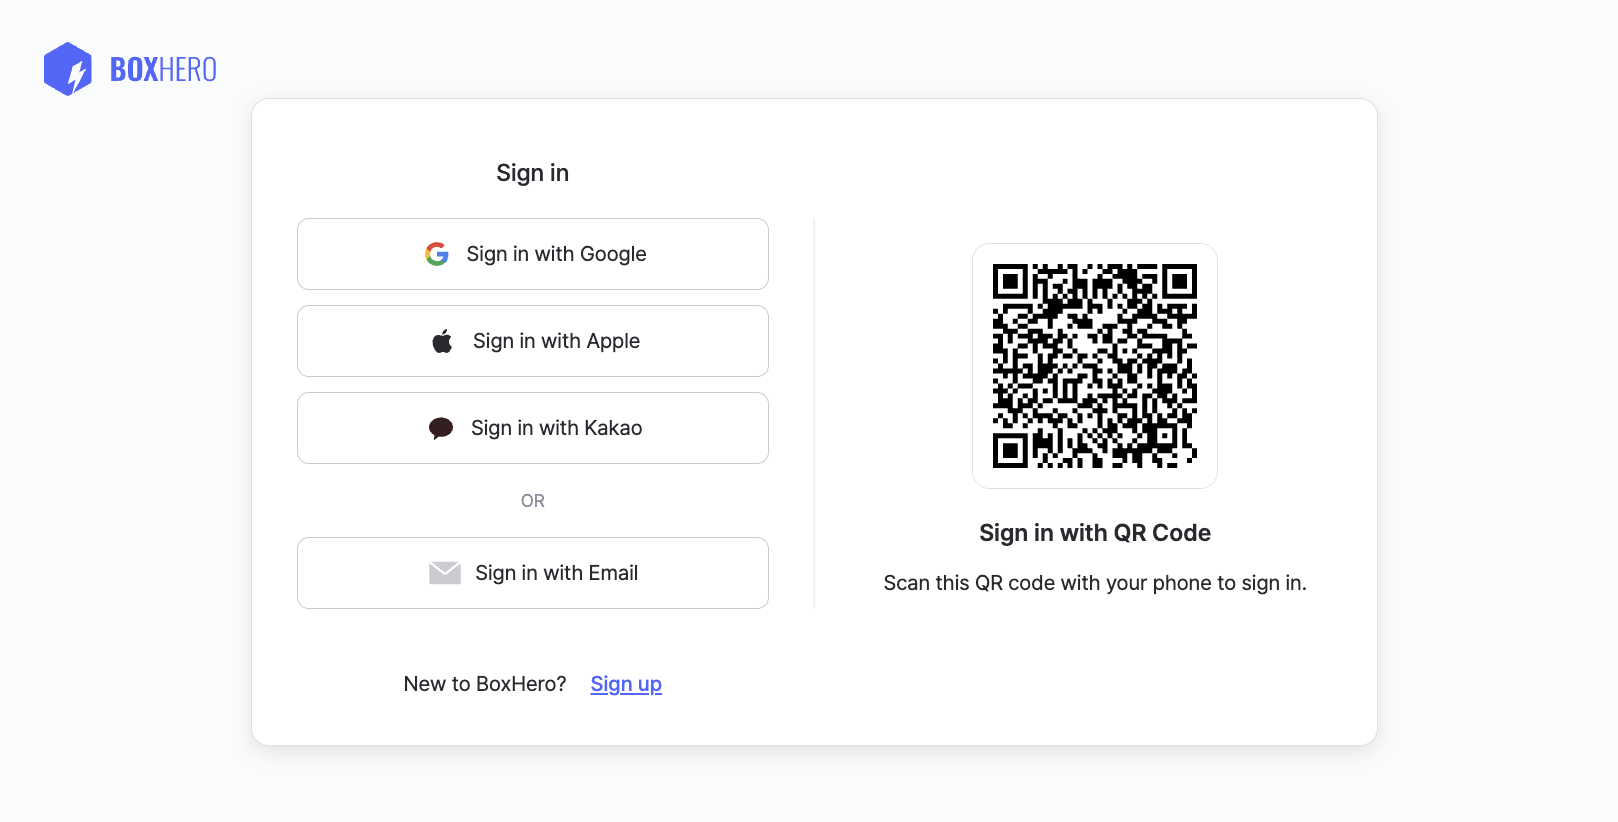
You can sign up with your email or use a Google, Apple, or Kakao account — or log in instantly by scanning a QR code. You’ll get a **free 30-day trial** of the Business Plan, with no commitment or payment required.
{% hint style="info" %}
**Note**: If you don’t start a subscription, your account will automatically move to the free [Personal Plan](/docs/pricing.md#personal-plan) when the trial ends. Premium features will no longer be available.
{% endhint %}
## Create a Team
Once you’ve signed up, your first step is to set up a `Team`.
Think of a **team** as a shared workspace where you and your colleagues can manage inventory, track items, and control user access in one place.
#### Best Practices
* **Keep it simple**: Most businesses only need one team.
* **Stay organized**: If you need to strictly separate departments or locations, you can create additional teams.
* **Name it right**: We recommend starting with your business name. You can rename a team later.
{% hint style="success" %}
**Need help with these terms?**\
Check out our [terminology guide](https://www.boxhero.io/blog/terminology-guide) for clear definitions and explanations of key concepts in BoxHero.
{% endhint %}
***
## Add Items
**Items** are the basic units of inventory you manage in BoxHero.
1. To add an item, go to `Item List` and click the `Add Item` button.
2. Then, fill in your item information and click `Save` at the end.
{% embed url="" %}
### Item Information
#### Details
* **SKU****\*** — A **Stock** **Keeping** **Unit** is the item's unique identifier. BoxHero generates one automatically, or you can enter your own. No two items can share the same SKU.
* **Name****\*** — The primary name used to identify the item.
* **Barcode** — Add a barcode so you can look items up instantly by scanning.
* **Existing barcode**: Enter it manually or scan it in (USB scanner or mobile camera).
* **No barcode?** Click `Generate` to create a random 13-digit number. You can print this onto labels after saving the item.
* **Photo** — Upload an image for quick identification (max 3 MB).
#### Attributes
* [**Attributes**](/docs/concepts/attributes.md) — Add any custom details you need to help categorize and filter your inventory (e.g. *brand, manufacturer, color, size, sell-by date).*
#### Pricing
* **Cost & Price** *(Optional)* — Set a default unit cost and selling price for your items. These values will autofill in your [purchase and sales orders](/docs/key-features/purchase-and-sales.md).
* Unit cost and selling price are for reference only.
* They do *not* calculate profit margins or track historical price fluctuations.
#### Starting Quantity
* **Quantity** *(Optional)* — You can save an item with a zero balance and add stock later.
* **Managing multiple storage sites?** Assign a quantity to each [location](/docs/concepts/locations.md).
{% hint style="success" %}
**Save time**: You can import an Excel file and upload a spreadsheet to [**add items in bulk**](/docs/concepts/items.md#add-items-via-excel).
{% endhint %}
***
## View Items
Search for items in the `Item List`, or use the `Group by` function to organize them into folder-style categories. You can also `Sort` (⇅) items by quantity (high to low) or alphabetically.
In the `Data Center`, you can:
* View your items in a table
* Sort items by any column
* Select multiple items to edit or delete at once
***
## Inventory Transactions
After you add items, update quantities with stock transactions. Each one updates on-hand quantities and is recorded in your team's transaction history.
* `Stock In`: Increases on-hand quantity (e.g., receiving new inventory).
* `Stock Out`: Decreases on-hand quantity (e.g., shipping or selling items).
* `Move Stock`: Transfers items between locations.
* `Adjust Stock`: Corrects or modifies stock levels for loss, damage, or counting differences.
### Stock In
1. In the left sidebar, go to `Stock In`.
2. Select a location.
3. *(Optional)* Select a [partner](/docs/concepts/partners.md) — the supplier you're receiving from.
4. Choose the item and enter the quantity.
5. *(Optional)* Add a reference, note, or attachment (e.g., a supplier invoice or packing list).
{% hint style="warning" %}
The "**location**" step only appears if you're using more than one location. New teams start with a free 30-day trial of the [Business Plan](/docs/pricing.md#business-plan), which includes multi-location support.
{% endhint %}
### Stock Out
1. In the left sidebar, go to `Stock Out`.
2. Select a location.
3. *(Optional)* Select a partner — the customer you're shipping to.
4. Choose the item and enter the quantity.
5. *(Optional)* Add a reference, note, or attachment (e.g., a packing slip or delivery note).
{% hint style="success" %}
**Quick** **Shortcuts**:\
Use `Import from Excel` or `Scan Barcode` to add multiple items or quantities at once.
{% endhint %}
### Move Stock
1. In the left sidebar, go to `Move Stock`.
2. Select the source location (`From`) and the destination location (`To`).
3. Choose the items and quantities to move.
4. *(Optional)* Add a reference, note, or attachment.
{% hint style="info" %}
**Note:** [Move Stock](/docs/key-features/tx.md#move-stock) is only available when your team has **two or more locations** set up.
{% endhint %}
### Adjust Stock
1. In the left sidebar, go to `Adjust Stock`.
2. Select a location.
3. Select the item and enter the new quantity.
4. *(Optional)* Add a reason, reference, or attachment (e.g., loss, damage, or count difference).
***
## View Transaction History
* Use the `Transactions` menu to review every inventory action and find the details you need for reconciliation or audits.
* Set a `Date Range`, `+ Add Filter`, or `Export to Excel` to download your inventory records.
[**More Actions**](/docs/key-features/tx.md#types-of-inventory-transactions)**:**
* Print a summary
* Download as PDF
* Print labels
* Export to Excel
* Edit or delete a transaction
* Restore a previous version
{% embed url="" %}
Stock transactions sync across all devices in real time.
{% endembed %}
***
## Invite Team Members
Go to `Settings` > `Members` to invite or remove [team members](/docs/concepts/members.md#member-settings).\
Invite anyone who will help manage your inventory so you can test features together.
***
## Get the Mobile App
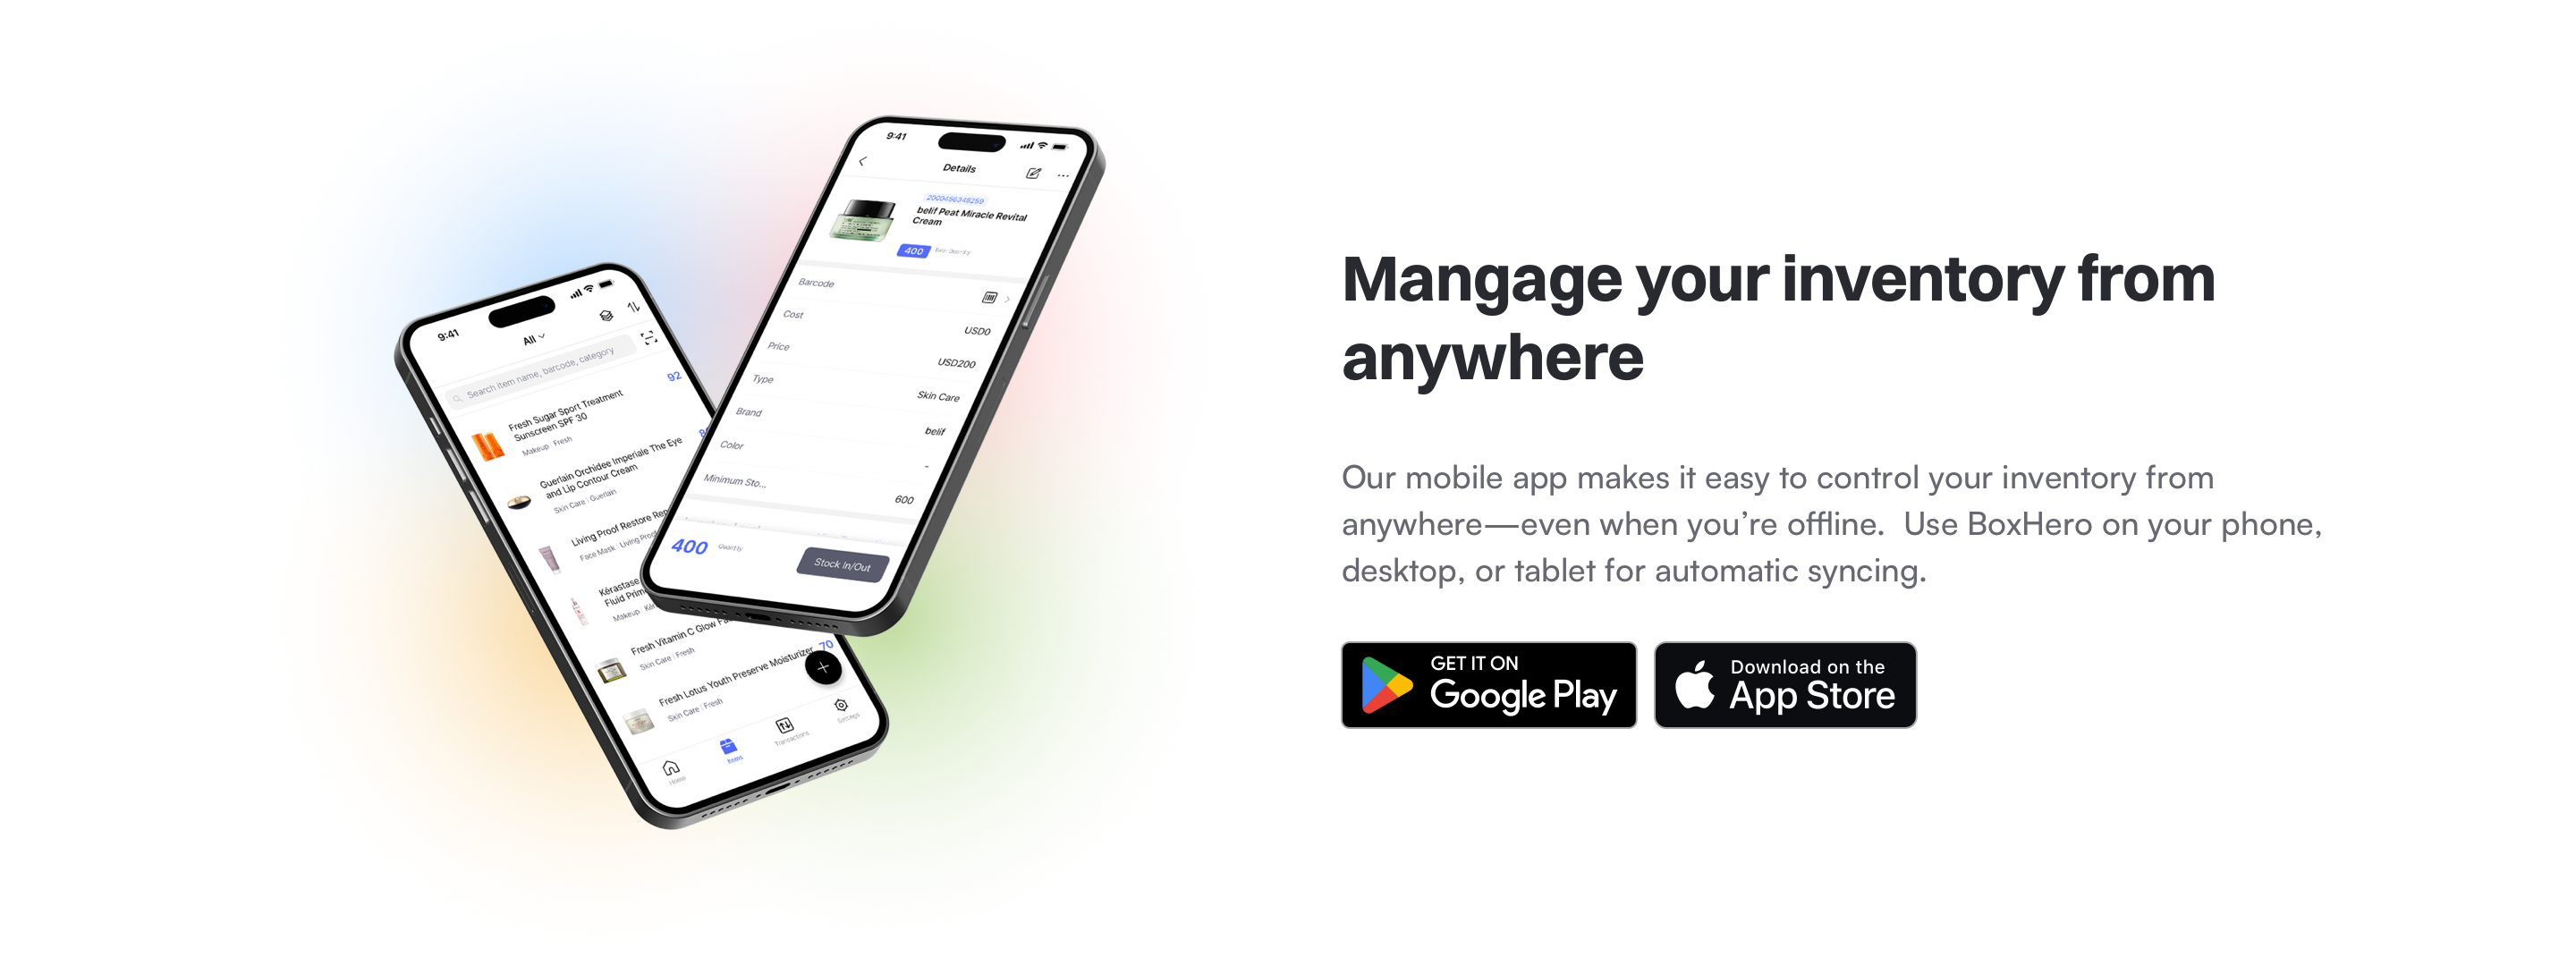
Use the BoxHero mobile app to manage inventory on the go — sign in with your account to access your team, scan barcodes, and record stock transactions from your phone.
* **Android**: [Get it on Google Play](http://play.google.com/store/apps/details?id=com.bgpworks.boxhero)
* **iOS**: [Download on the App Store](http://itunes.apple.com/app/id1325512157)
***
## Subscribe
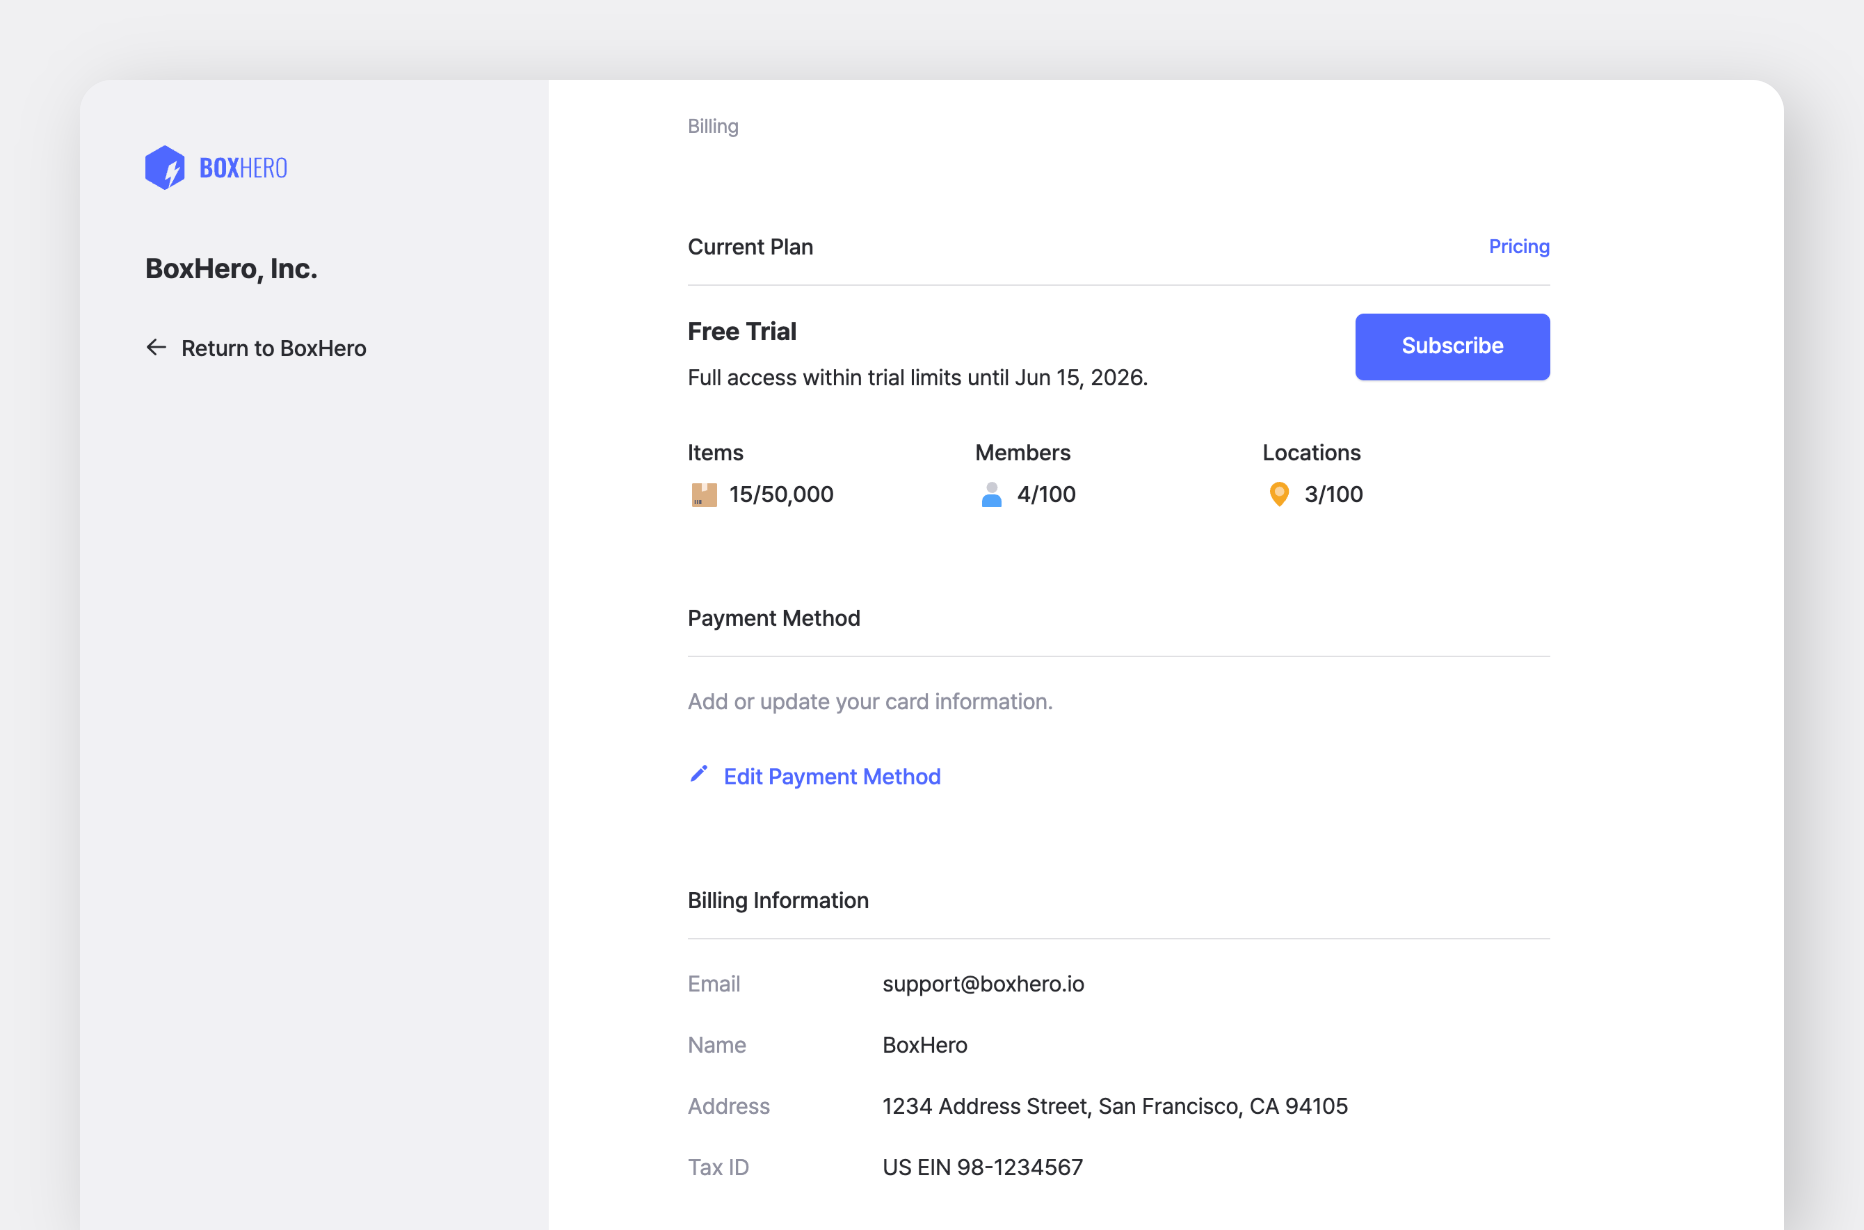
If you decide to continue after the free trial, go to `Settings` > `Billing` to start your subscription.
You can find more details about payments and billing here.
**About your data:** Any data you enter during the free trial *stays* in your account after the trial ends. If you subscribe to the team you used for testing, you can continue using it without interruption.
**If you want to start fresh:** You can reset your test team in one of the following ways:
* Delete all items in the team and contact [Support](/docs/resources/contact.md) to reset your transaction history.
* Or create a new team and start with a clean setup.
**Need a hand?** Check out our quick video tutorials for web and mobile.
{% content-ref url="/pages/Cu3G2Ciku5gsUz0MnUoL" %}
[Video Tutorials](/docs/video-tutorials.md)
{% endcontent-ref %}