
.png?alt=media)
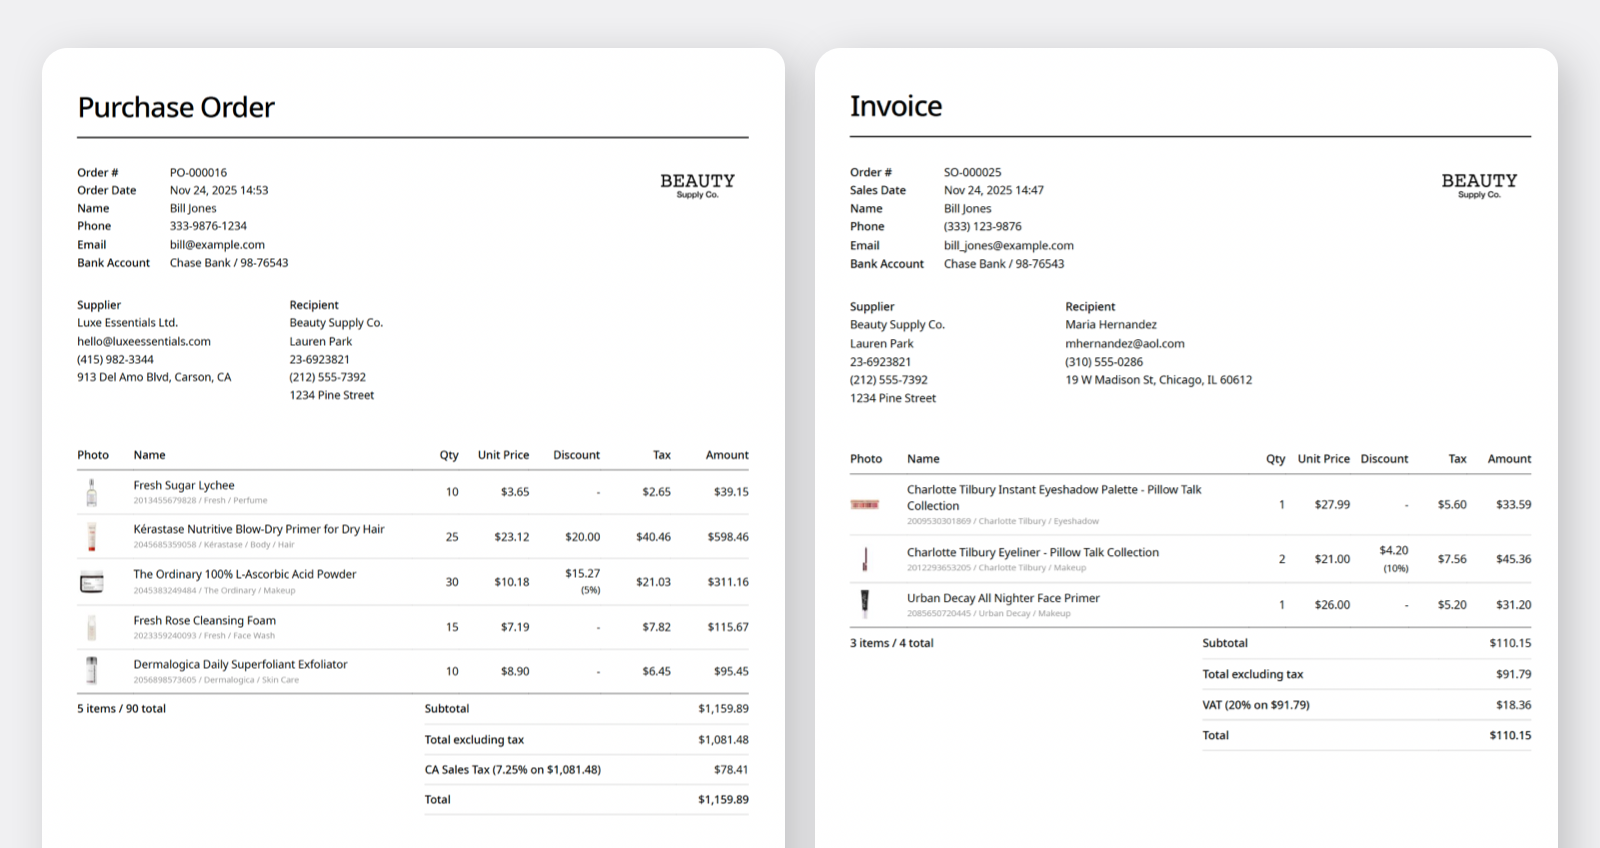
In this example, Name: "Bill Jones" and Bank Account: "Chase Bank / 98-76543" are saved as custom field values.
| Purchases & Sales | Inventory Transactions | |
|---|---|---|
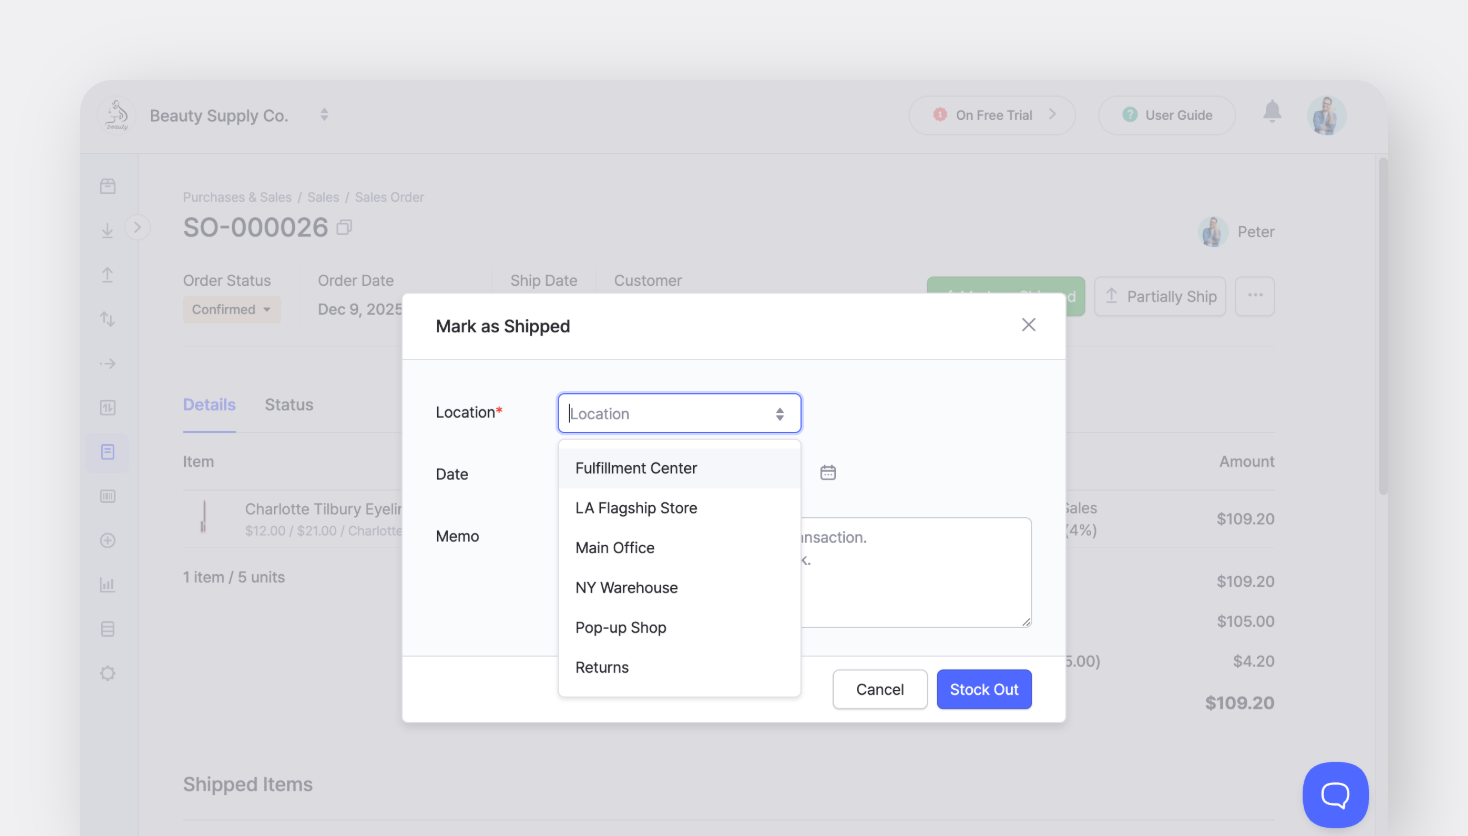
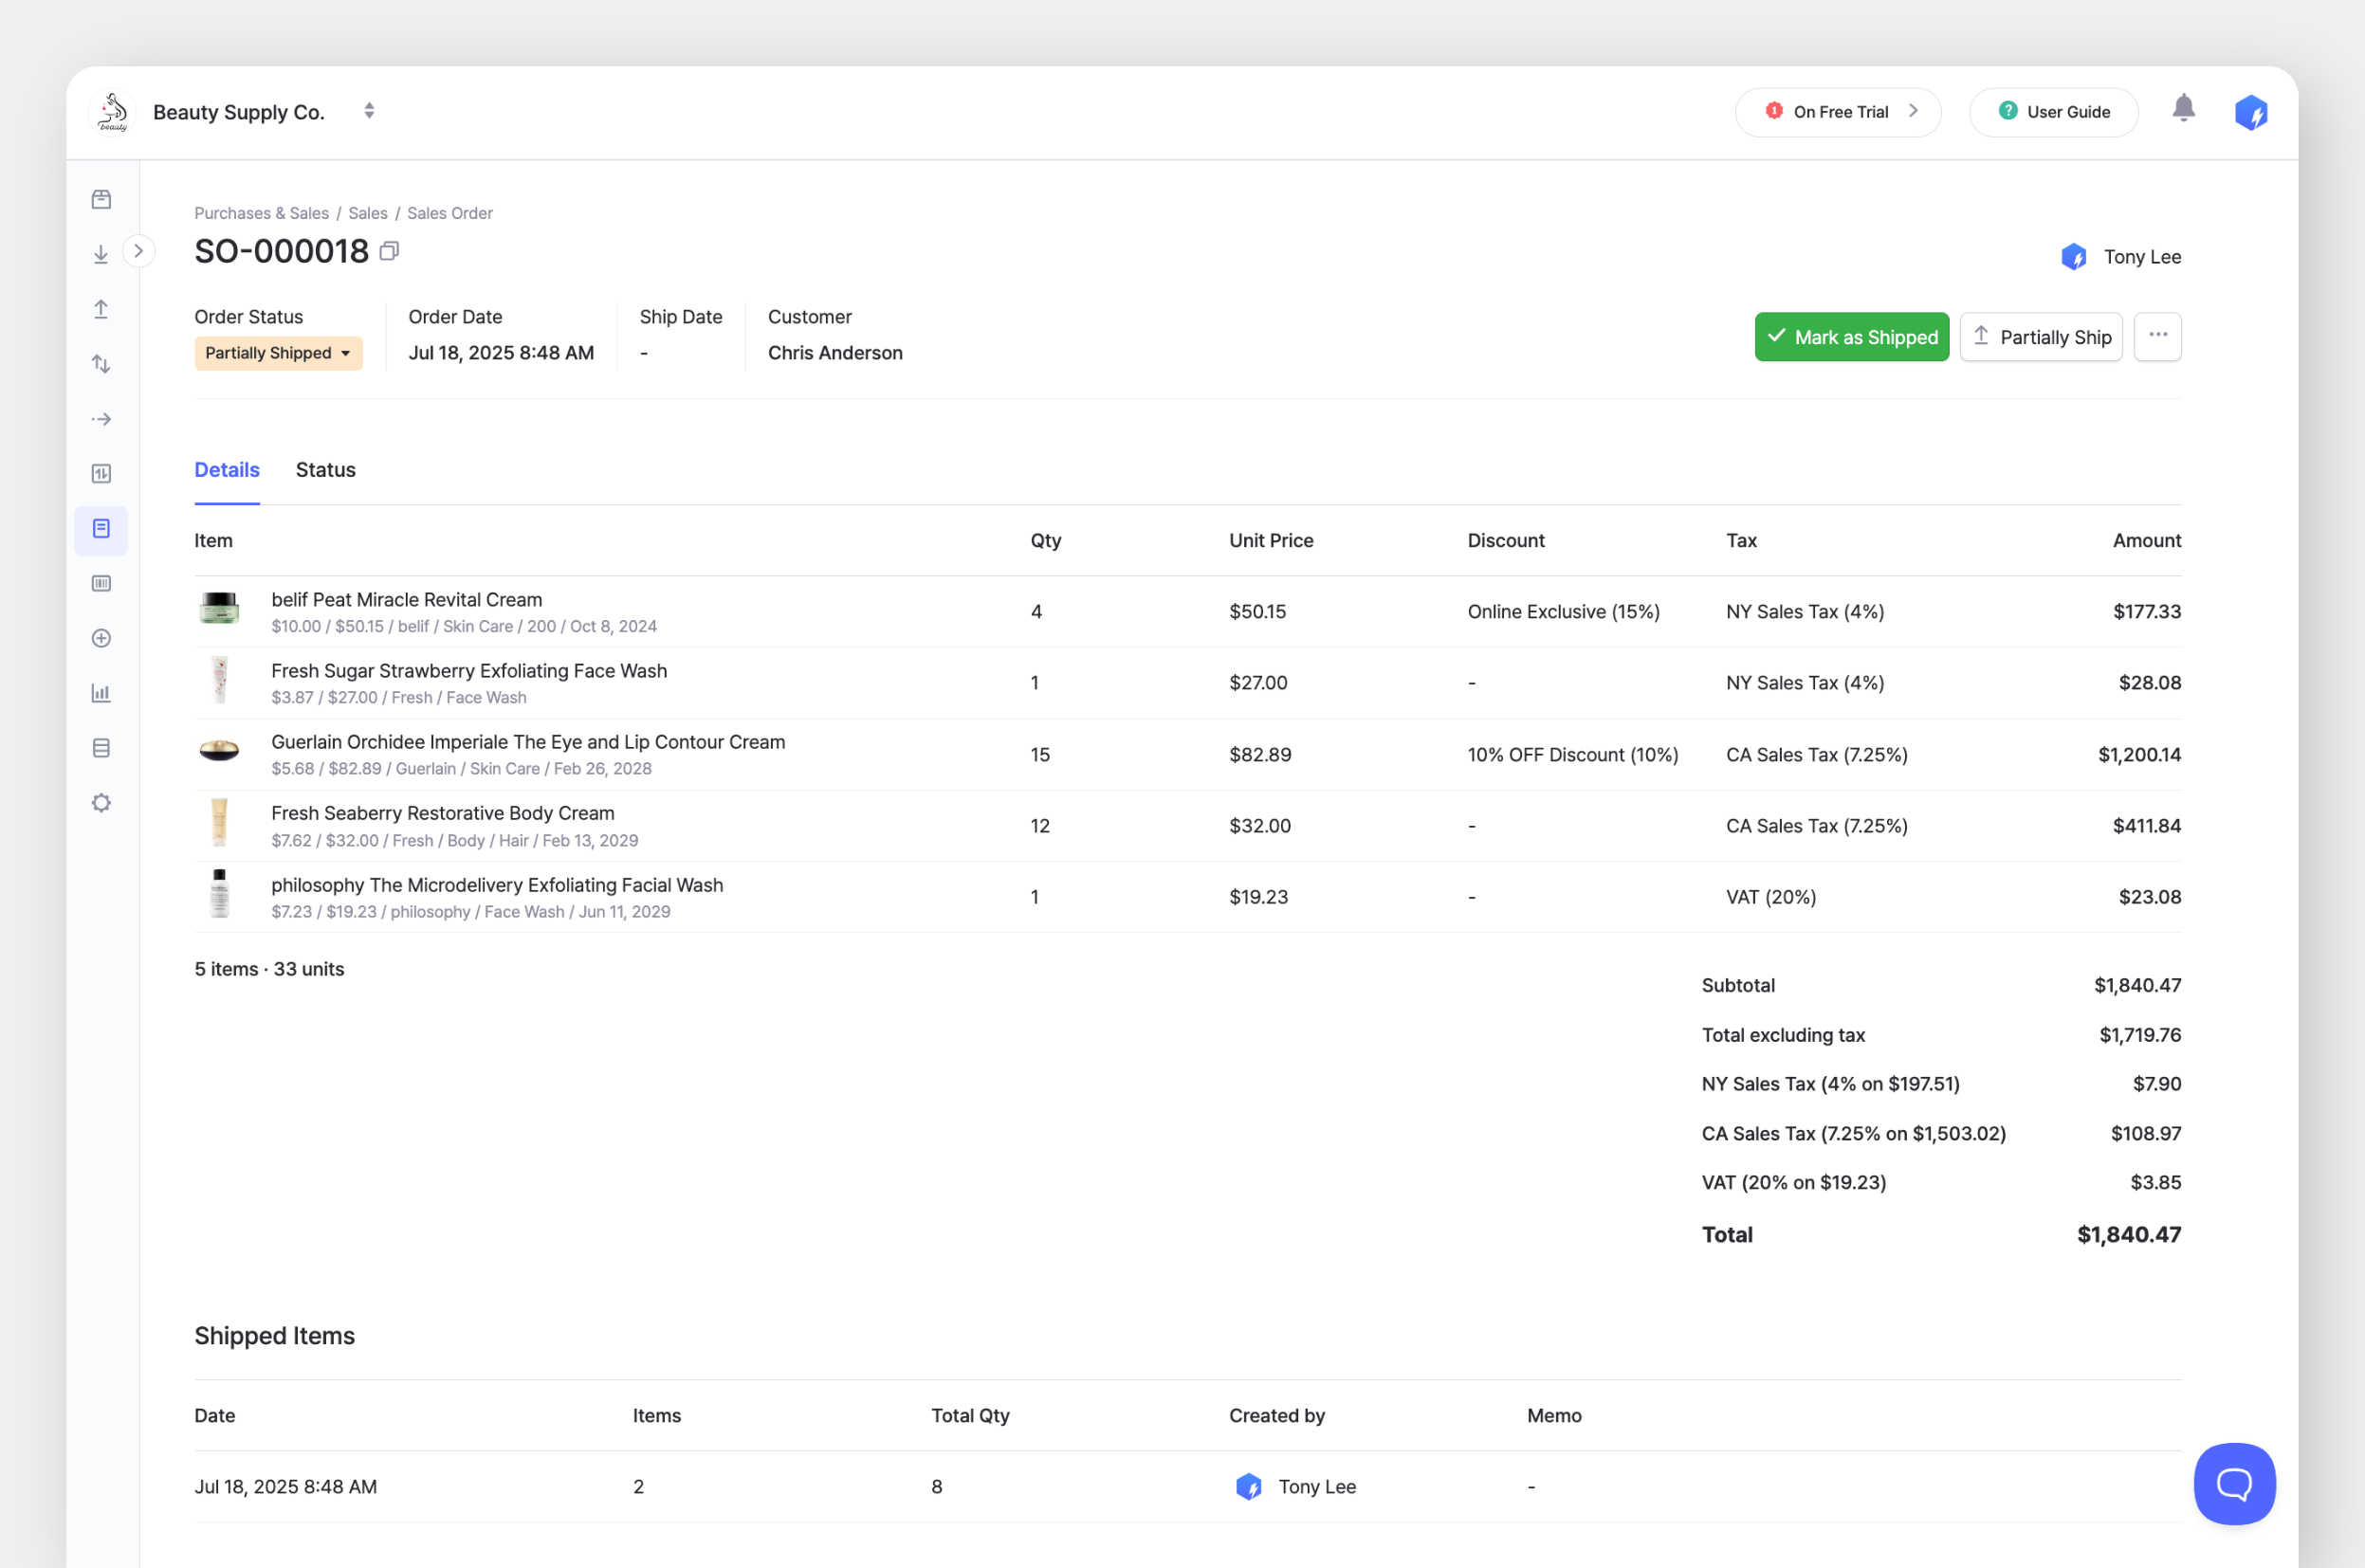
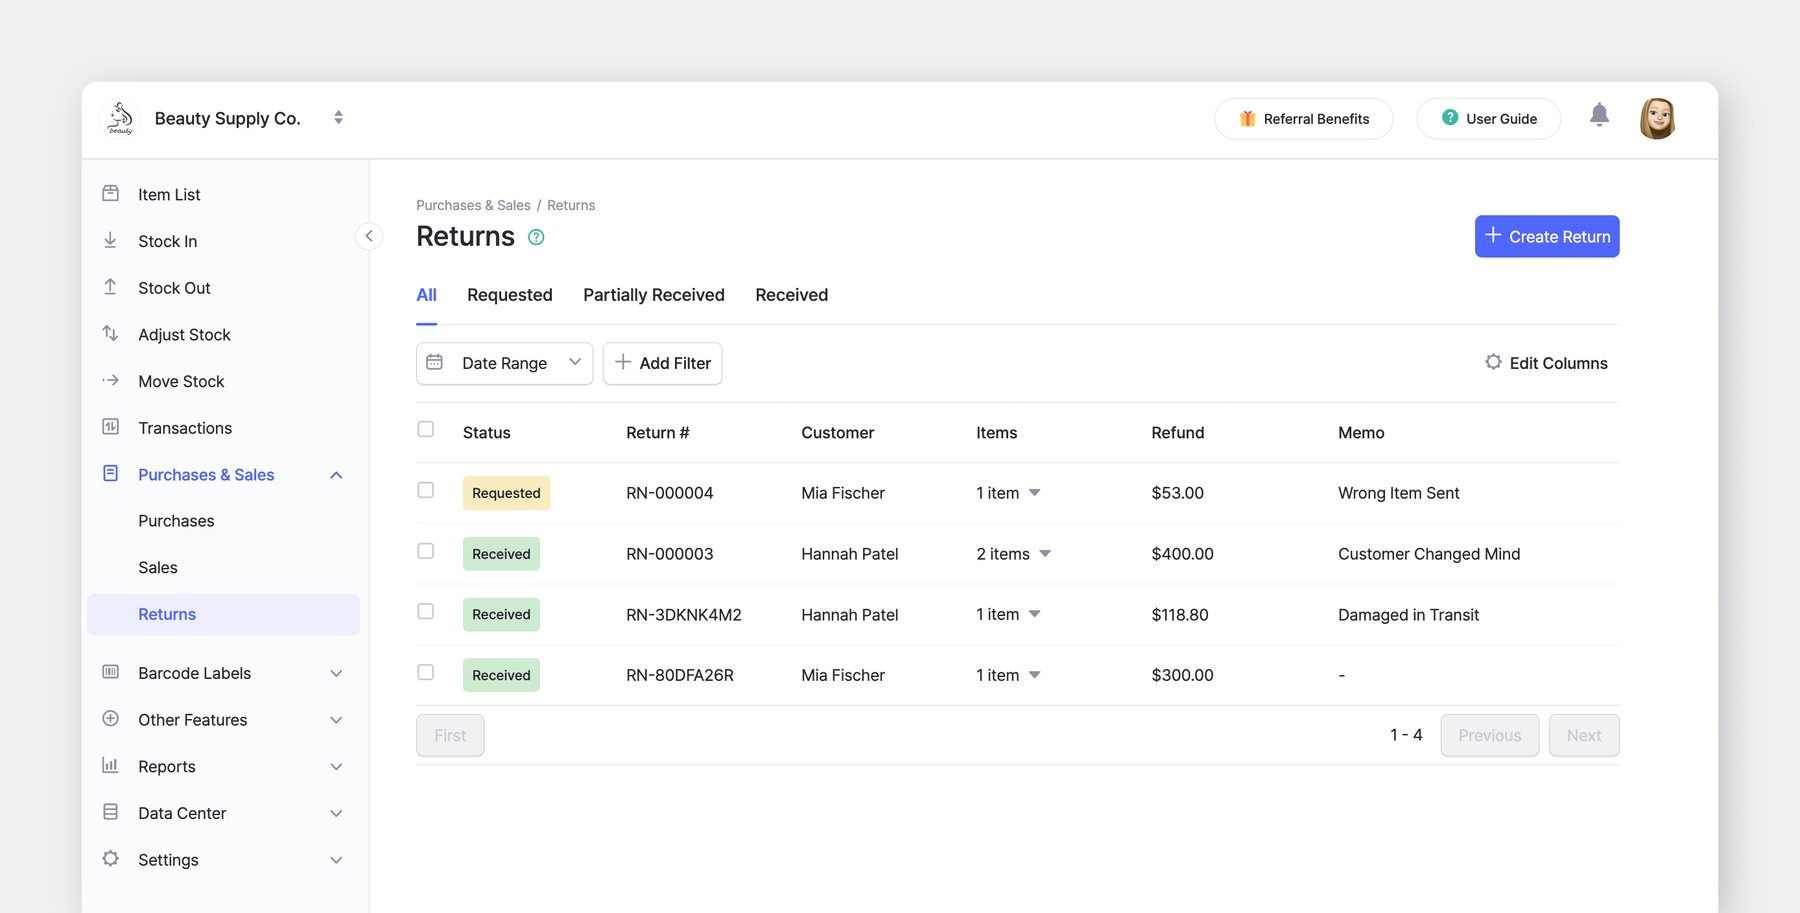
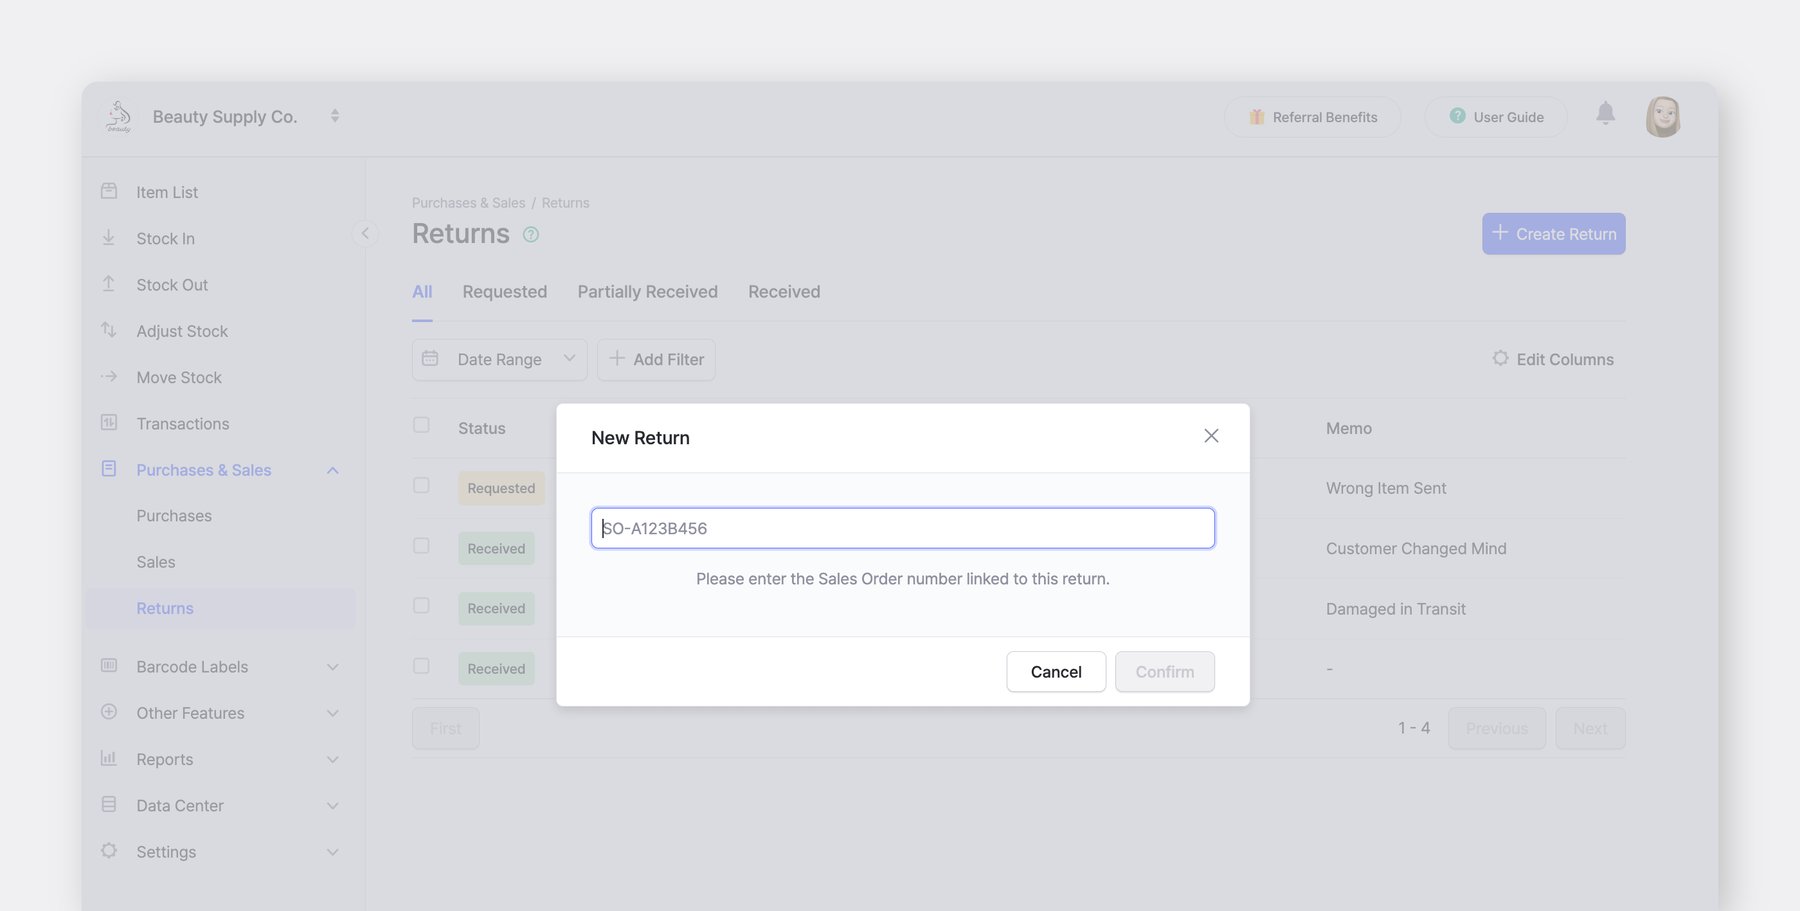
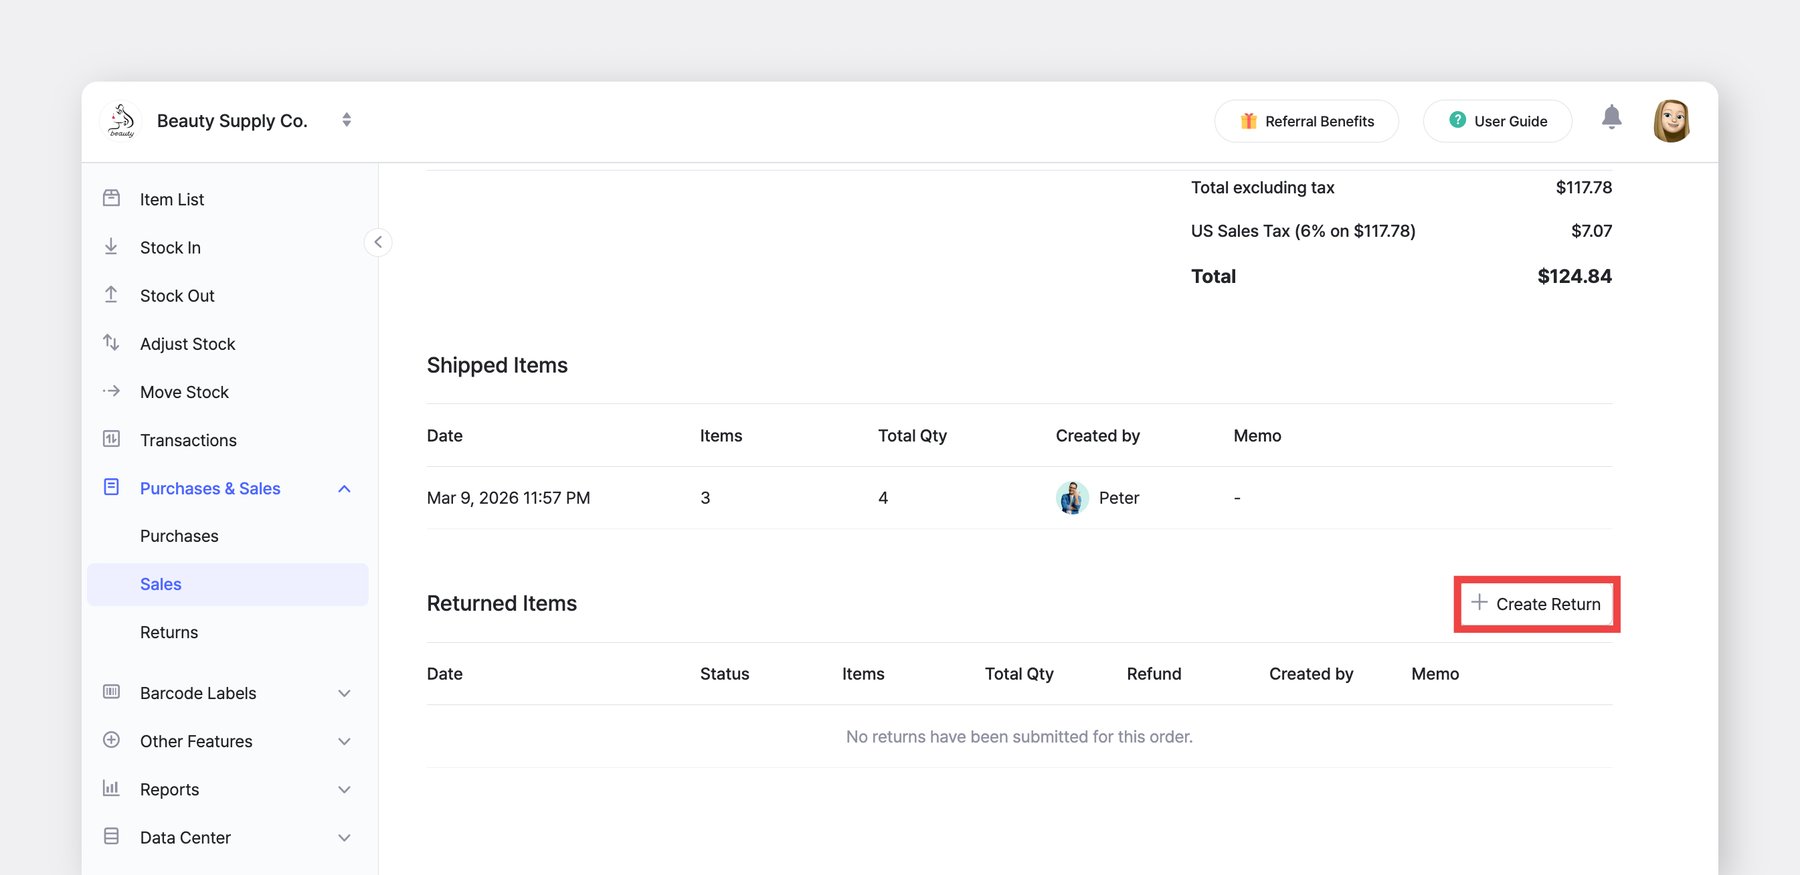
| Workflow | Create an order (P.O. or S.O.) first, then process it upon shipment or arrival. | Update stock levels immediately by selecting an item and entering the quantity. |
| Method | Link inventory changes to specific orders for better tracking. | Use Stock In for arrivals and Stock Out for shipments. |
| Purpose | Order management with real-time inventory updates. | Manual stock adjustments and simple quantity levels. |