How we made external barcode scanners work in Flutter
We used to handle barcode scanners with a hidden text field. This is what we switched to, and why it meant reading raw HID.

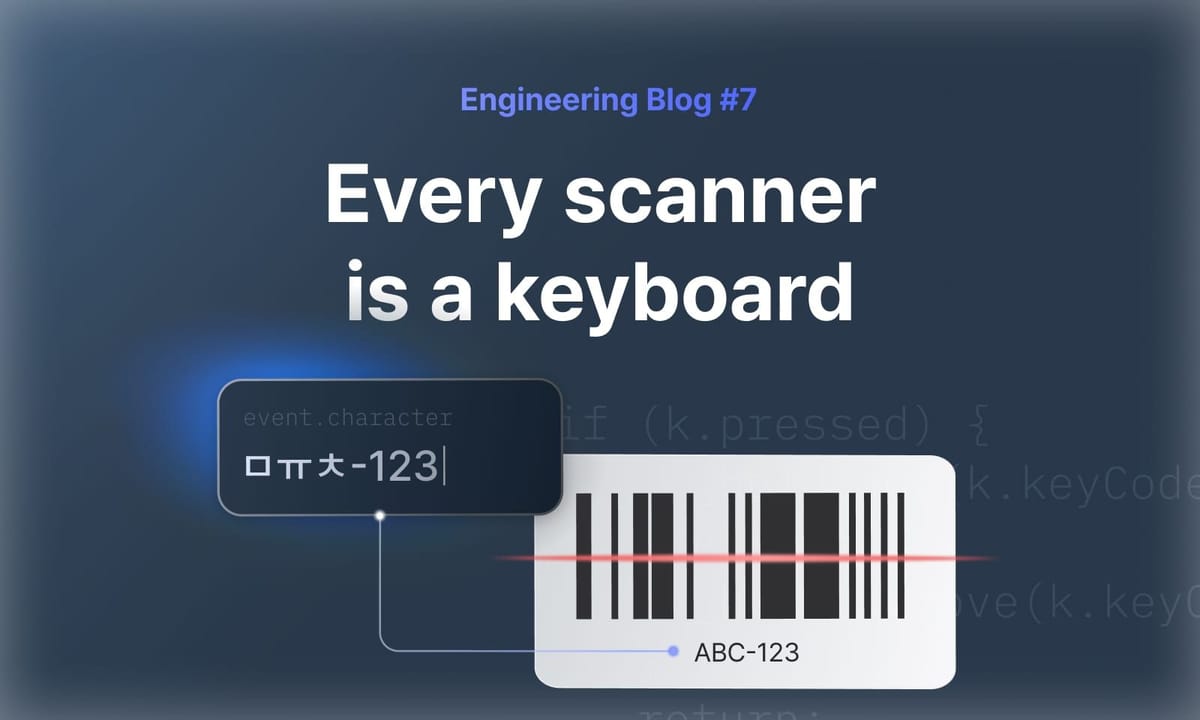
A USB or Bluetooth barcode scanner shows up to a phone as a keyboard. You scan a barcode, it types the characters and hits Enter. That's essentially the whole protocol, which is why HID (Human Interface Device) scanner support often comes down to a hidden text field and some glue code to parse whatever lands in it.
That's what we started with, and for a while it was fine.
The problems were the cases it didn't cover: getting the right characters from the scanner into the app across different scanners and different keyboard languages.
The IME problem on iOS
When you connect an HID scanner to an iPhone, iOS treats it as a hardware keyboard and hides the software keyboard.
The active input method (the Input Method Editor), however, is still whatever keyboard the user had last selected. For many of our users, that's the Korean IME.
So a barcode reading ABC-123 arrives in the app as:
ㅁㅠㅊ-123
The scanner types the right keys, and the IME rewrites each one into Hangul Jamo on the way in. The same thing happens with Japanese and Chinese IMEs, or any input method that transforms keystrokes instead of passing them straight through.
The obvious fix is to switch the input mode, which we couldn't do:
- An app can't change the system IME on iOS. Only the user can, using the globe key.
- Because a hardware keyboard is connected, the software keyboard is hidden. There's no globe key on screen to press anyway.
- Flutter's
event.characteris already the IME's output. By the time the event reaches Dart, the transformation has happened.
With those three options out, we dropped down a layer.
Flutter's KeyEvent carries physicalKey alongside logicalKey and character. It identifies the key’s physical position, independent of keyboard layout or IME.
So we mapped PhysicalKeyboardKey.keyA to a ourselves and read shift state from HardwareKeyboard.instance.isShiftPressed to pick uppercase or lowercase. That bypassed the IME entirely and solved the Hangul problem: barcodes came through as the characters printed on the label.
The Honeywell problem
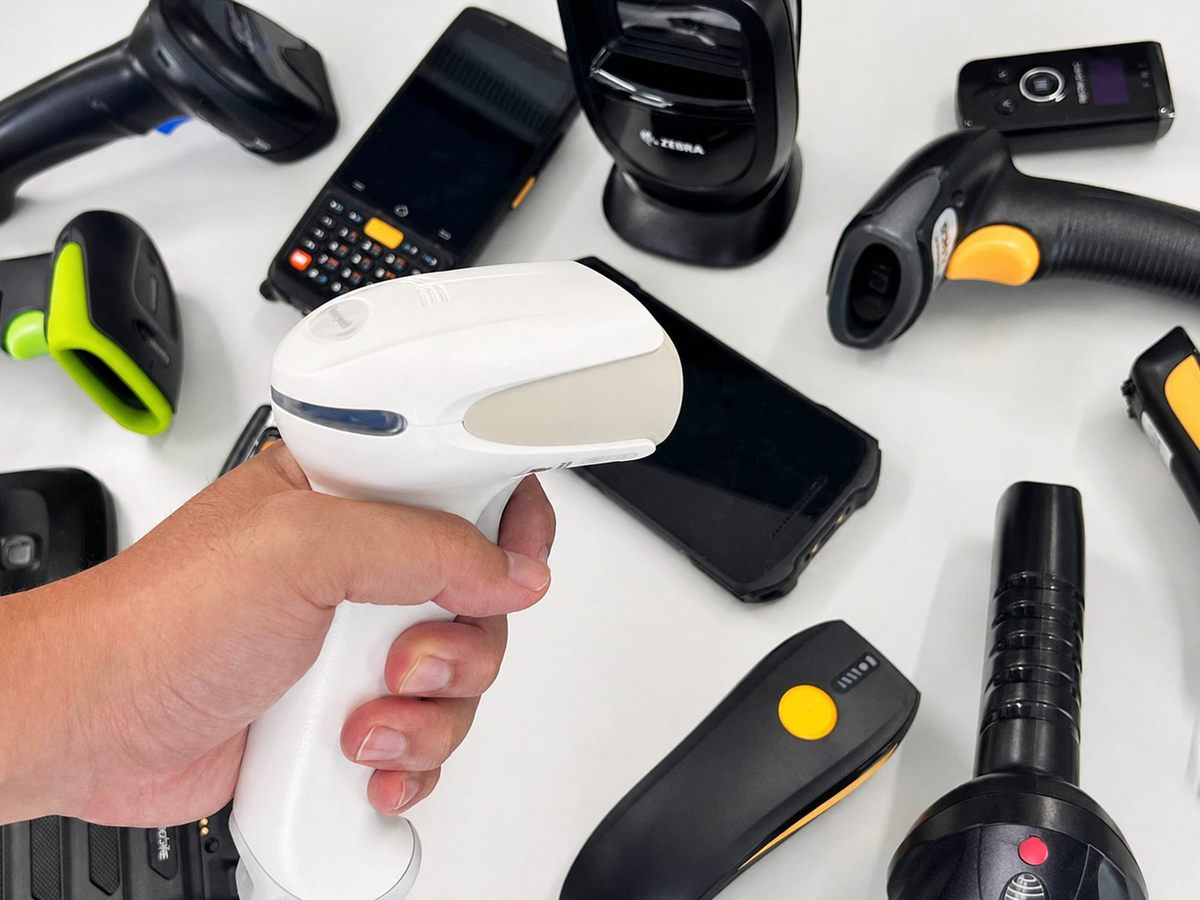
This solution worked on every scanner on our desk… except one. On a Honeywell Xenon 1950g, every uppercase letter came through lowercase. 🤔
The scanner was sending the right keys, but it didn’t release one key before pressing the next. It was typing with overlapping presses, the way a fast typist rolls one key into the next, and that includes holding Shift for the upcoming character while the previous key is still down.
To see where things were going wrong, we logged three layers at once: raw HID events from GCKeyboard, raw UIPress events from UIKit, and the KeyEvent that Flutter ultimately delivered.
The key detail is what happens when Shift is pressed before the previous key has been released. In abcABC123!, this occurs exactly once, at the c→A boundary, producing the following sequence:
(
GCKeyboard)(
UIPress)(
KeyEvent)c downcmods=[]mods=[]LeftShift downc LeftShiftmods=[shift]mods=[shift], held: C Shift Leftc upLeftShiftmods=[]Shift upA downA LeftShiftmods=[shift]mods=[], resolves to aEach row is an event the scanner actually sent, and the three layers agree until the third row. c is released while Shift is still physically down, but UIKit reports that release with no modifiers at all. Flutter's HardwareKeyboard compares this against its own set of held keys, finds Shift Left in there, and injects a synthesized Shift up to reconcile the mismatch. isShiftPressed becomes false, and the next key resolves through our lookup table as a lowercase a.
From our logs, UIKit appears to report a key-up with the modifiers that were active when the press began, and c went down before Shift did. Flutter takes the modifier flags on an event as the modifier state at that moment, up events included. Both rules are reasonable. They collide only when a key is released while a modifier that arrived after it is still held, which is exactly what overlapping presses produce.
UIKit's next event carries Shift again, so only that one release is off. Flutter's state doesn't recover, though. Shift is still physically down, so no new Shift down event is coming, and isShiftPressed stays false for the rest of the uppercase run. Filtering out event.synthesized didn't help either, because processing the synthesized event had already mutated the shared keyboard state our resolver depended on.
physicalKey had gotten us halfway there. It gave us the key identity straight from the hardware, but Shift state still came from Flutter's reconstruction of UIKit's events. On the Honeywell, that reconstruction was out of step with what the keyboard sent. The modifier state had to come from the hardware too.
Reading raw HID
Since iOS 14, the GameController framework exposes the keyboard directly as an HID device:
guard let input = GCKeyboard.coalesced?.keyboardInput else { return }
input.keyChangedHandler = { [weak self] _, _, keyCode, pressed in
  sink(["keyCode": keyCode.rawValue, "pressed": pressed])
}
keyCode.rawValue is the USB HID usage code from the Keyboard/Keypad page: 0x04 for A, 0x1e for 1, 0xe1 for left shift.
This handler runs below UIKit's press pipeline, so there’s no modifierFlags, no Flutter key normalization, and no IME sitting between the scanner and our code.
The trade-off is that everything those layers used to do is now our job, starting with the character table:
/// USB HID usage code (low byte) → [base, shifted].
const Map<int, List<String>> kHidCharMap = {
  0x1e: ['1', '!'],
  0x1f: ['2', '@'],
  // ...
  0x04: ['a', 'A'],
  0x05: ['b', 'B'],
  // ...
};
Shift — the thing that broke on the Honeywell — is now tracked directly from the same raw HID stream:
void _onRaw(HidRawKeyIos k) {
  if (_kShift.contains(k.keyCode) || _kCtrl.contains(k.keyCode) || _kAlt.contains(k.keyCode)) {
    if (k.pressed) { _held.add(k.keyCode); } else { _held.remove(k.keyCode); }
    return;
  }
  if (!_isActive()) return;
  if (!k.pressed) return;              // data keys: keydown only
  if (_kEnter.contains(k.keyCode)) {
    _out.add(const NormalizedKeyEvent(isEnter: true));
    return;
  }
  final value = _resolve(k.keyCode);   // _shift picks base vs shifted
  if (value != null) _out.add(NormalizedKeyEvent(value: value));
}
_held is just a set of raw usage codes that we maintain ourselves. Nothing else reads from or writes to that state, so it always reflects what the scanner actually sent (including the overlapping Shift presses that tripped up the Honeywell scanner).A side benefit: detecting the keyboard
Working directly with GCKeyboard gave us another useful signal: whether a physical keyboard is attached at all.
NotificationCenter.default.addObserver(
  self, selector: #selector(keyboardChanged), name: .GCKeyboardDidConnect, object: nil)
// ...
emit(GCKeyboard.coalesced != nil)
Android exposes the same information through InputManager. We surfaced it as a ValueListenable<bool>, so the scanner screens can prompt users to "connect a scanner" instead of showing an empty state that looks broken.
This only tells us that a physical keyboard is connected, not whether it's actually a barcode scanner. For a connection indicator, though, that distinction doesn’t really matter. We only dropped down to this layer to fix key events; the keyboard detection came along with it.
Android and global event handling
Android never had the IME problem. There, event.character reflects layout and modifiers correctly. That holds for the rugged PDAs as well, where a built-in scan engine feeds keystrokes through a wedge service like Zebra's DataWedge and the characters arrive intact.
So the Android path stays simple:
bool _onKey(KeyEvent event) {
  if (!_isActive()) return false;
  if (event is! KeyDownEvent || event.synthesized) return false;
  if (_isEnter(event)) { _out.add(const NormalizedKeyEvent(isEnter: true)); return true; }
  final value = event.character;
  if (value == null) return false;     // volume/arrow keys fall through
  _out.add(NormalizedKeyEvent(value: value));
  return true;                         // consume scanner data keys only
}
What did change on Android is where the events come from.
We dropped the focus-based approach and moved to a global HardwareKeyboard handler. Not to fix a bug, but so both platforms work the same way. Keeping two lifecycles and two sets of gating rules for the same feature wasn't worth the maintenance.
The global handler also cleaned up a class of focus bugs. The old implementation kept a hidden focused node and had to re-request focus after every scan, since anything on screen could steal it. With global key events, focus is no longer part of the equation.
It does introduce one new question, though.
“If every mounted scanner widget hears every key, which one should handle a given keystroke?”
. . .
Our first solution was to use RouteObserver. The navigator tells each widget when routes change, and the host app wires the observer in. It worked, but it was more setup than the problem warranted.
The second solution — the version we kept — has each widget check its own route on every key event, rather than waiting to be told:
bool _isActive() {
  final ok = _route?.isCurrent ?? true;
  if (!ok) _parser.reset();
  return ok;
}
That's the whole gate, and the host app doesn't have to wire anything up. Dialogs and bottom sheets are handled without extra code, because a PopupRoute on top makes isCurrent false the same way a pushed page does. If a key arrives while the widget is inactive, we drop the partly-assembled buffer, since a barcode split across a screen transition is useless anyway.
There's one catch, and it's Shift again. Checking the route on each event gives us no signal for the moment a widget goes inactive, so if we gated modifier keys the same as data keys, a shift pressed while inactive would leave stale state behind when the widget came back. Hence the early return at the top of _onRaw: modifiers are tracked unconditionally, and gating only applies to data keys.
Testing across scanners
There's nothing clever about buying a pile of hardware, but it it turned out to matter more than most of the code. The synthesized-shift bug reproduced on exactly one of these devices — the Honeywell Xenon 1950g. On every other scanner, the feature looked finished. If we hadn't tested on that Honeywell scanner, our users would have been the ones to find out that uppercase barcodes didn’t work.
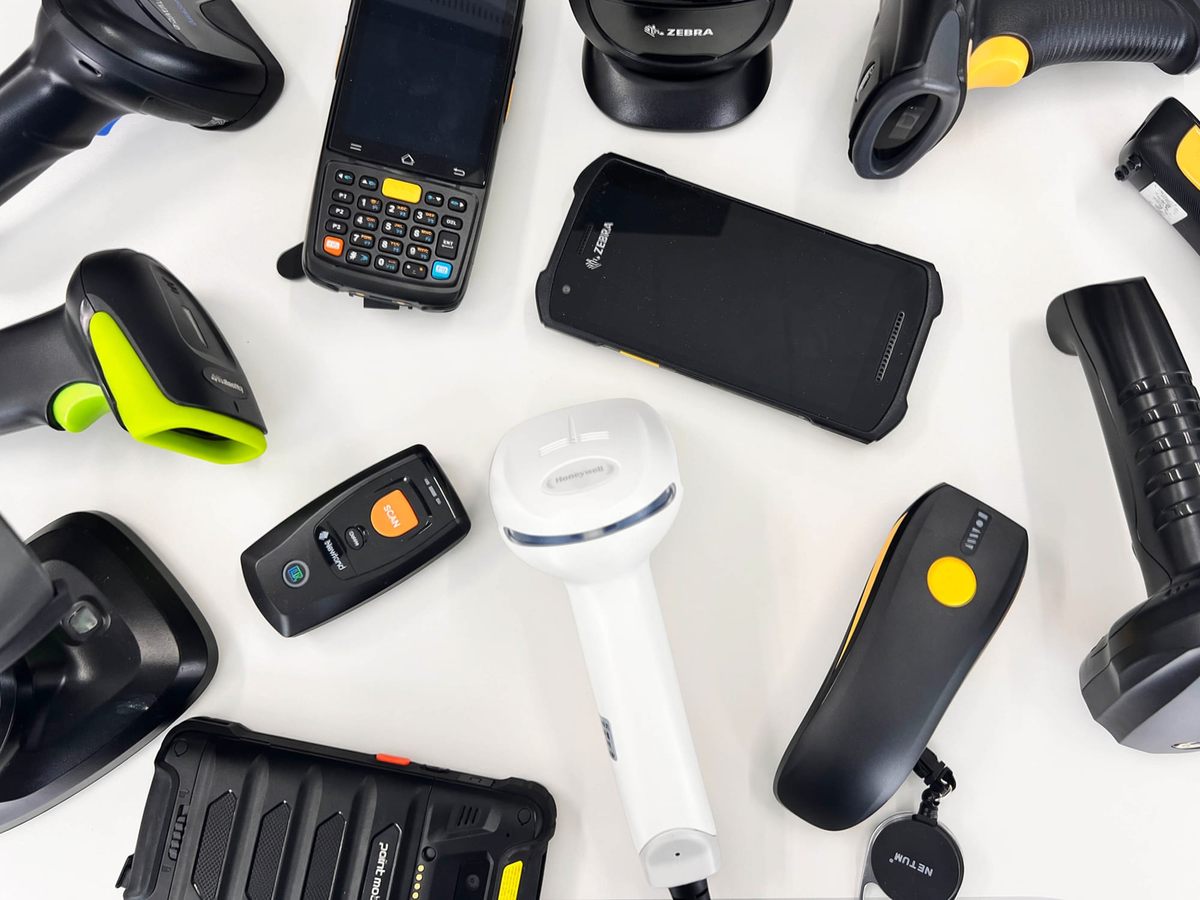
One practical lesson from setting up the test bench:
Don't plug a wired scanner directly into a phone.
There isn't enough power for it, and the failure doesn't look like a power issue. The scanner appears unresponsive, as if it weren't connected at all. This will send you off debugging a connection that was never the issue.
Instead, run it through a USB-C hub with PD (Power Delivery) charging attached. Testing with a keyboard instead of a real scanner won’t expose this, because a keyboard draws very little power.
What changed
The rewrite resulted in three user-visible changes:
- Scanner screens now show connection state. We surface the keyboard-detection signal in the UI, so a screen without a connected scanner prompts the user to connect one instead of appearing broken.
- The software keyboard no longer appears. The previous implementation relied on a hidden focused text field, which meant the software keyboard popped up whenever no scanner was attached. The new version doesn’t use focus, so there's nothing to trigger it.
- Scanning works from the home screen. This is the only genuinely “new” capability, and it mostly fell out of the architecture. Because key events are now handled globally, the home screen mounts the same widget, and scanning a barcode navigates directly to the item details page through the same resolution pipeline the camera scanner uses. No additional business logic was required.
None of this is much code: about 470 lines of Dart in a single package. But scanner support went from mostly working to behaving consistently across every device we tested, which is the bar we needed before telling users to rely on it.
In hindsight, the solution wasn't adding another abstraction on top of keyboard events. It was removing the layers between us and the hardware, and handling that part ourselves.