Fashion Store Guide, Part 1: Getting Started with Inventory Management

If you run a fashion store, two things make or break your operations: inventory management and team coordination. You can stock all the right items and have the perfect system, but if your staff doesn’t use it properly, it’s all for nothing.
In this two-part guide, we’ll walk you through practical tips for running your store more efficiently, starting with Part 1: Inventory Management. We’ll cover everything from getting started with inventory tracking to implementing tools that actually work for fashion retail.
Why Fashion Inventory Management Feels So Complicated
Here’s a familiar scenario: A customer asks if you have a medium in a popular item, and you’re not sure. Or maybe you overstocked a new arrival that didn’t sell as expected, and now it’s taking up shelf space post-season.

Fashion inventory can be uniquely frustrating. Why?
Because the number of items to manage grows exponentially. One design might come in three colors and three sizes—suddenly, you’re managing nine different SKUs for one shirt. Multiply that by seasonal releases, and you’re quickly dealing with hundreds (or thousands) of unique items.
Add short trend cycles and limited selling windows, and manual tracking just doesn’t cut it. Without a system, it becomes hard to know what’s selling, what’s stuck in storage, and what’s ready to reorder.
A Step-by-Step Way to Organize Your Inventory
Instead of juggling spreadsheets or guessing what’s in stock, it helps to follow a clear plan. Here’s a simple framework you can use to get things under control.
Step 1: Conduct a Physical Inventory Count
It sounds basic, but knowing exactly what’s in your store and stockroom is the foundation of every inventory system. Before anything else, get a clear picture of what you already have. Set aside time to do a thorough count—you’ll thank yourself later.
Tips before you start:
| Category | Task | Description |
|---|---|---|
| Prep | Organize stock | Gather items scattered across the shop floor, office, warehouse, or side counters. |
| Assign roles | Divide areas | Assign staff to different zones or product categories. |
| Group items | Sort by color/size | Sort by color first, then separate by size. |
| Avoid mix-ups | Pause new deliveries | Prevent incoming or returned items from getting mixed in mid-count. |

Step 2: Set Up a Clear SKU System
Tracking by product names alone doesn’t work long-term. Names are inconsistent, long, and confusing. You need clear, consistent SKUs that help you distinguish between variations and clearly identify each item.
Example:
Product Name: Summer 2025 Blouse, White, Size M
SKU:AB-25S-BL-WH-M
A good SKU should be easy to read and easy to remember. That way, everyone on your team can find and use it without confusion.
Step 3: Choose the Right Inventory Management Tool
You can start with spreadsheets or pen and paper. But as your store grows—more SKUs, more staff, more complexity—manual tracking won’t keep up. You’ll face frequent errors, delays, and missed sales.
That’s when it’s time to consider an inventory management solution. With the right tool, you can track inventory in real time, reduce manual errors, and work faster across your team.
Checklist for choosing a tool:
☐ Does it sync data in real time?
☐ Is it intuitive and easy to use?
☐ Does it work on mobile?
☐ Is pricing reasonable for your store?
☐ Does it support key features like barcodes, label printing, and reports?
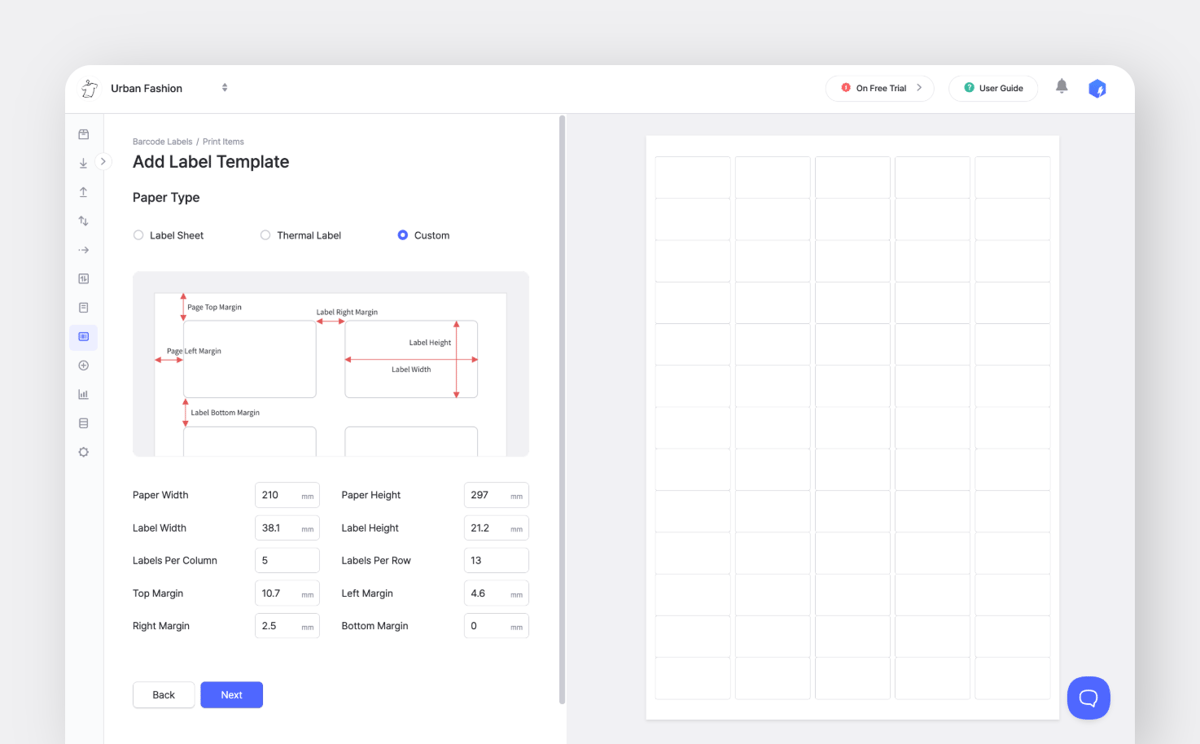
Step 4: Set Up a Barcode System
Barcodes make everyday inventory tasks much faster. You just scan and go when receiving items, checking stock, or helping customers. It's way easier and faster than manual entry; plus you'll save time and cut down on errors!
How to get started with barcodes:
- Use existing barcodes: If products already have manufacturer barcodes, you can use those right away.
- Generate your own: If not, most inventory tools (including BoxHero) let you create and print custom barcode labels.
Setup process:
- Add items in your inventory system and assign barcodes.
- Design and print barcode labels.
- Attach labels to each item.
- Scan items during receiving, restocking, and inventory checks.
Using Inventory Data to Make Better Store Decisions
Once your system is in place and your team is on board, the next step is using your inventory data to make better business decisions.

1. Plan Orders Based on Past Sales
For example, if your data shows that 300 white short-sleeve shirts sold during June and July last year, that gives you a solid baseline for how much to order this year.
Helpful numbers to look at:
- Last year’s sales (same season)
- Last month’s sales
- Last week’s sales
2. Catch Slow-Moving Stock Early
The sooner you identify low-performing items, the better. You can discount, relocate, or bundle them before they become deadstock.
Early warning signs:
- Less than 50% of the stock sold within two weeks of arrival
- Less than 30% sold halfway through the season
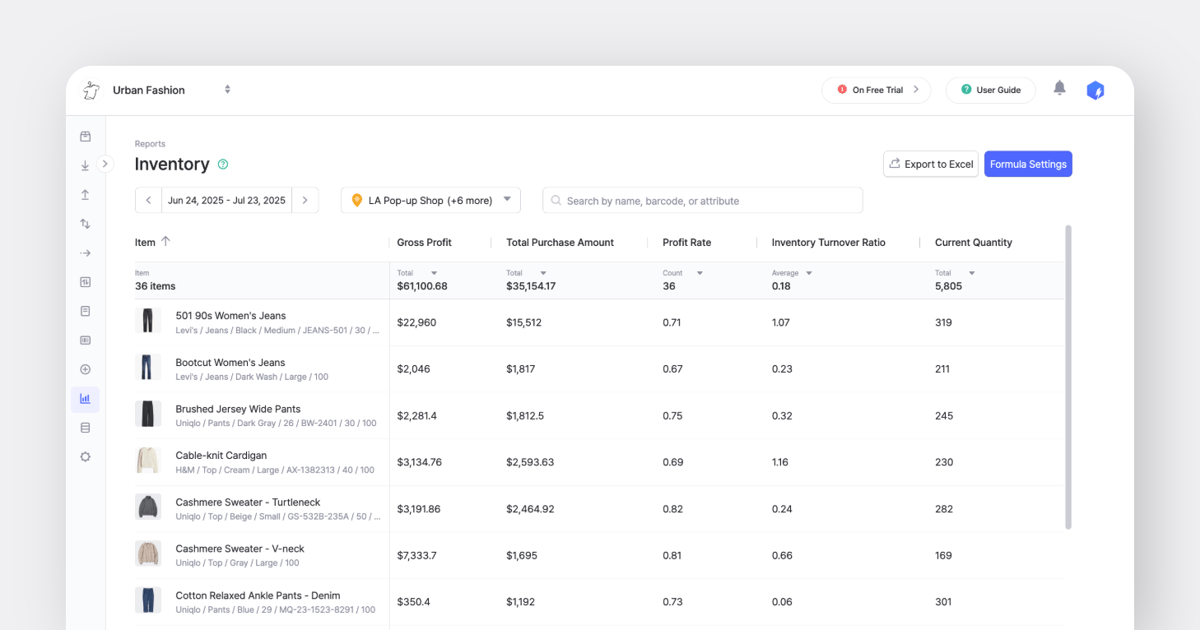
3. Use Turnover Rates to Adjust Your Display
Inventory turnover shows how quickly your products are selling. Higher turnover means faster sales; lower turnover may signal overstock or display issues.
How to calculate:Inventory Turnover = Total Units Sold ÷ Average Units in Stock
Example:
If you sold 200 shirts in a month and kept an average of 50 in stock, your turnover is 4. That means your inventory sold through four times during the month.
→ It's a good sign of fast-moving stock.
How to use this:
- High-turnover items: Reorder early and place them front and center in your store.
- Low-turnover items: Try repositioning, bundling, or running a promotion to help move them faster.
Take the First Step Toward Smarter Inventory
From your first count to advanced inventory reports, everything gets easier once you build the right system. It might feel like a lot at first—but once it's set up, you'll wonder how you ever ran your store without it.
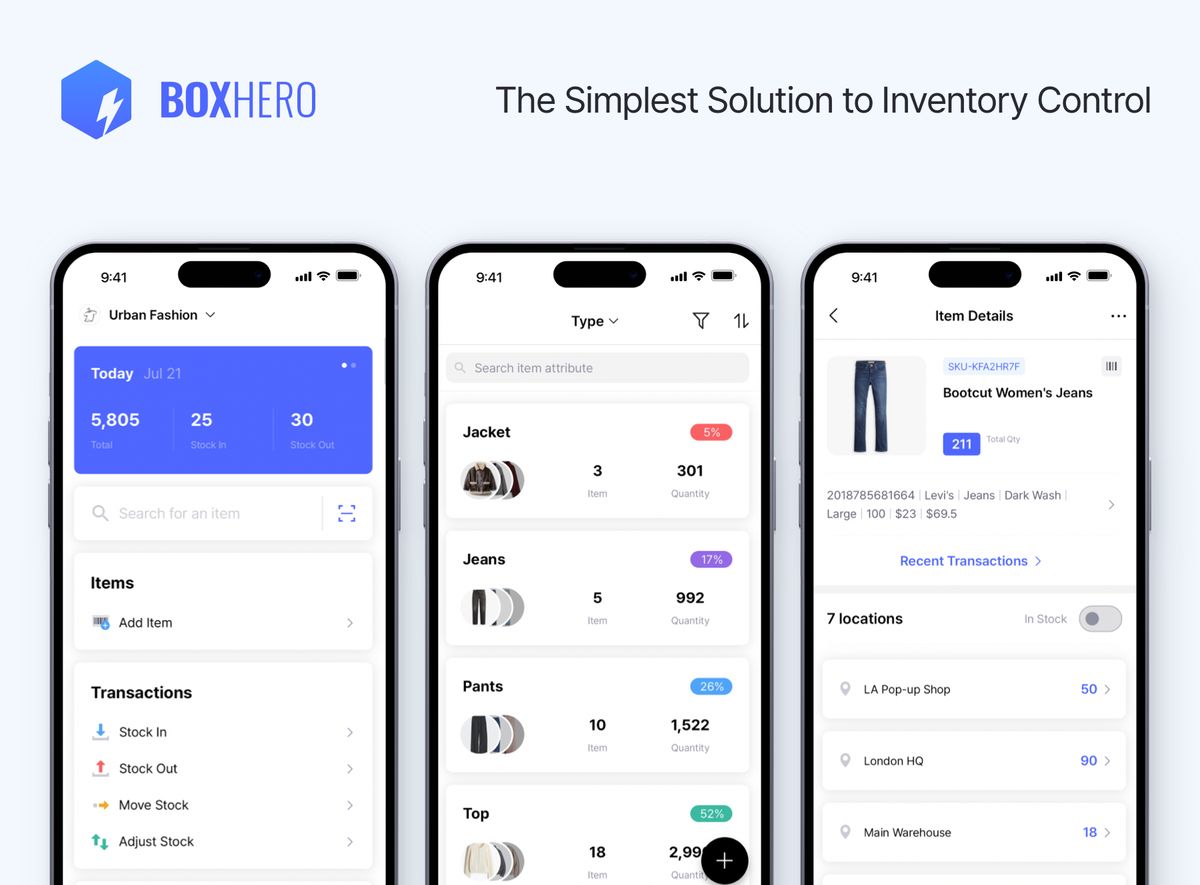
Want to see how BoxHero fits your store?
Start your free 30-day trial and explore every feature.
Up next: Part 2 — Staff Scheduling and Shift Handoffs
If you’ve ever dealt with confusing shift schedules or poor handovers between team members, you’re not alone. In Part 2, we’ll cover practical ways to manage staff schedules and handoffs so your shop runs smoothly every day.