> For the complete documentation index, see [llms.txt](https://www.boxhero.io/docs/llms.txt). Markdown versions of documentation pages are available by appending `.md` to page URLs; this page is available as [Markdown](https://www.boxhero.io/docs/resources/guides/zebra-zd421t/desktop-printing.md).
# Desktop Printing
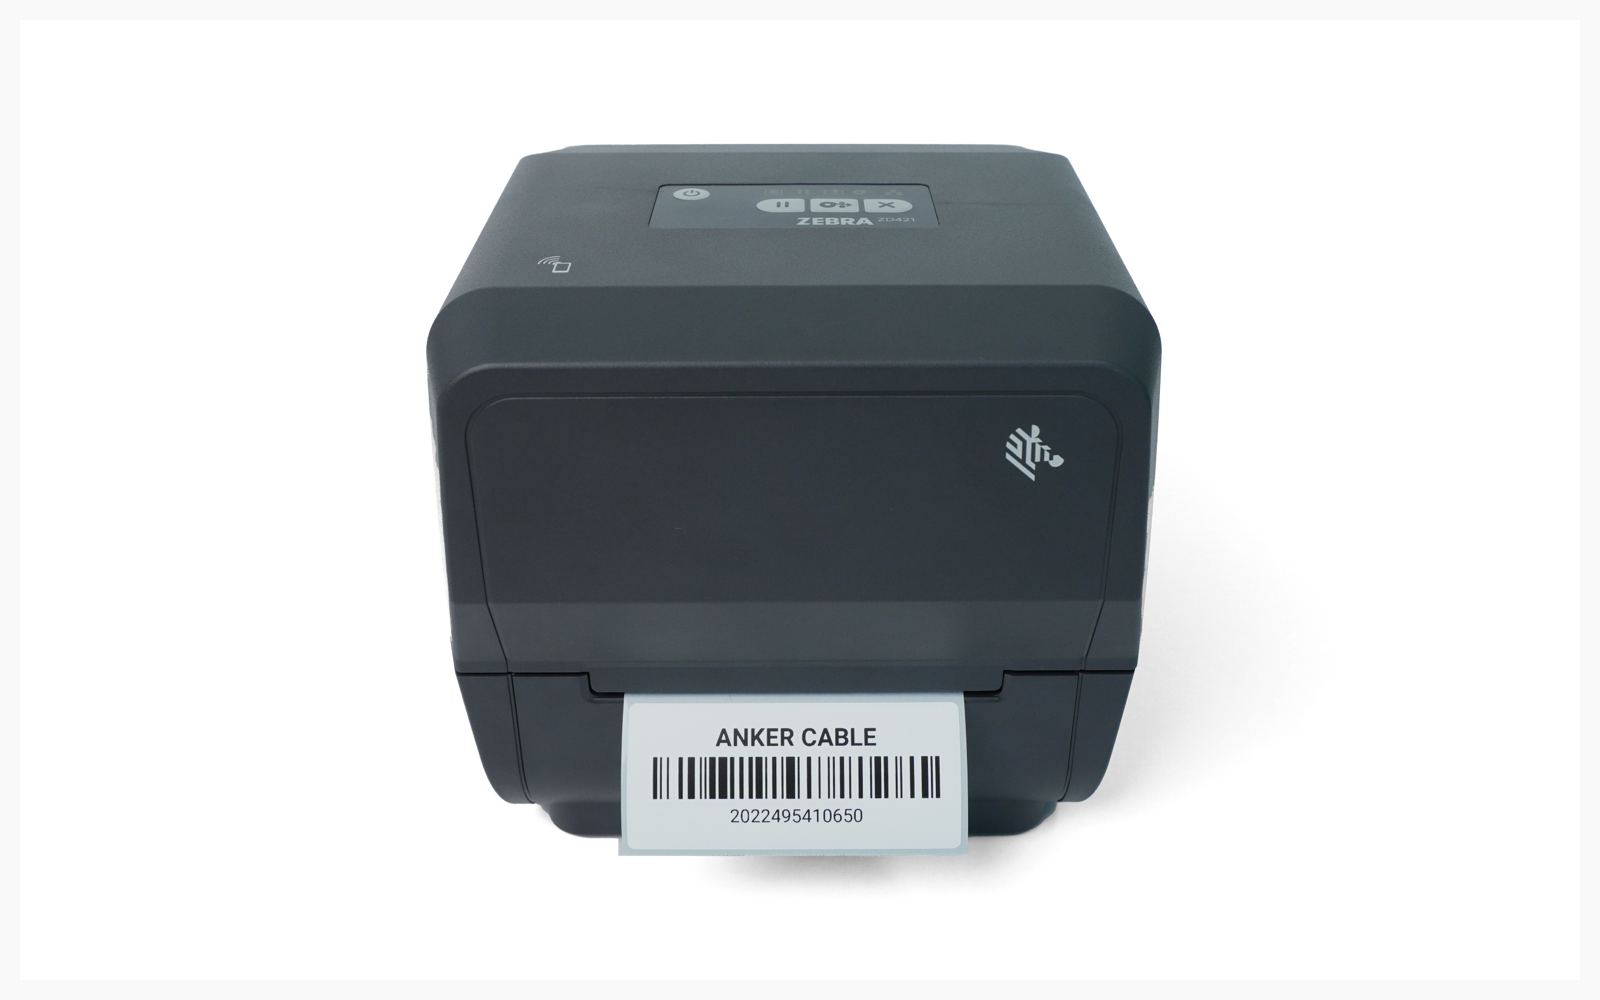
Printing from your computer after completing ZEBRA ZD421T setup.
***
## I. Driver Installation
{% stepper %}
{% step %}
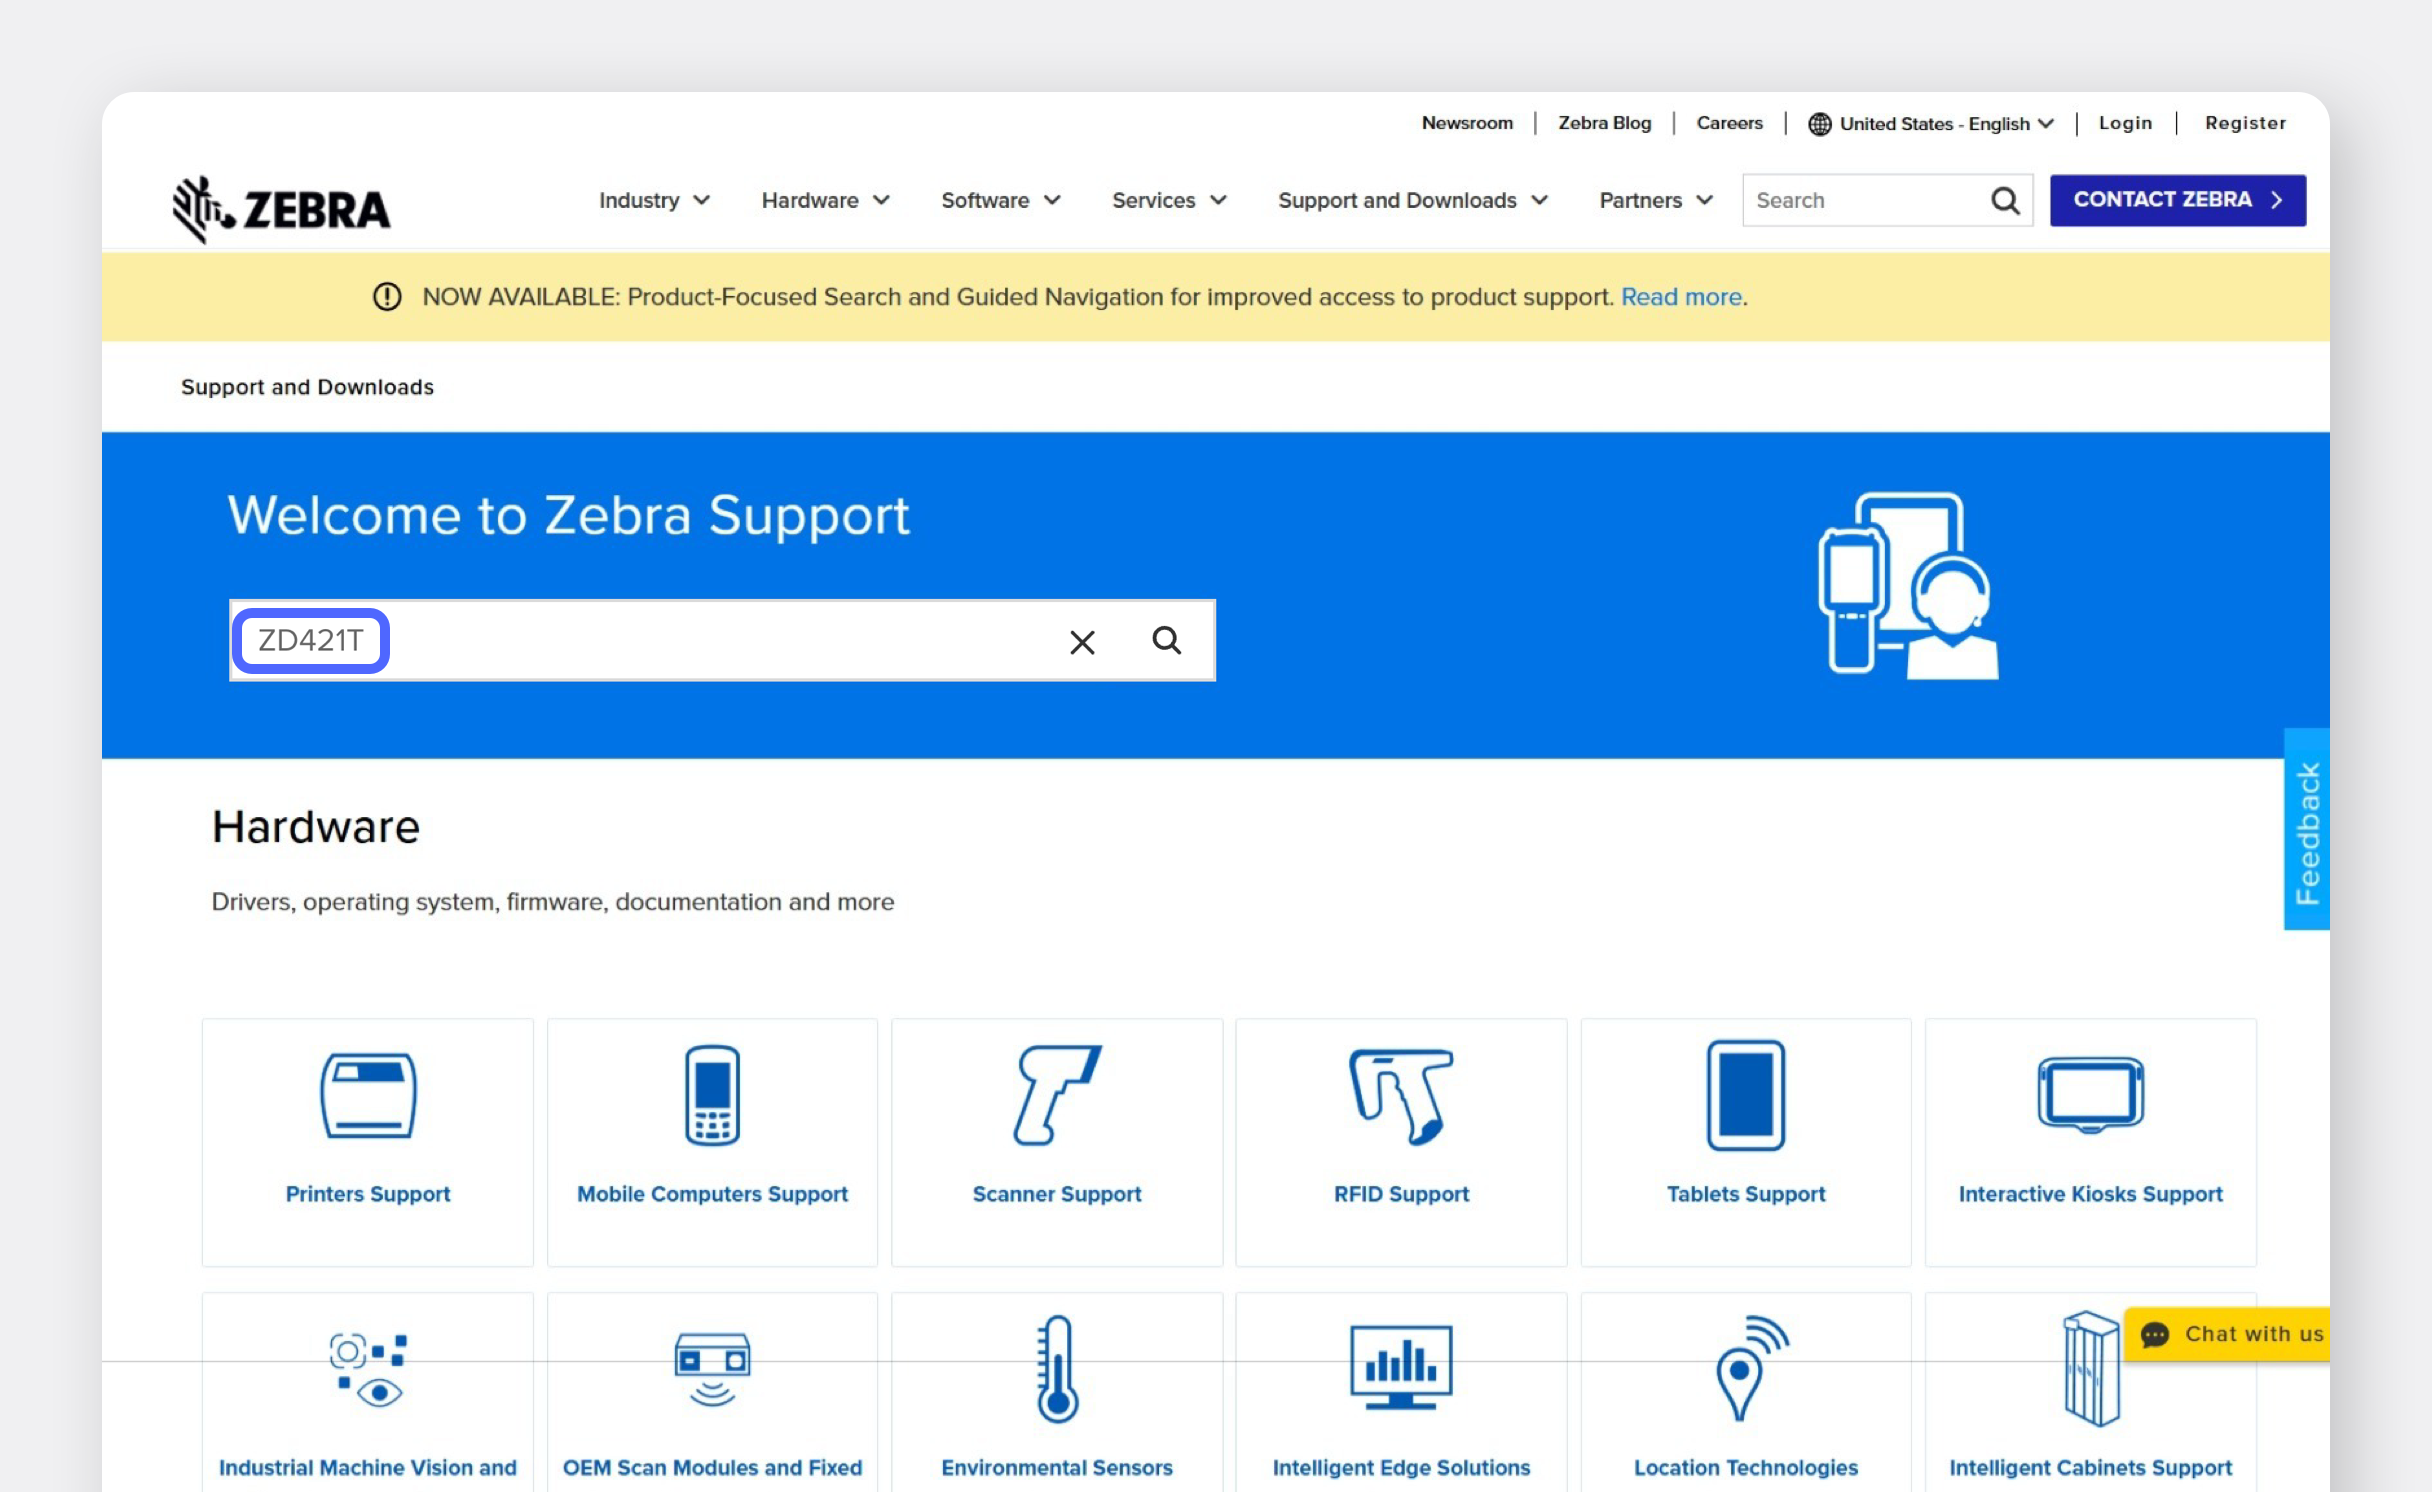
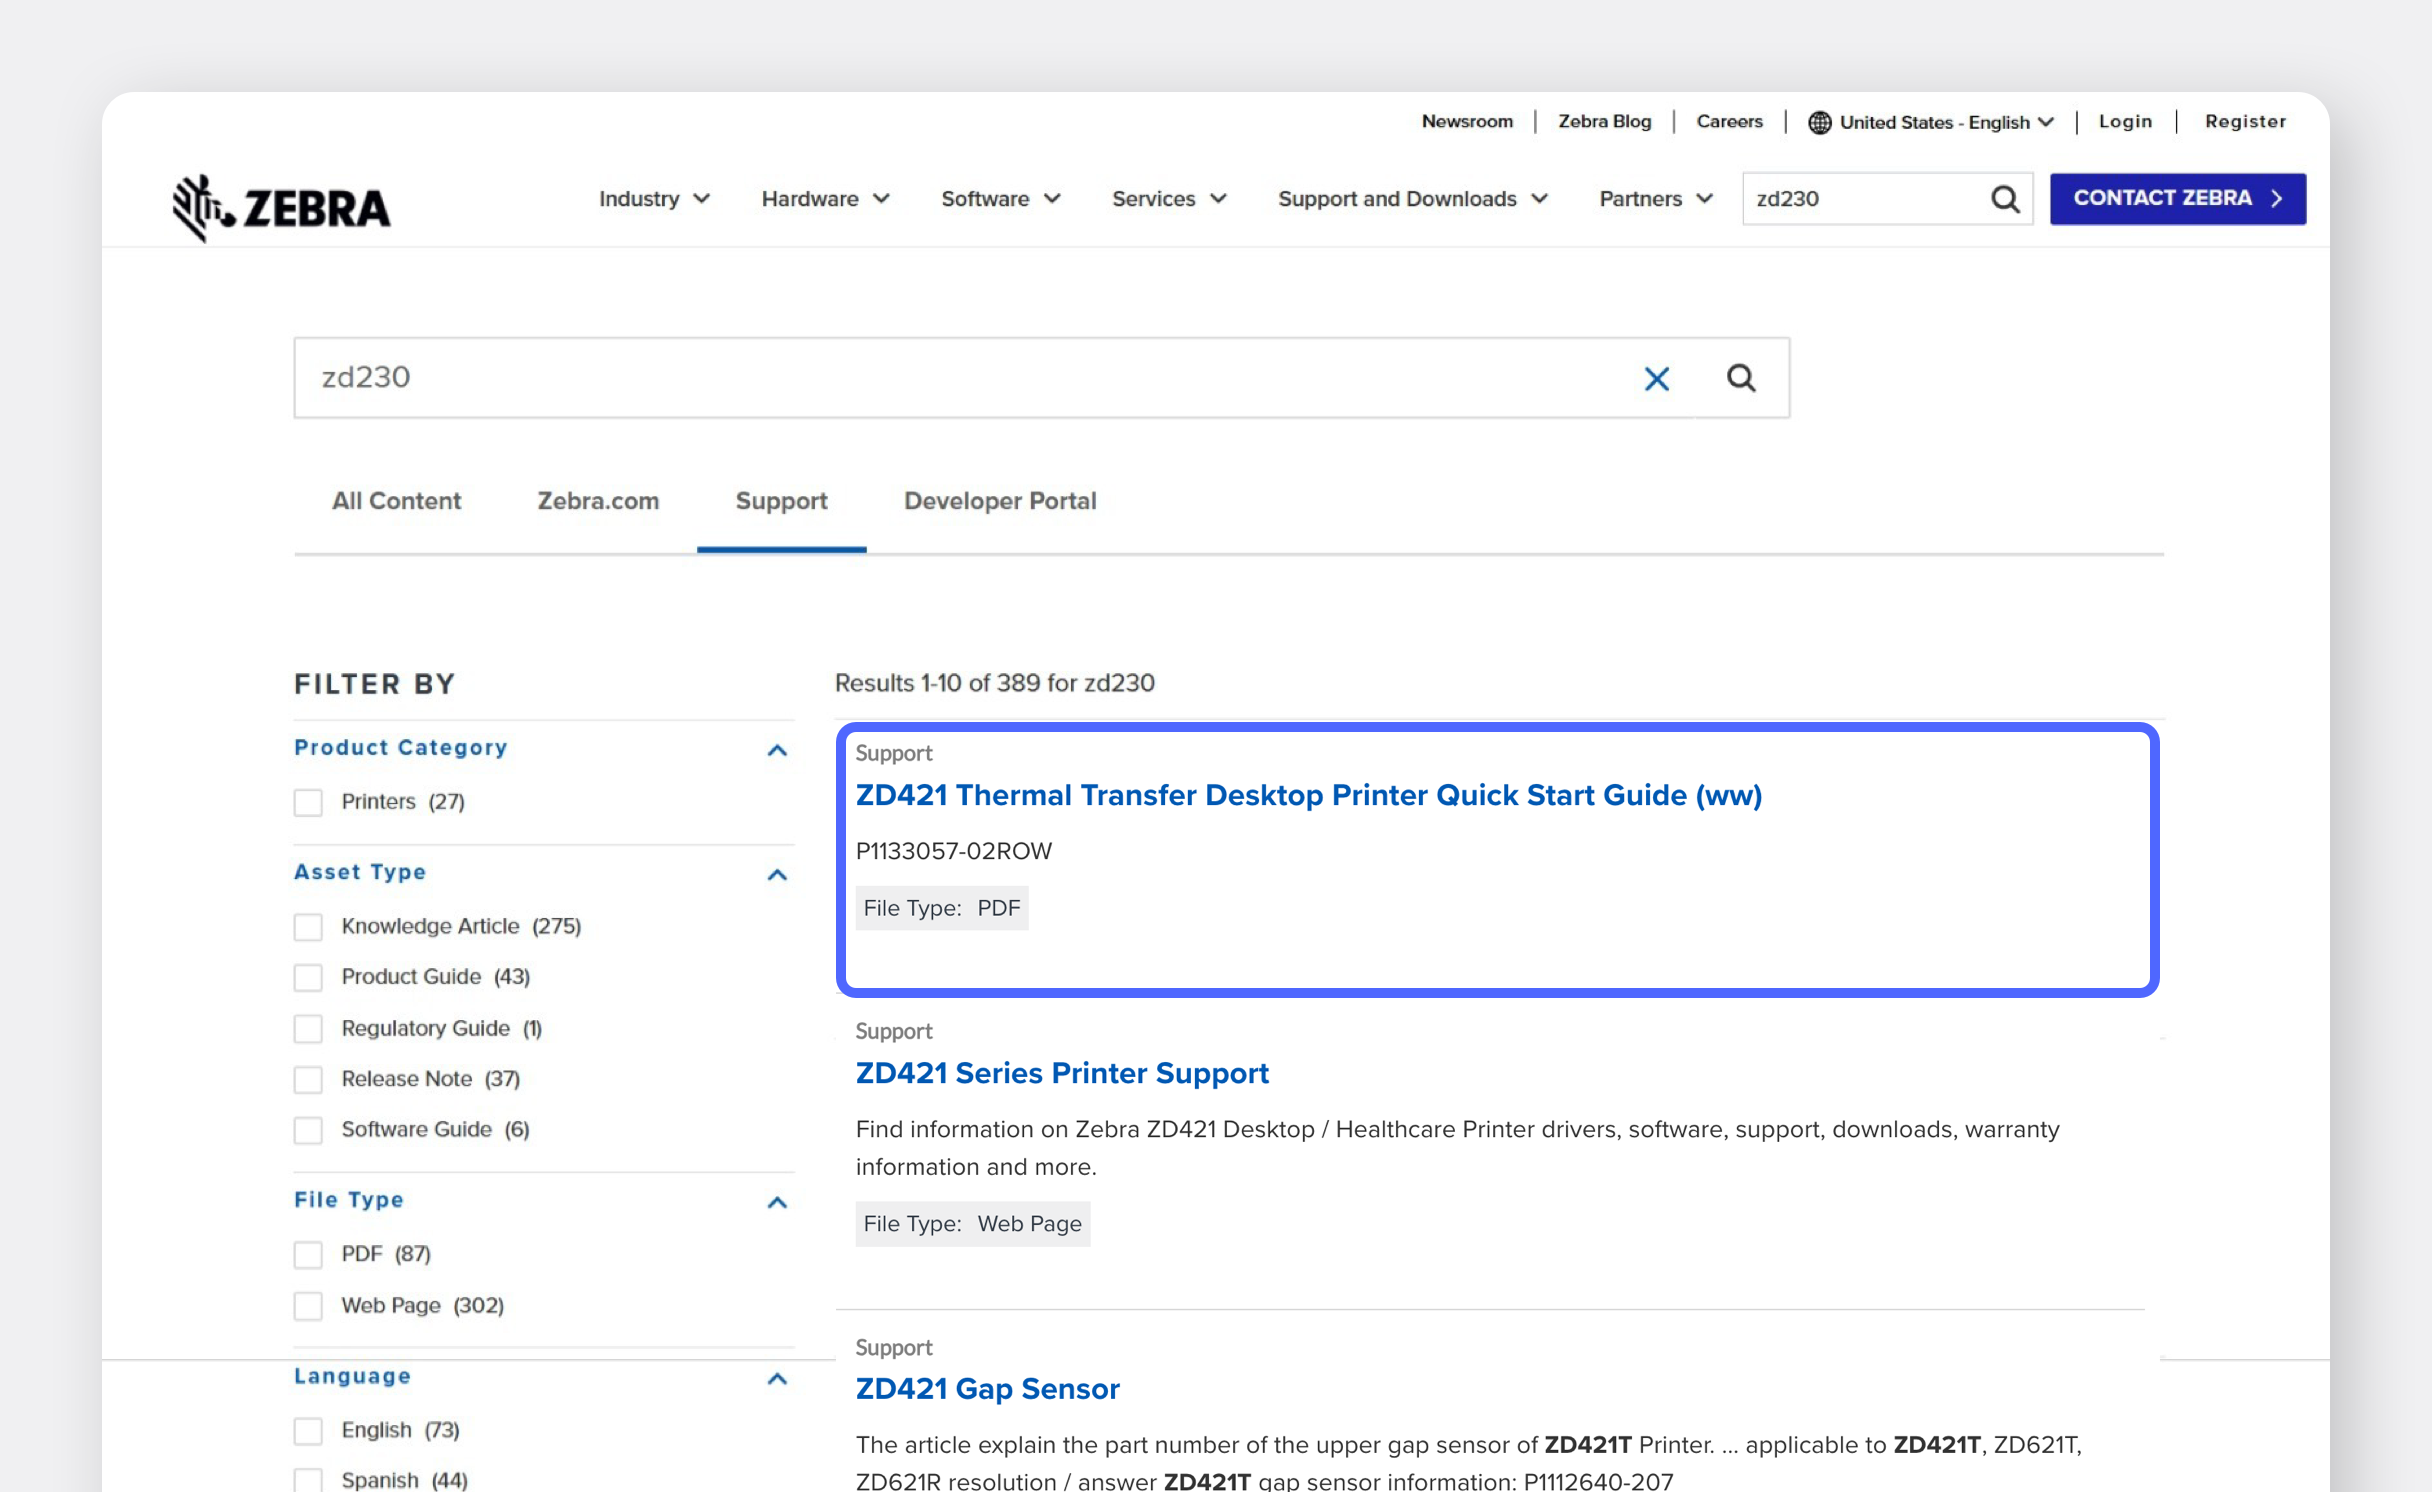
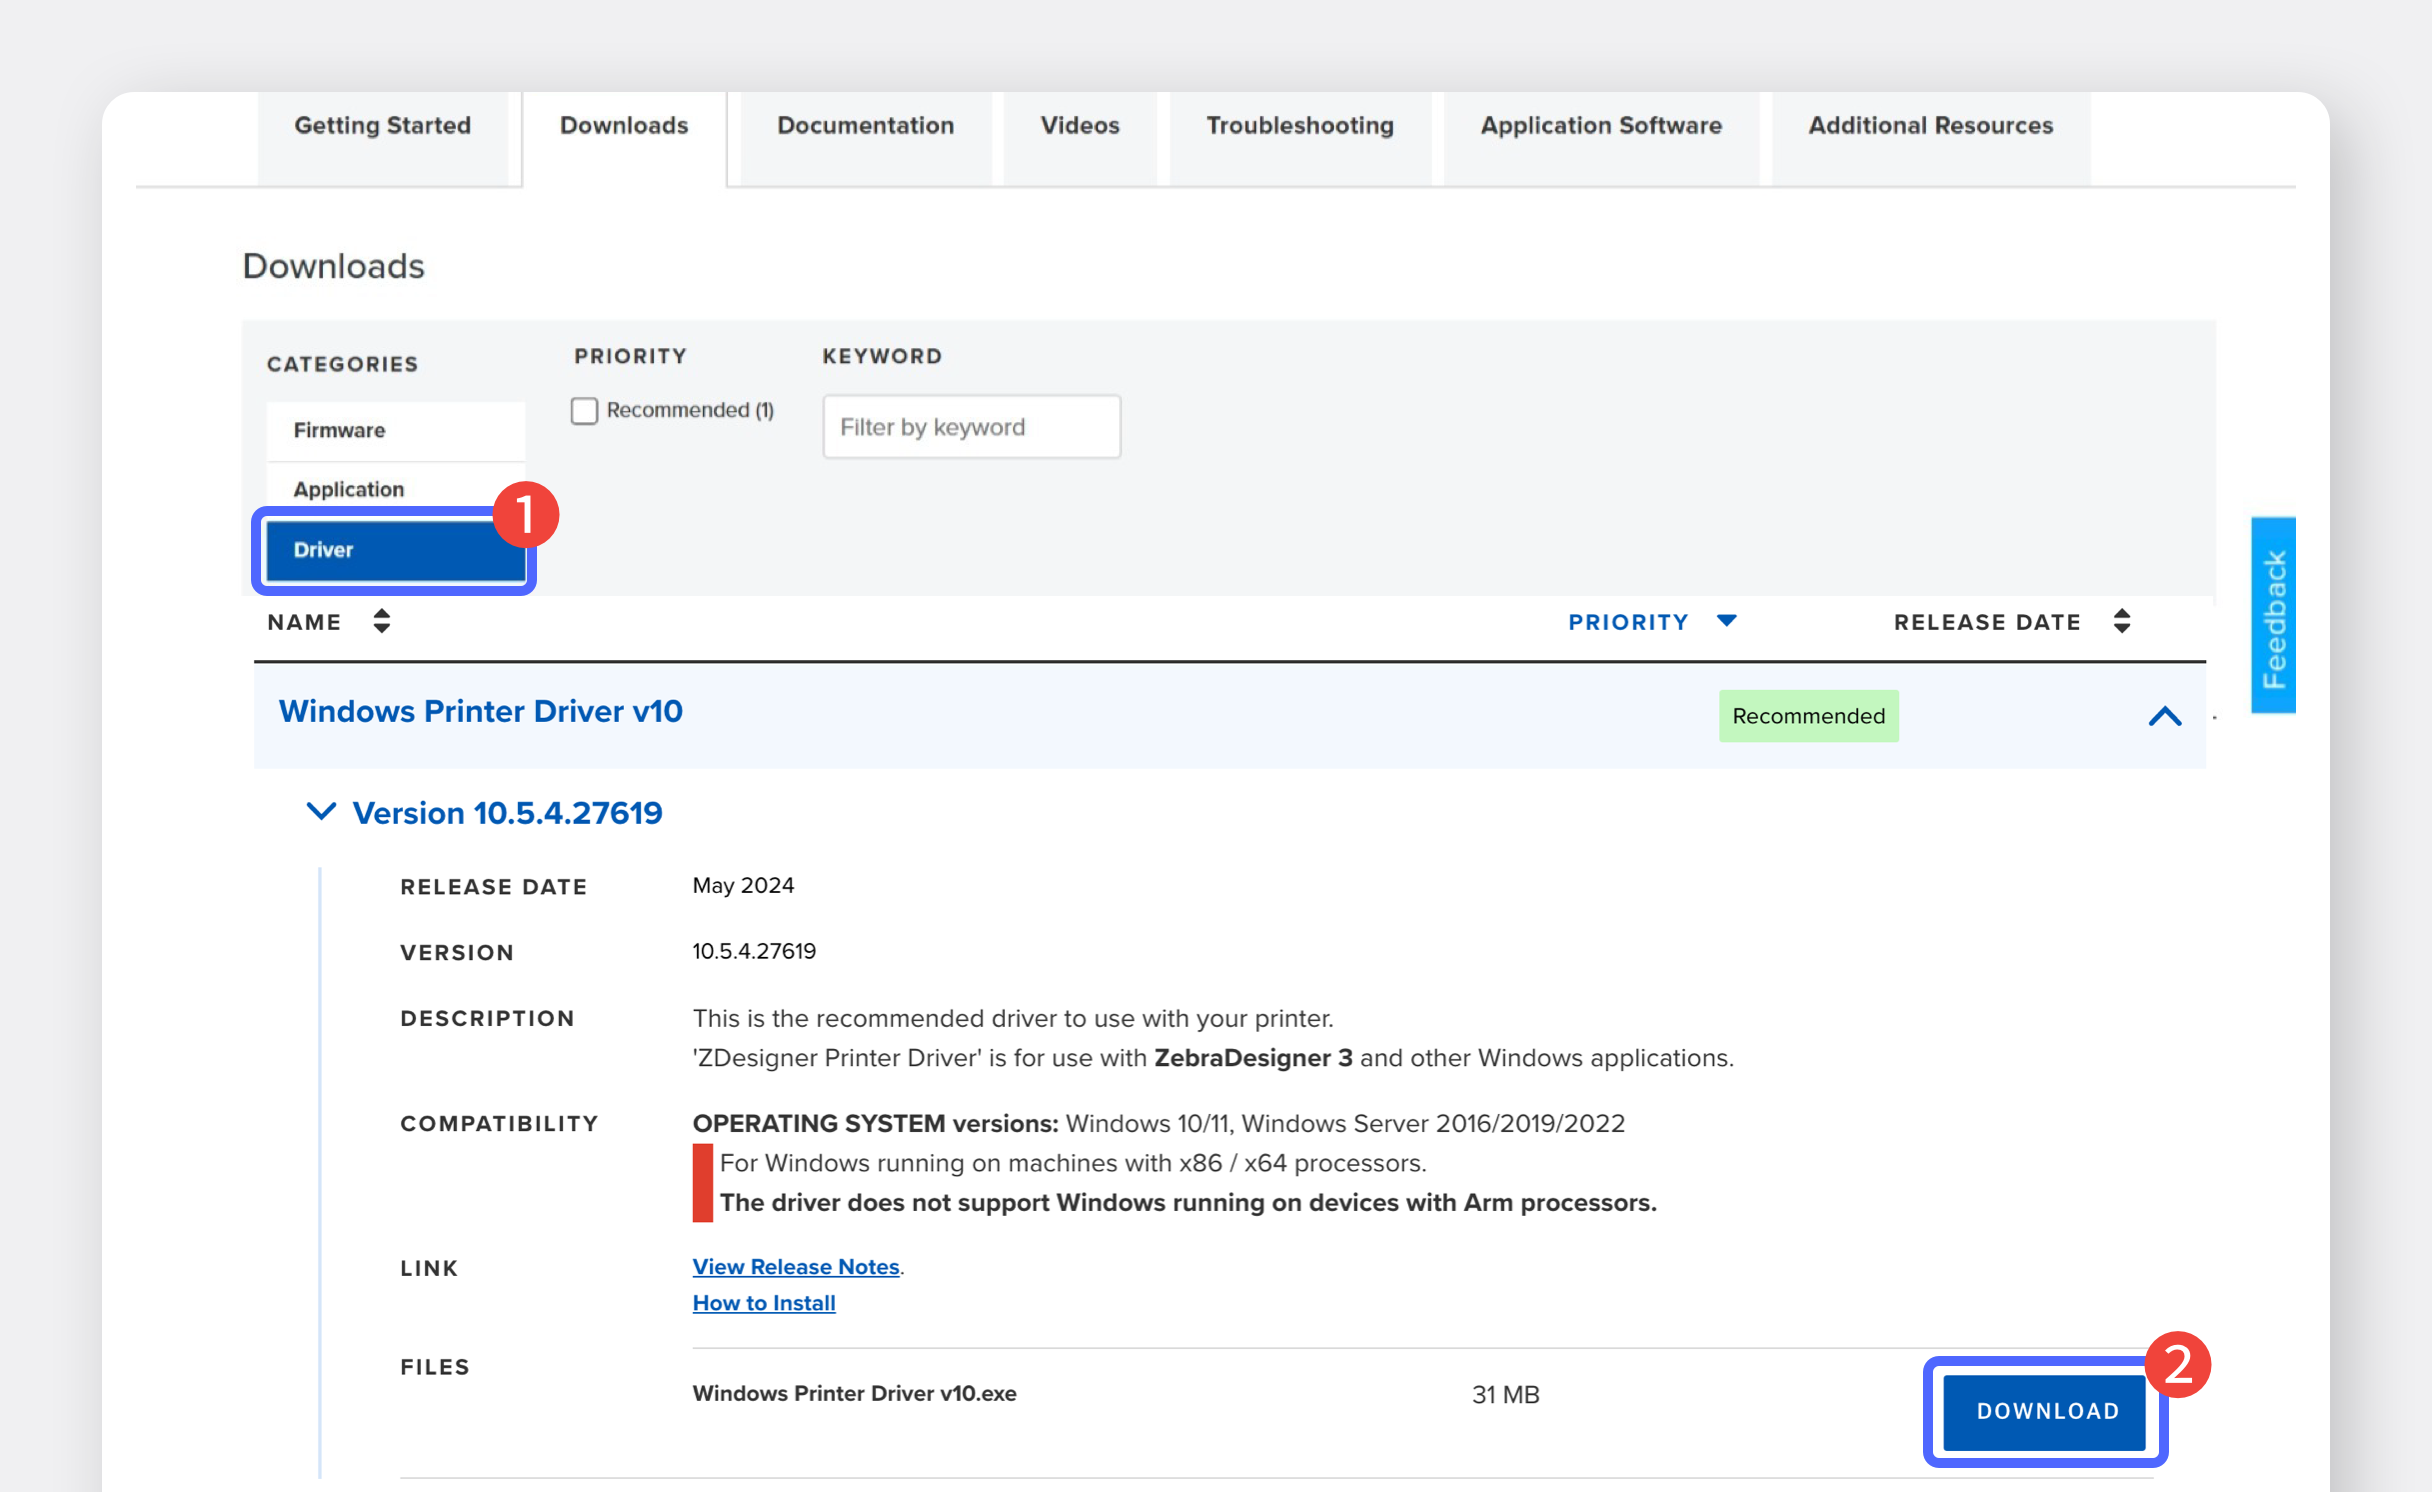
Search for your printer model (ZD421T) on the official [ZEBRA website](https://www.zebra.com/us/en/support-downloads.html) and download the driver.
{% endstep %}
{% step %}
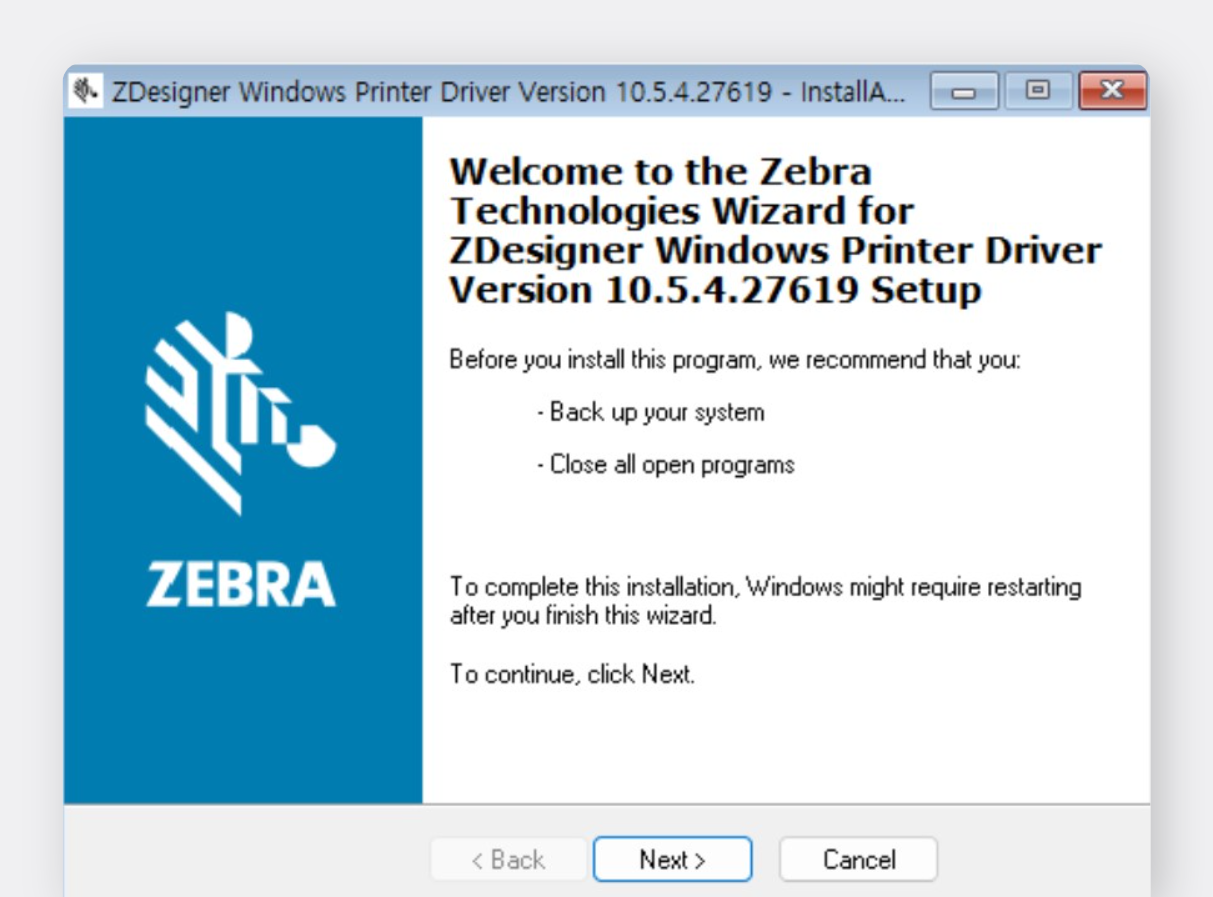
Run the driver file to begin installation.
{% endstep %}
{% step %}
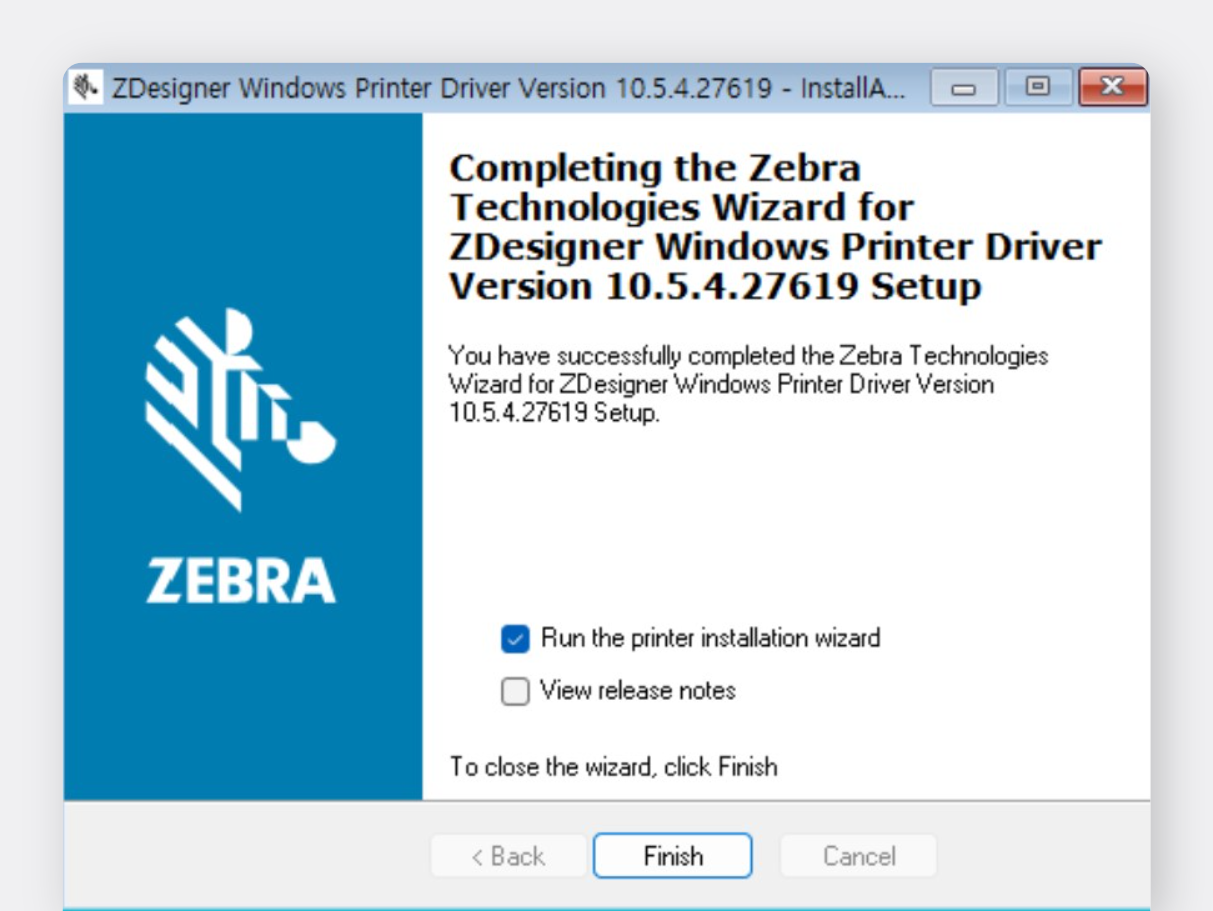
On the final screen, check **Run the printer installation wizard** and click `Finish`.
{% endstep %}
{% step %}
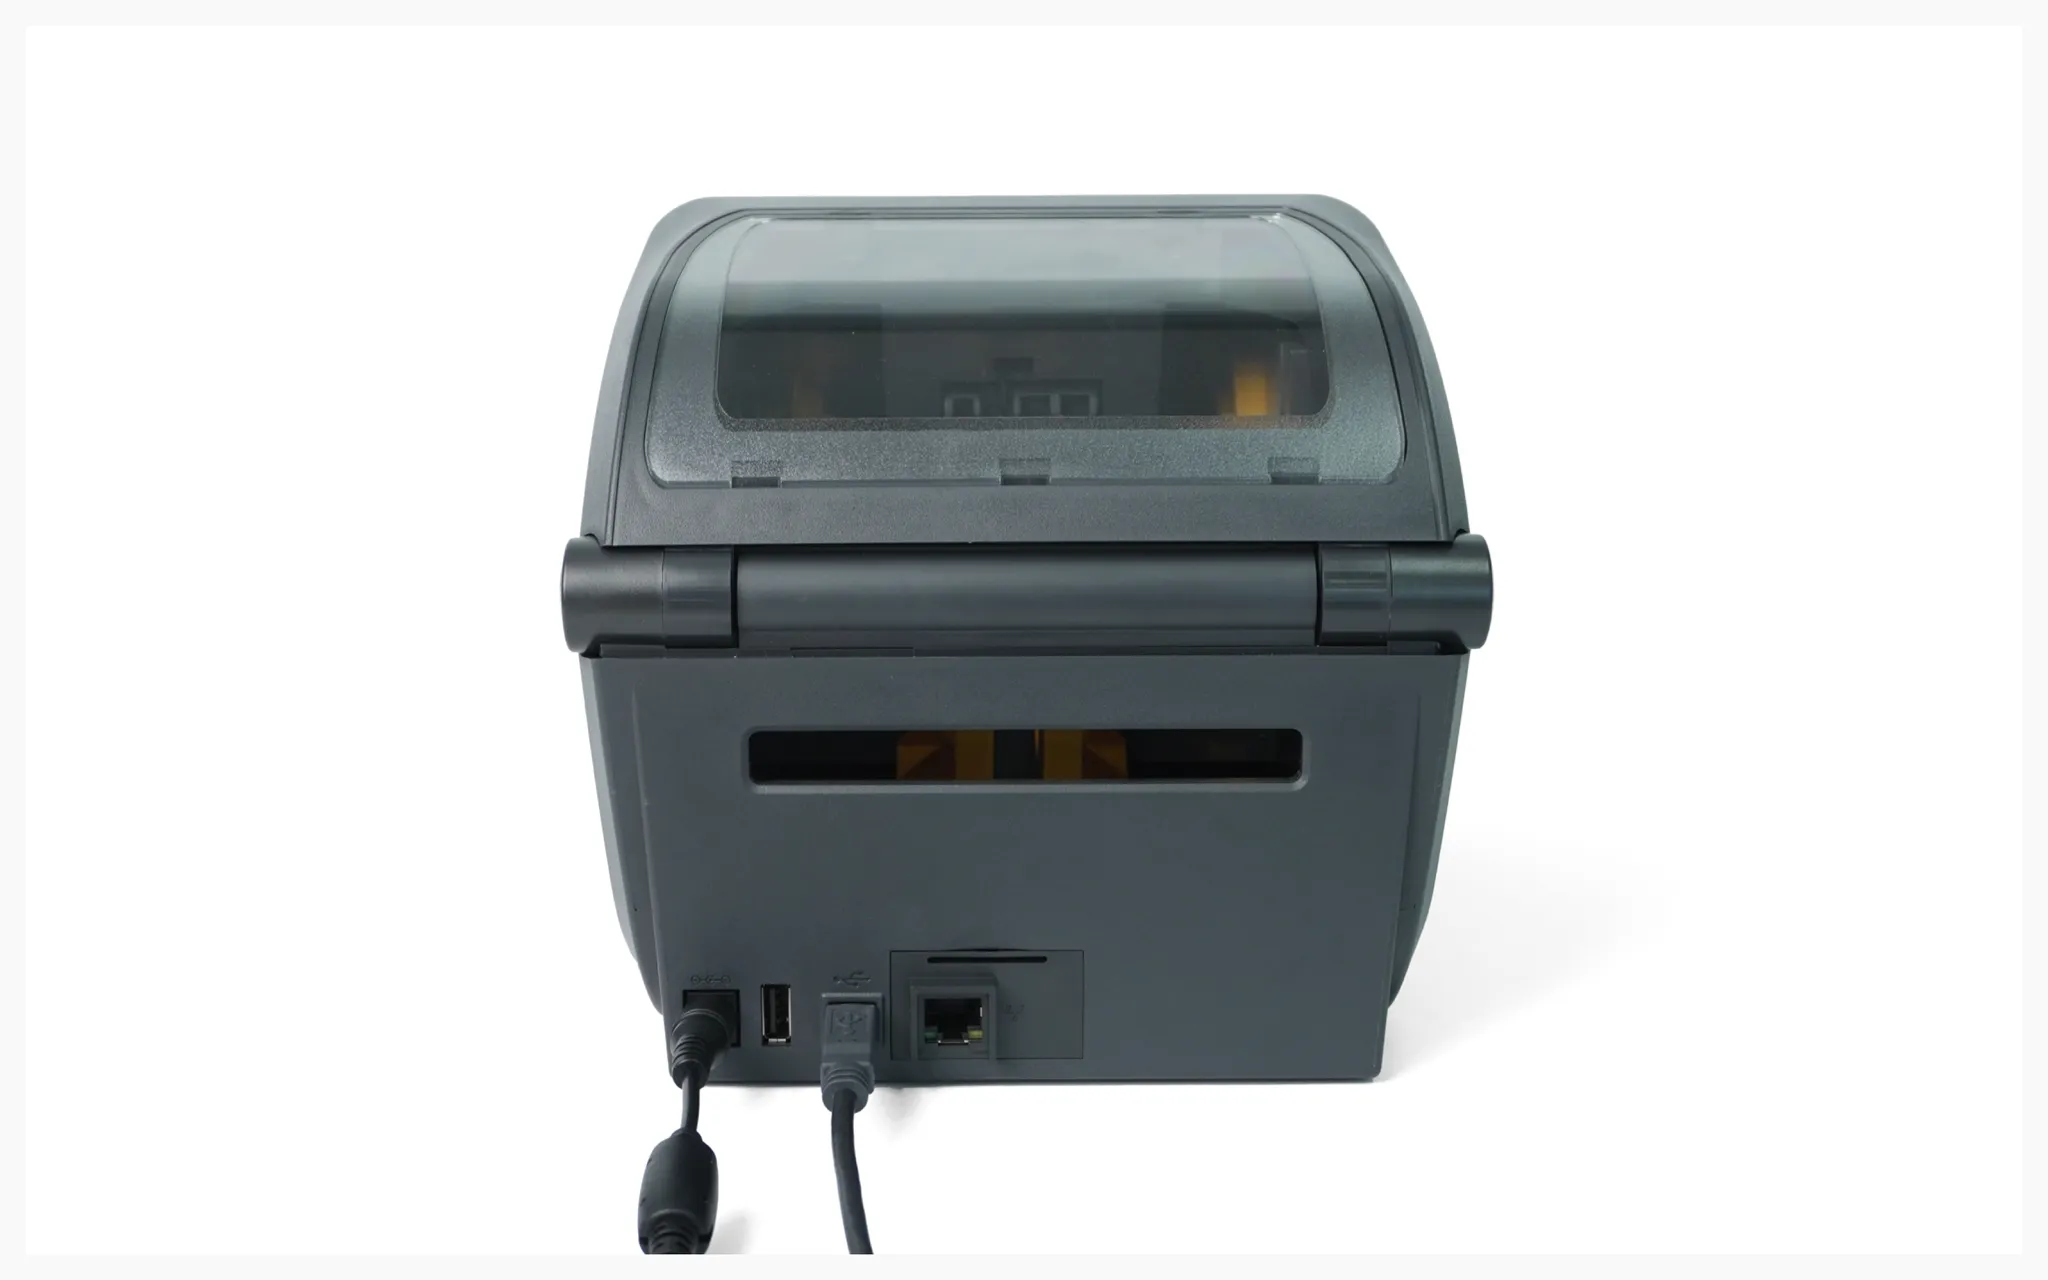
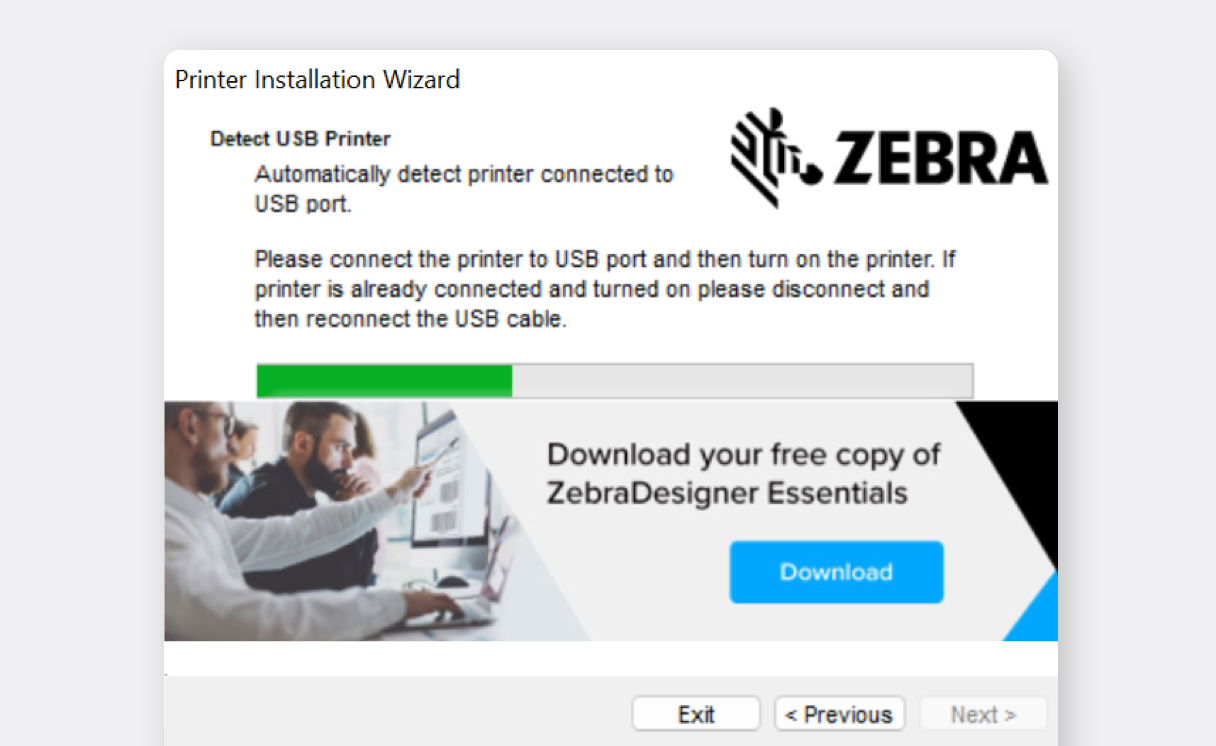
Pause the process and prepare a USB cable to connect your PC and printer. (Don't connect it yet.)
{% endstep %}
{% step %}
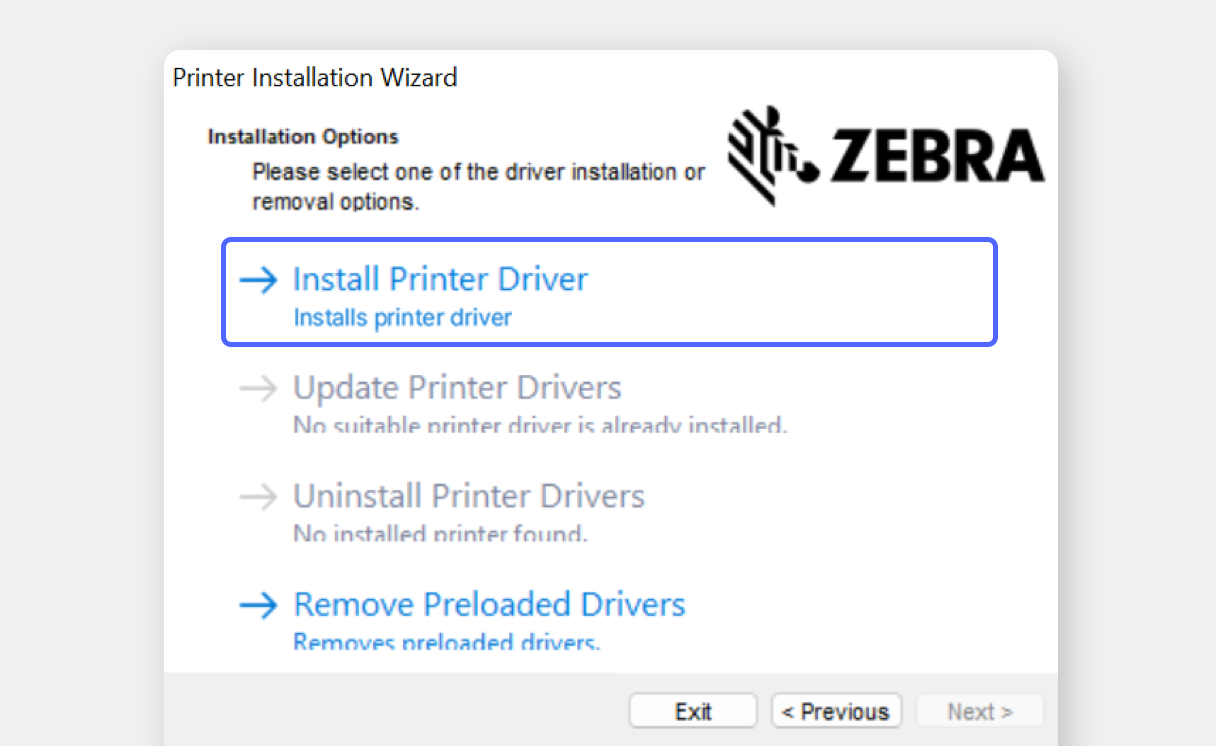
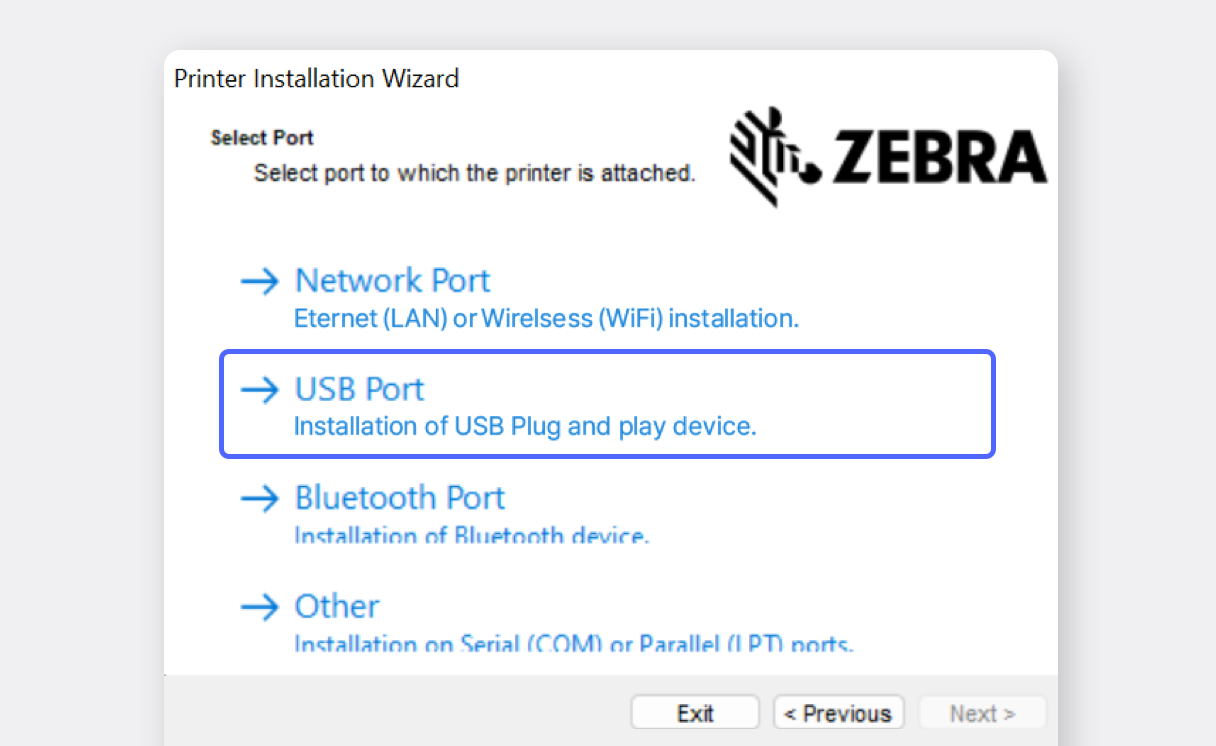
Continue with the printer installation wizard.
{% endstep %}
{% step %}
When prompted, connect the USB cable to both the printer and computer. If the screen doesn't advance, try disconnecting and reconnecting the USB cable.
{% endstep %}
{% step %}
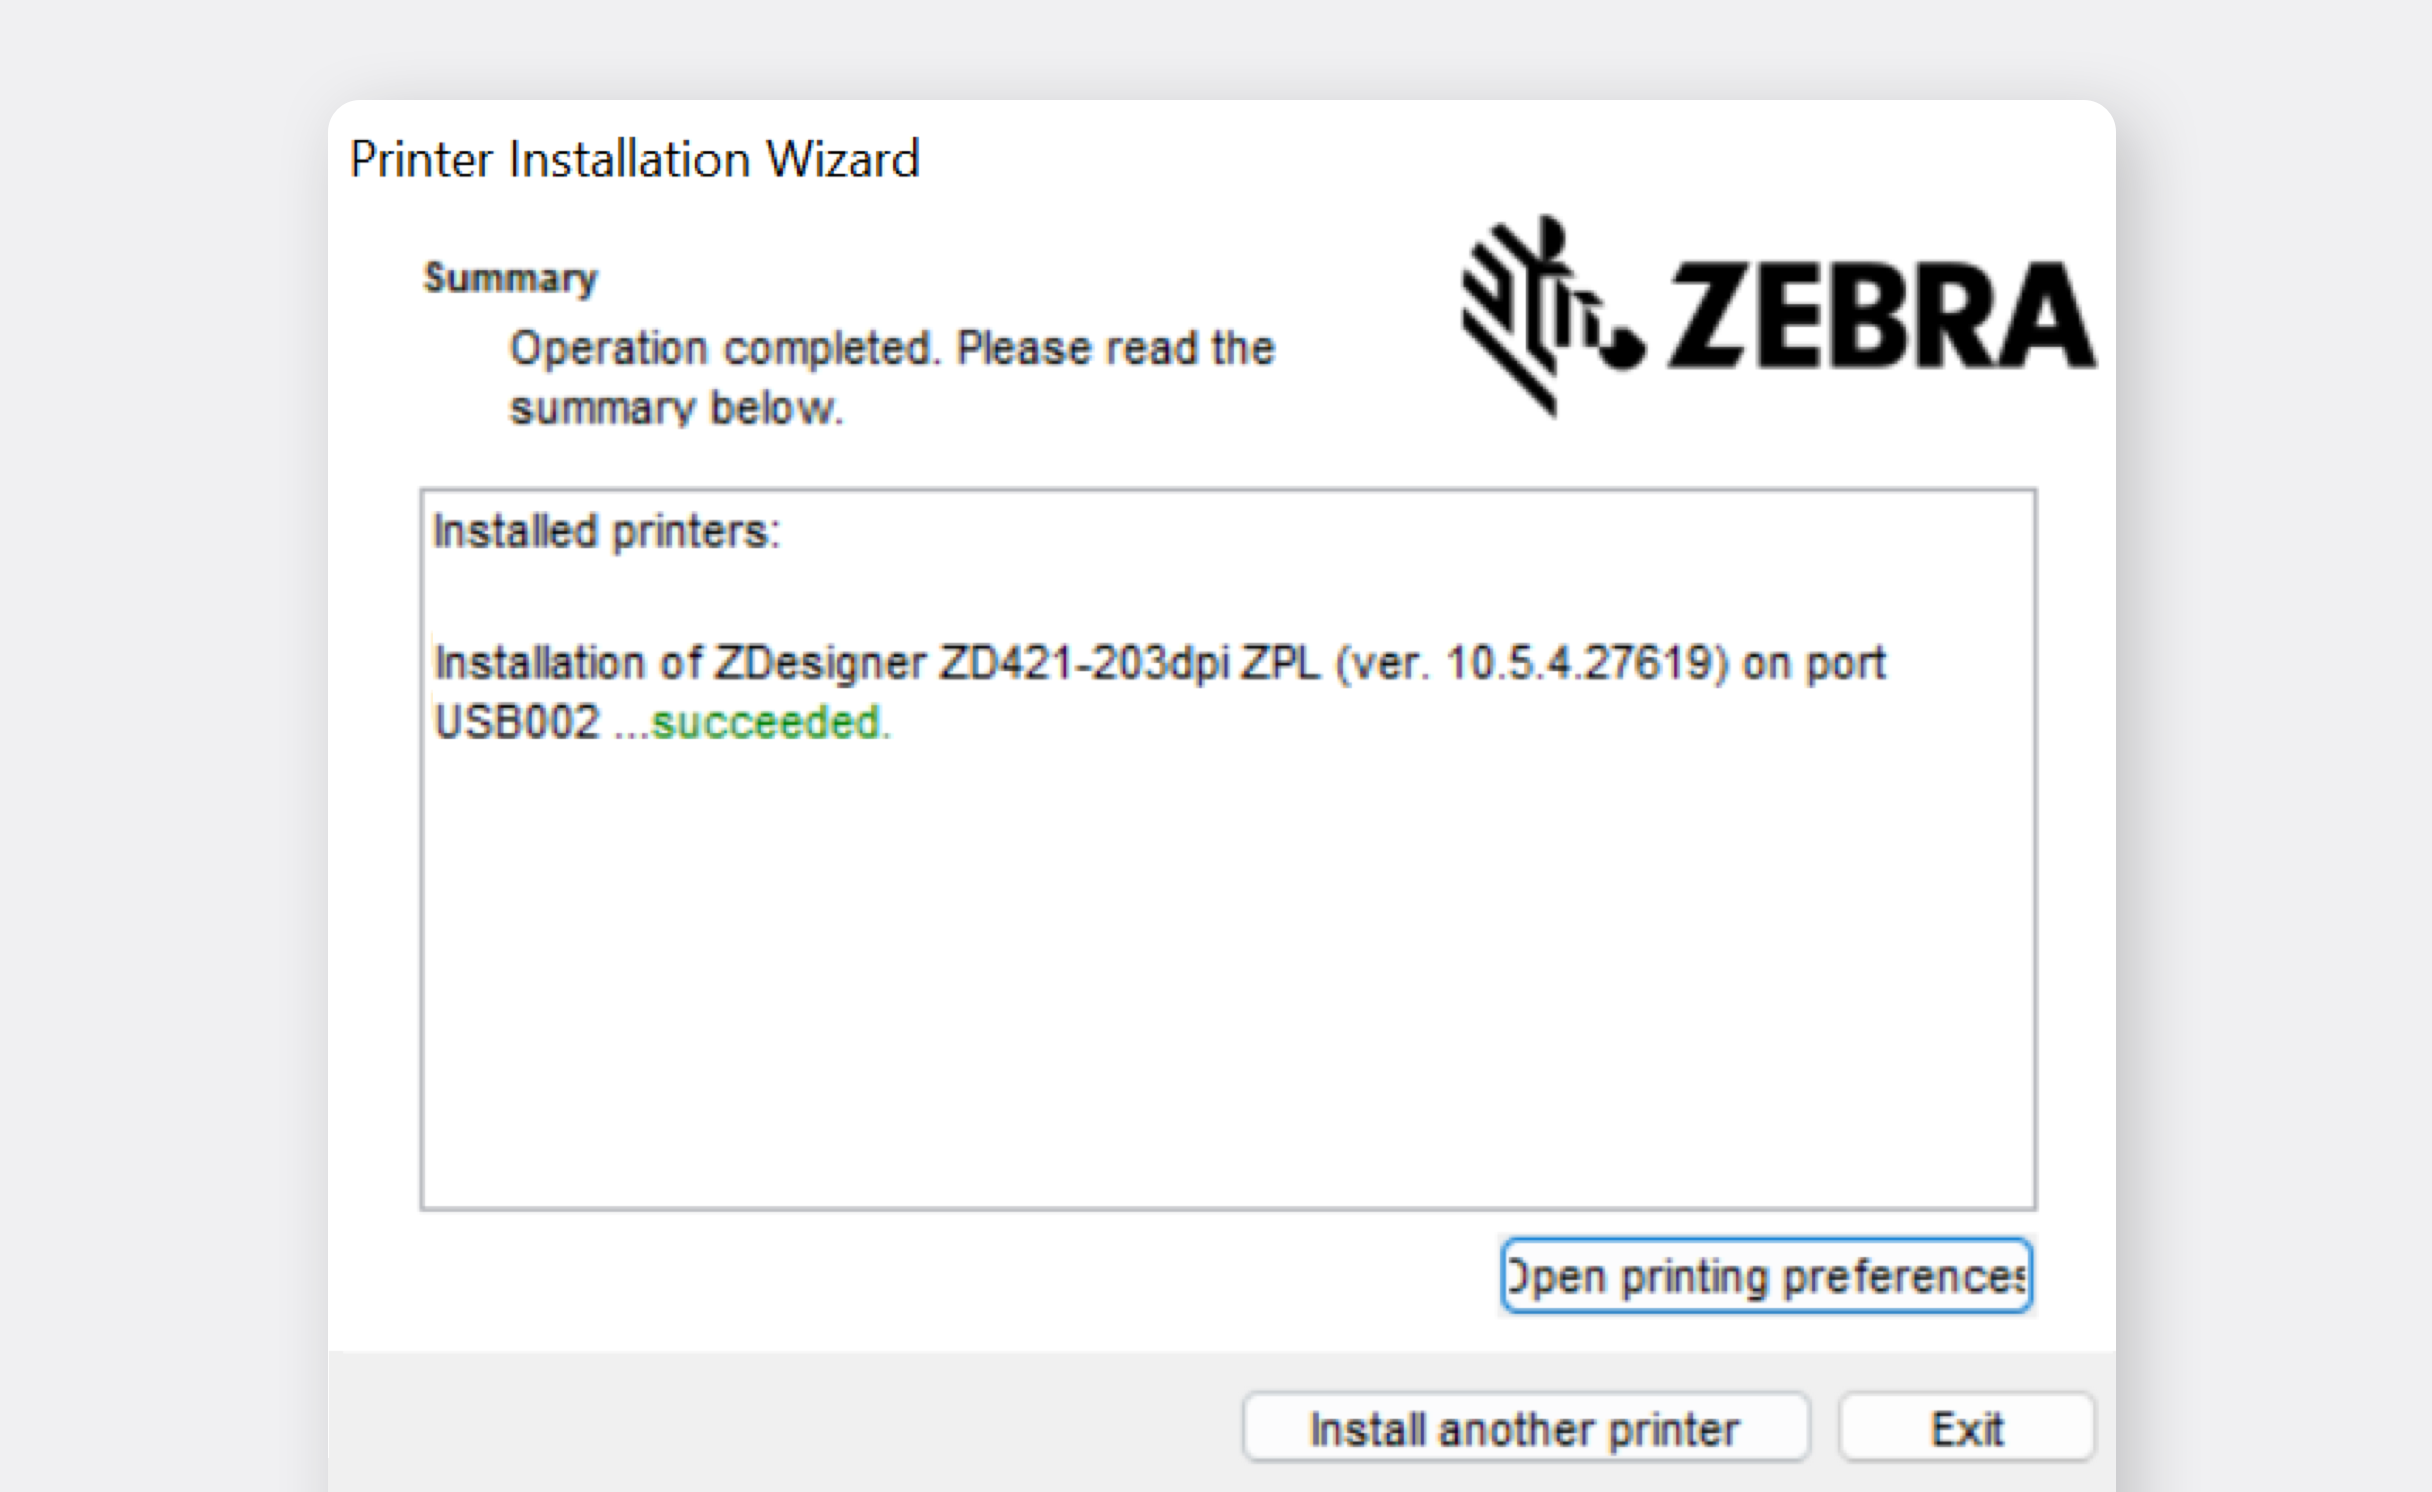
Click `Next` to complete the installation.
{% endstep %}
{% step %}
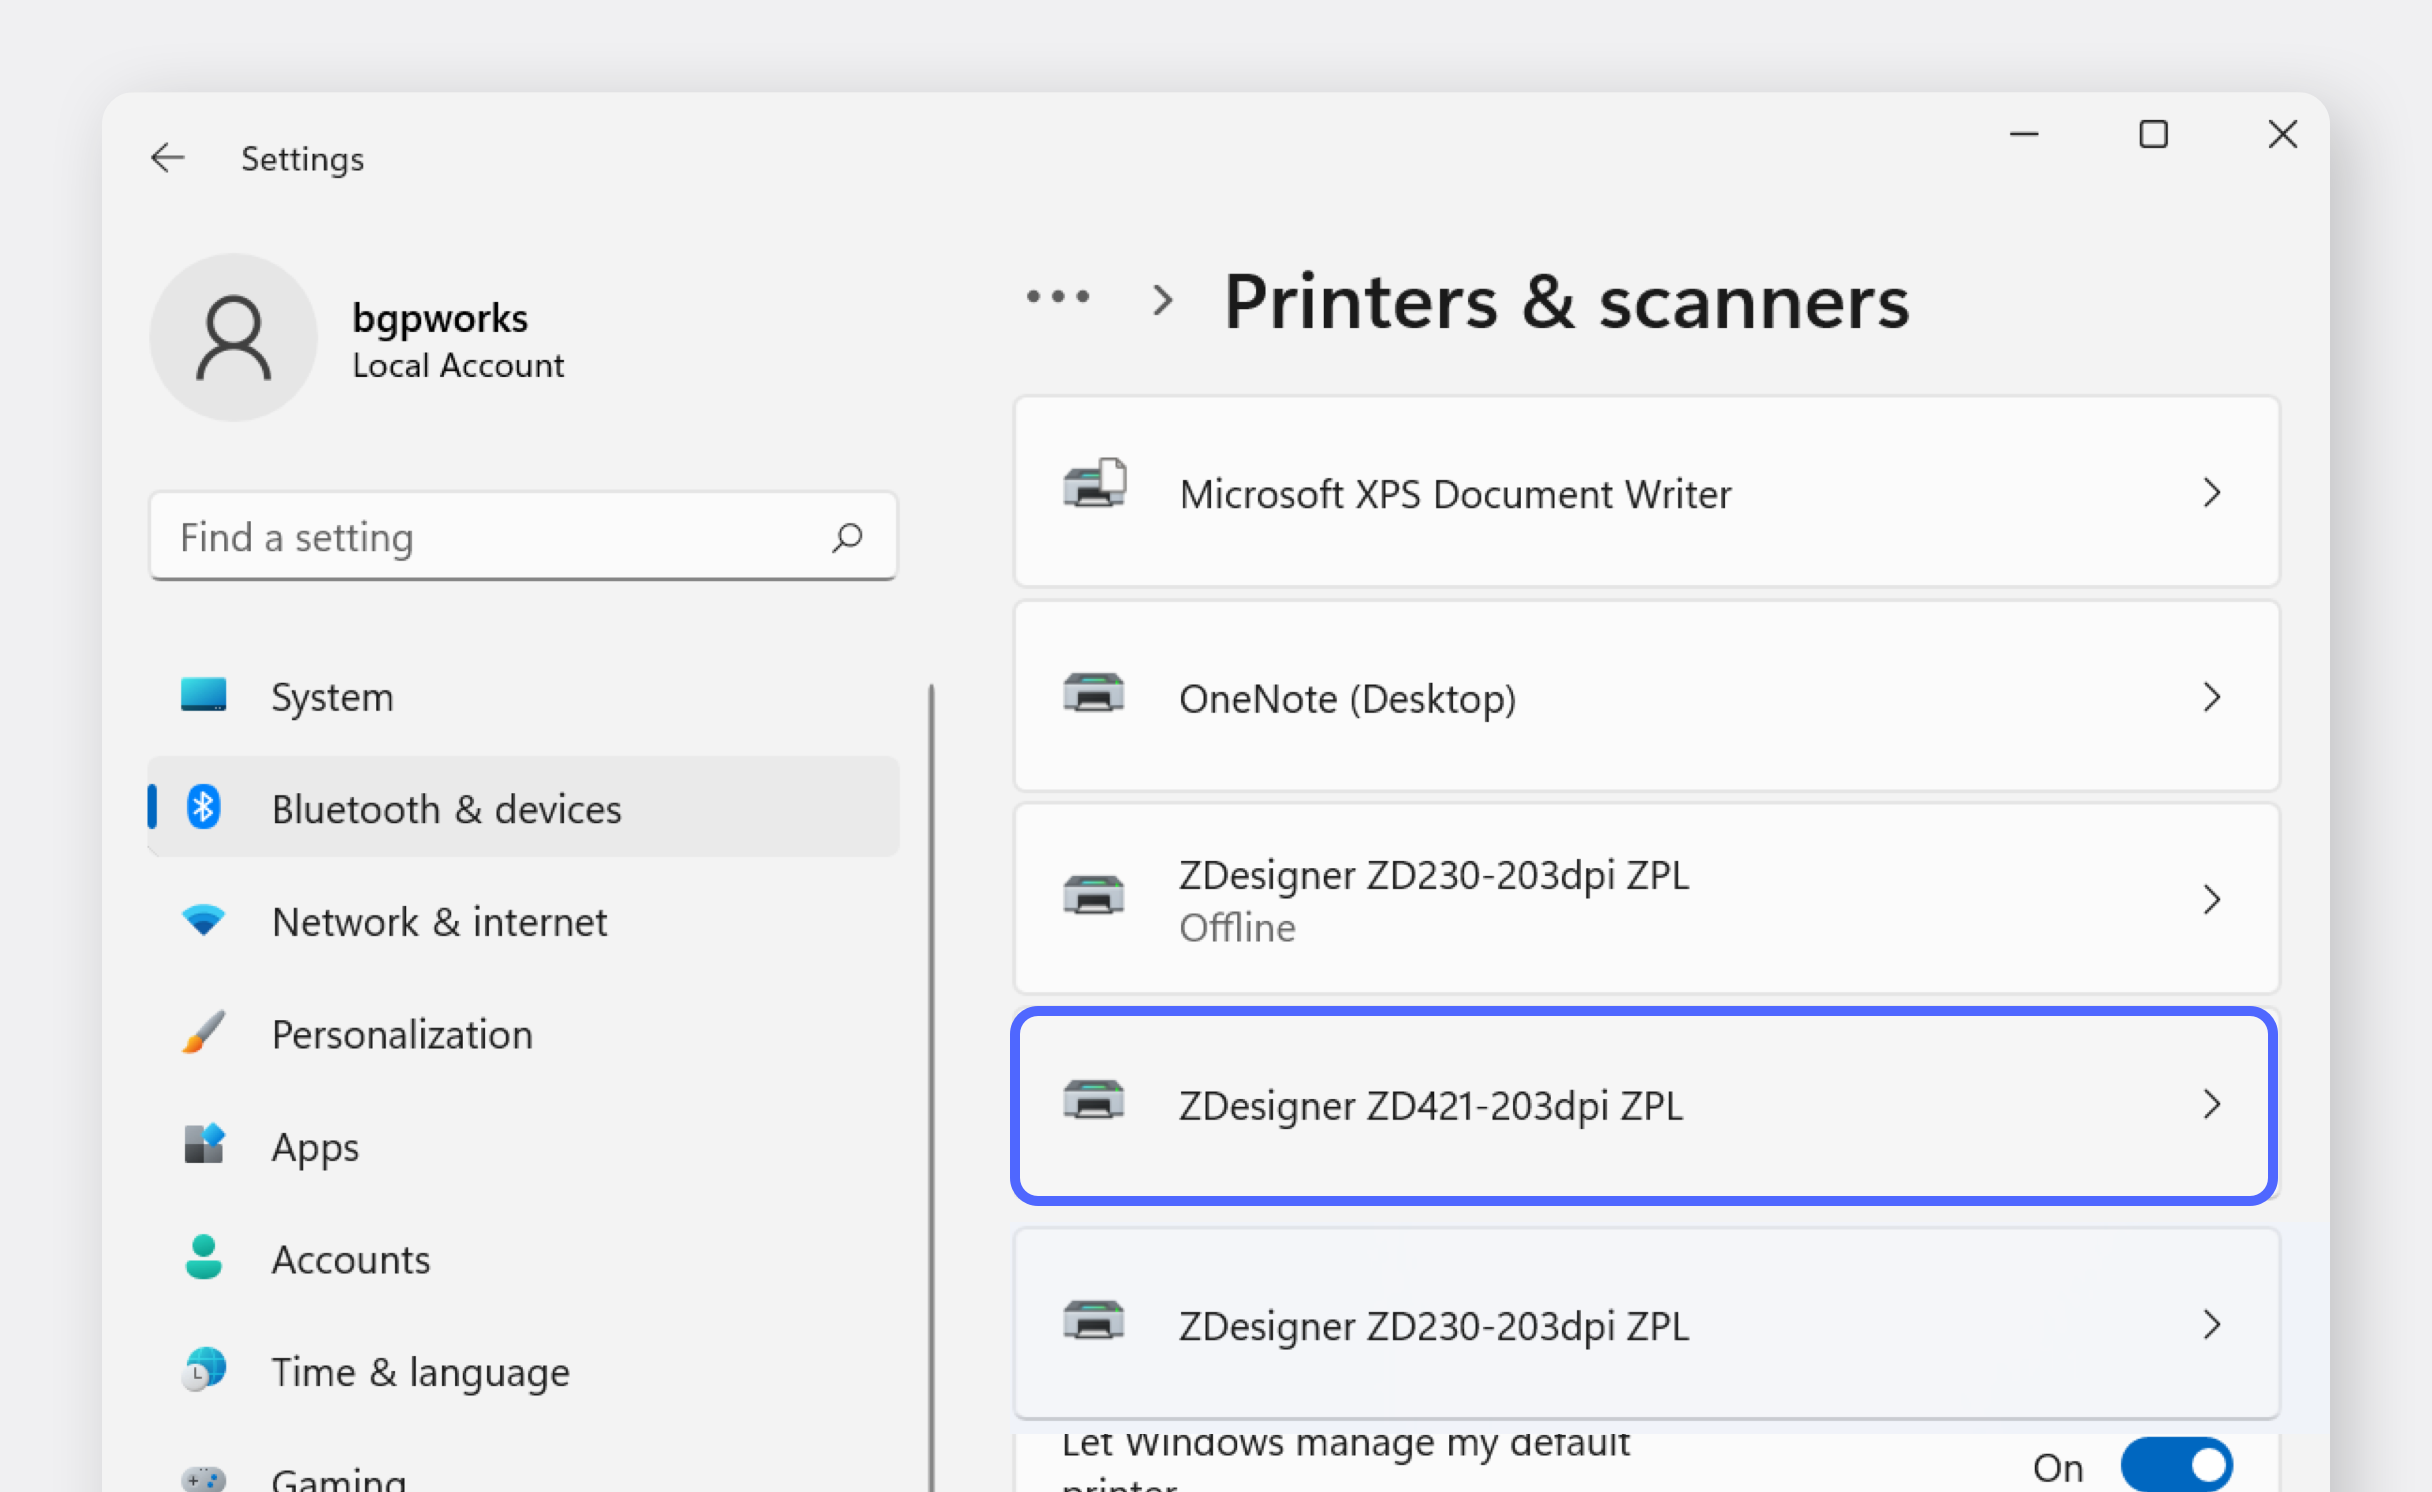
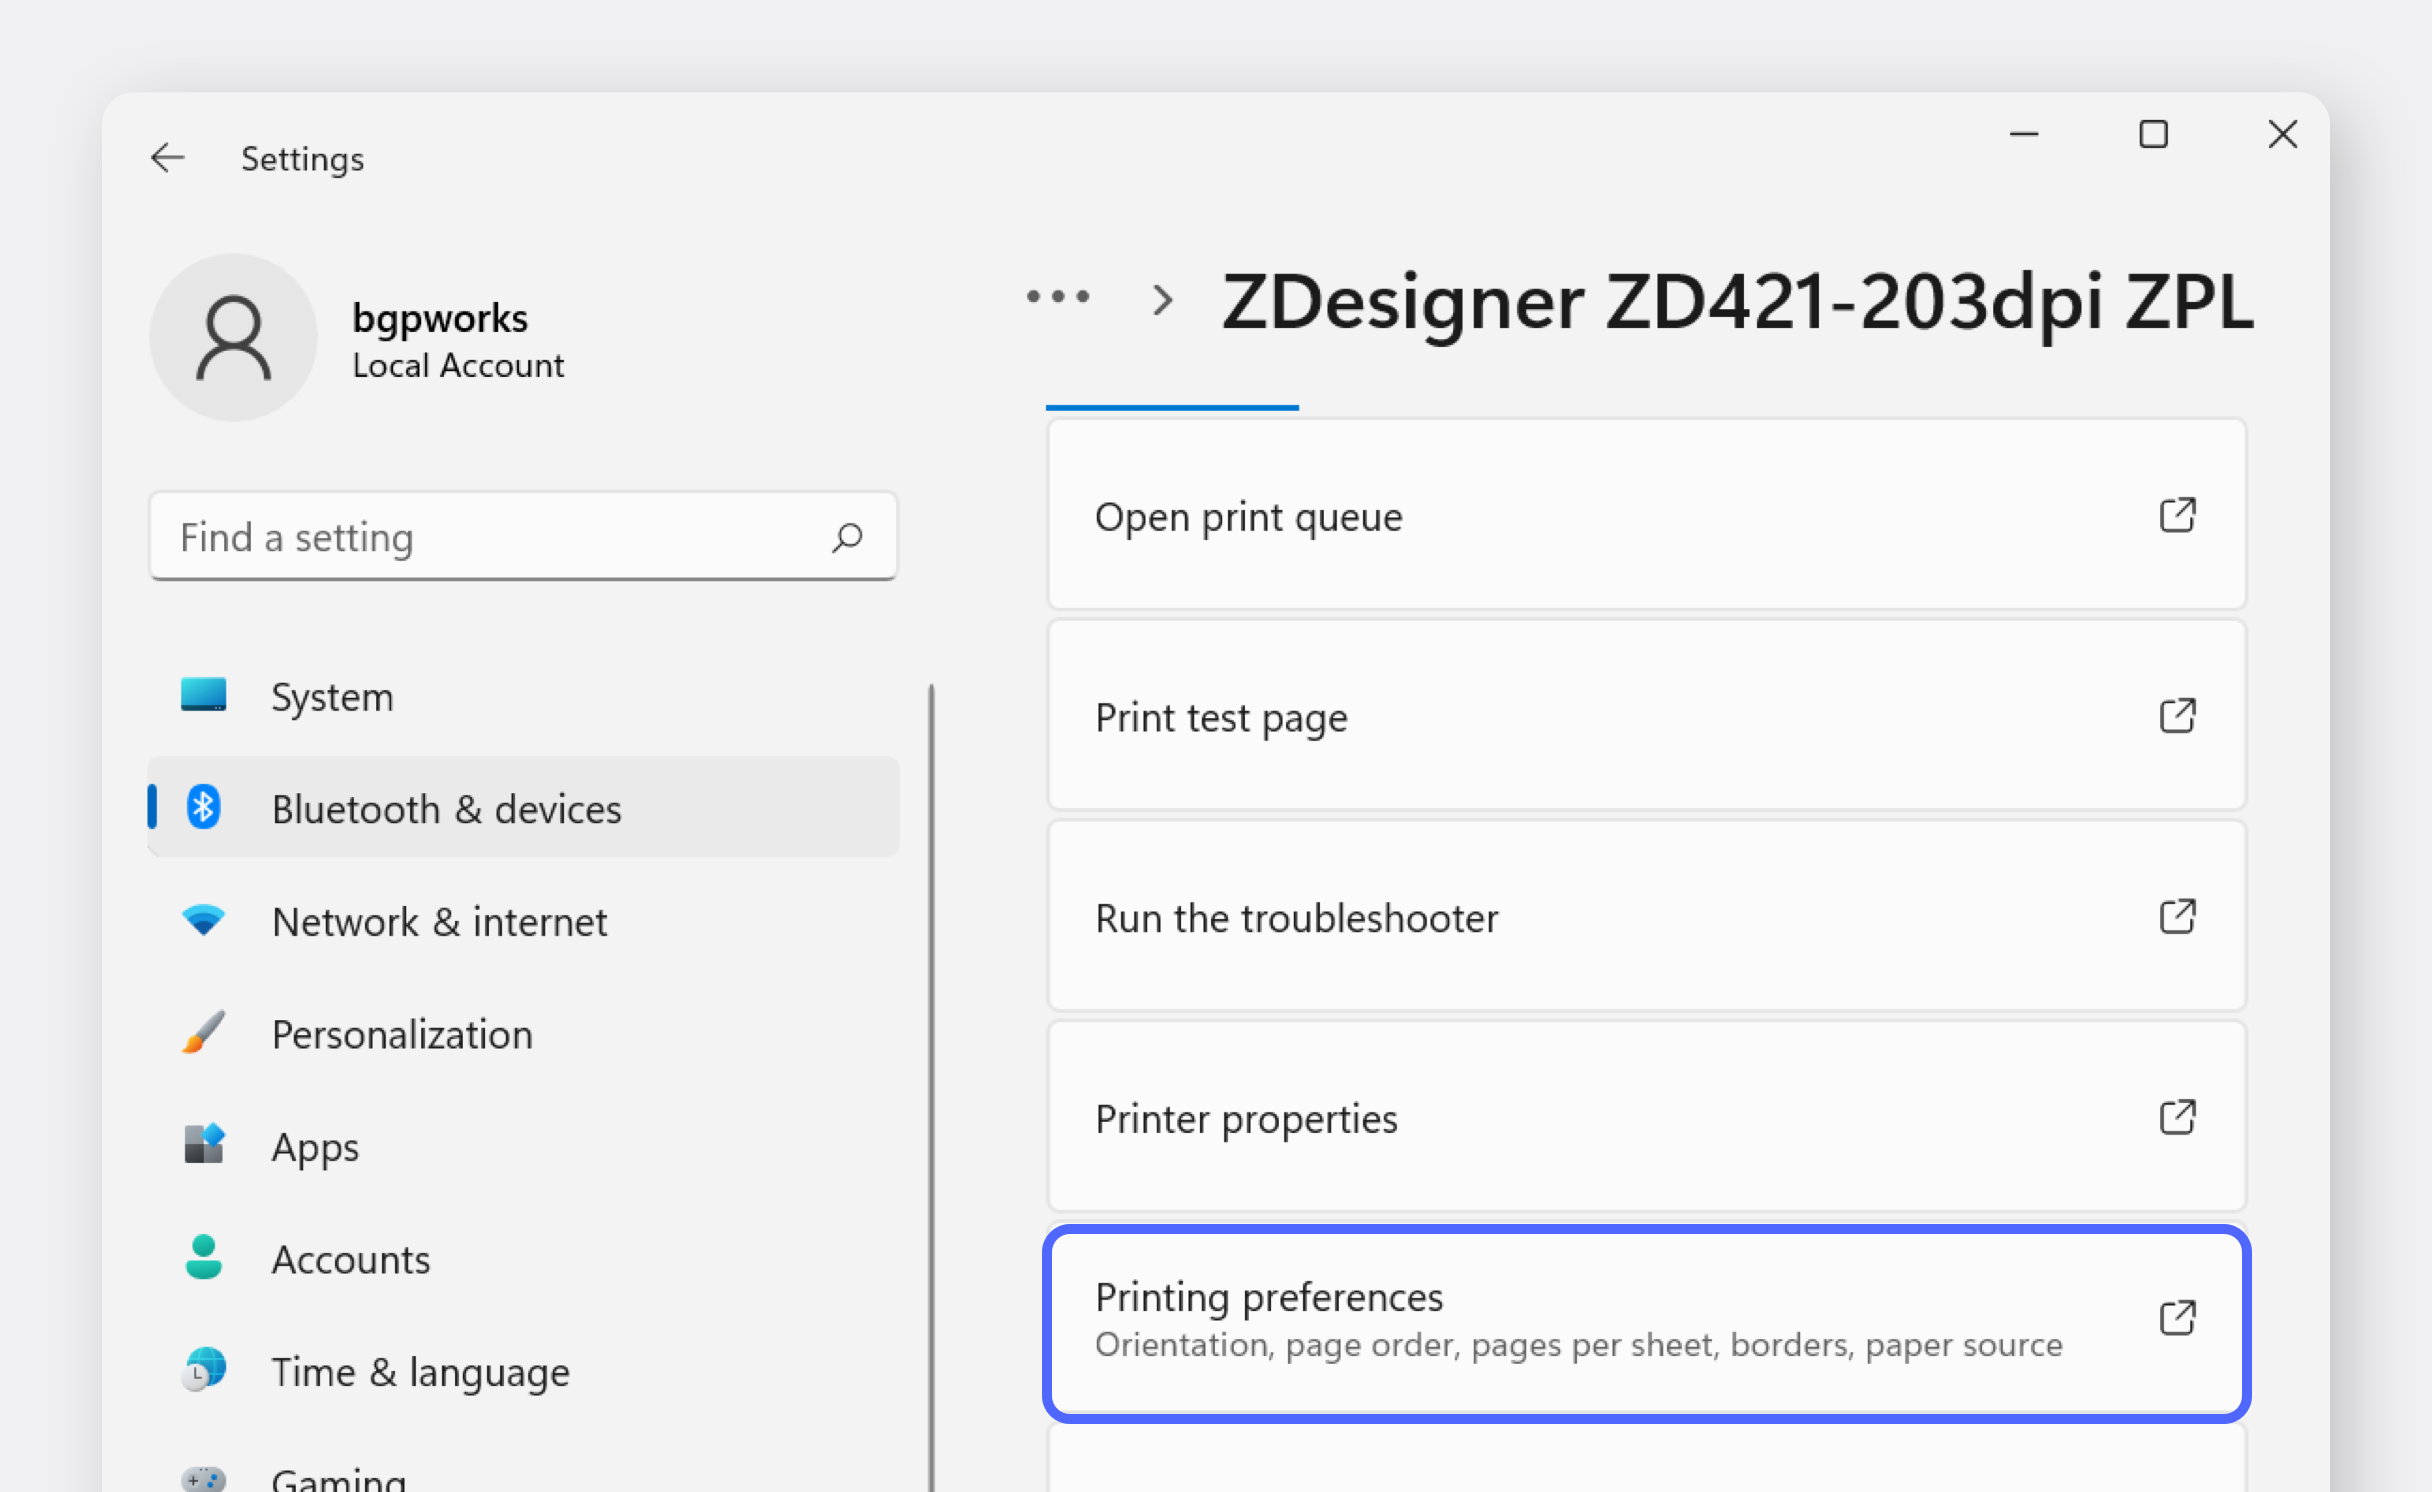
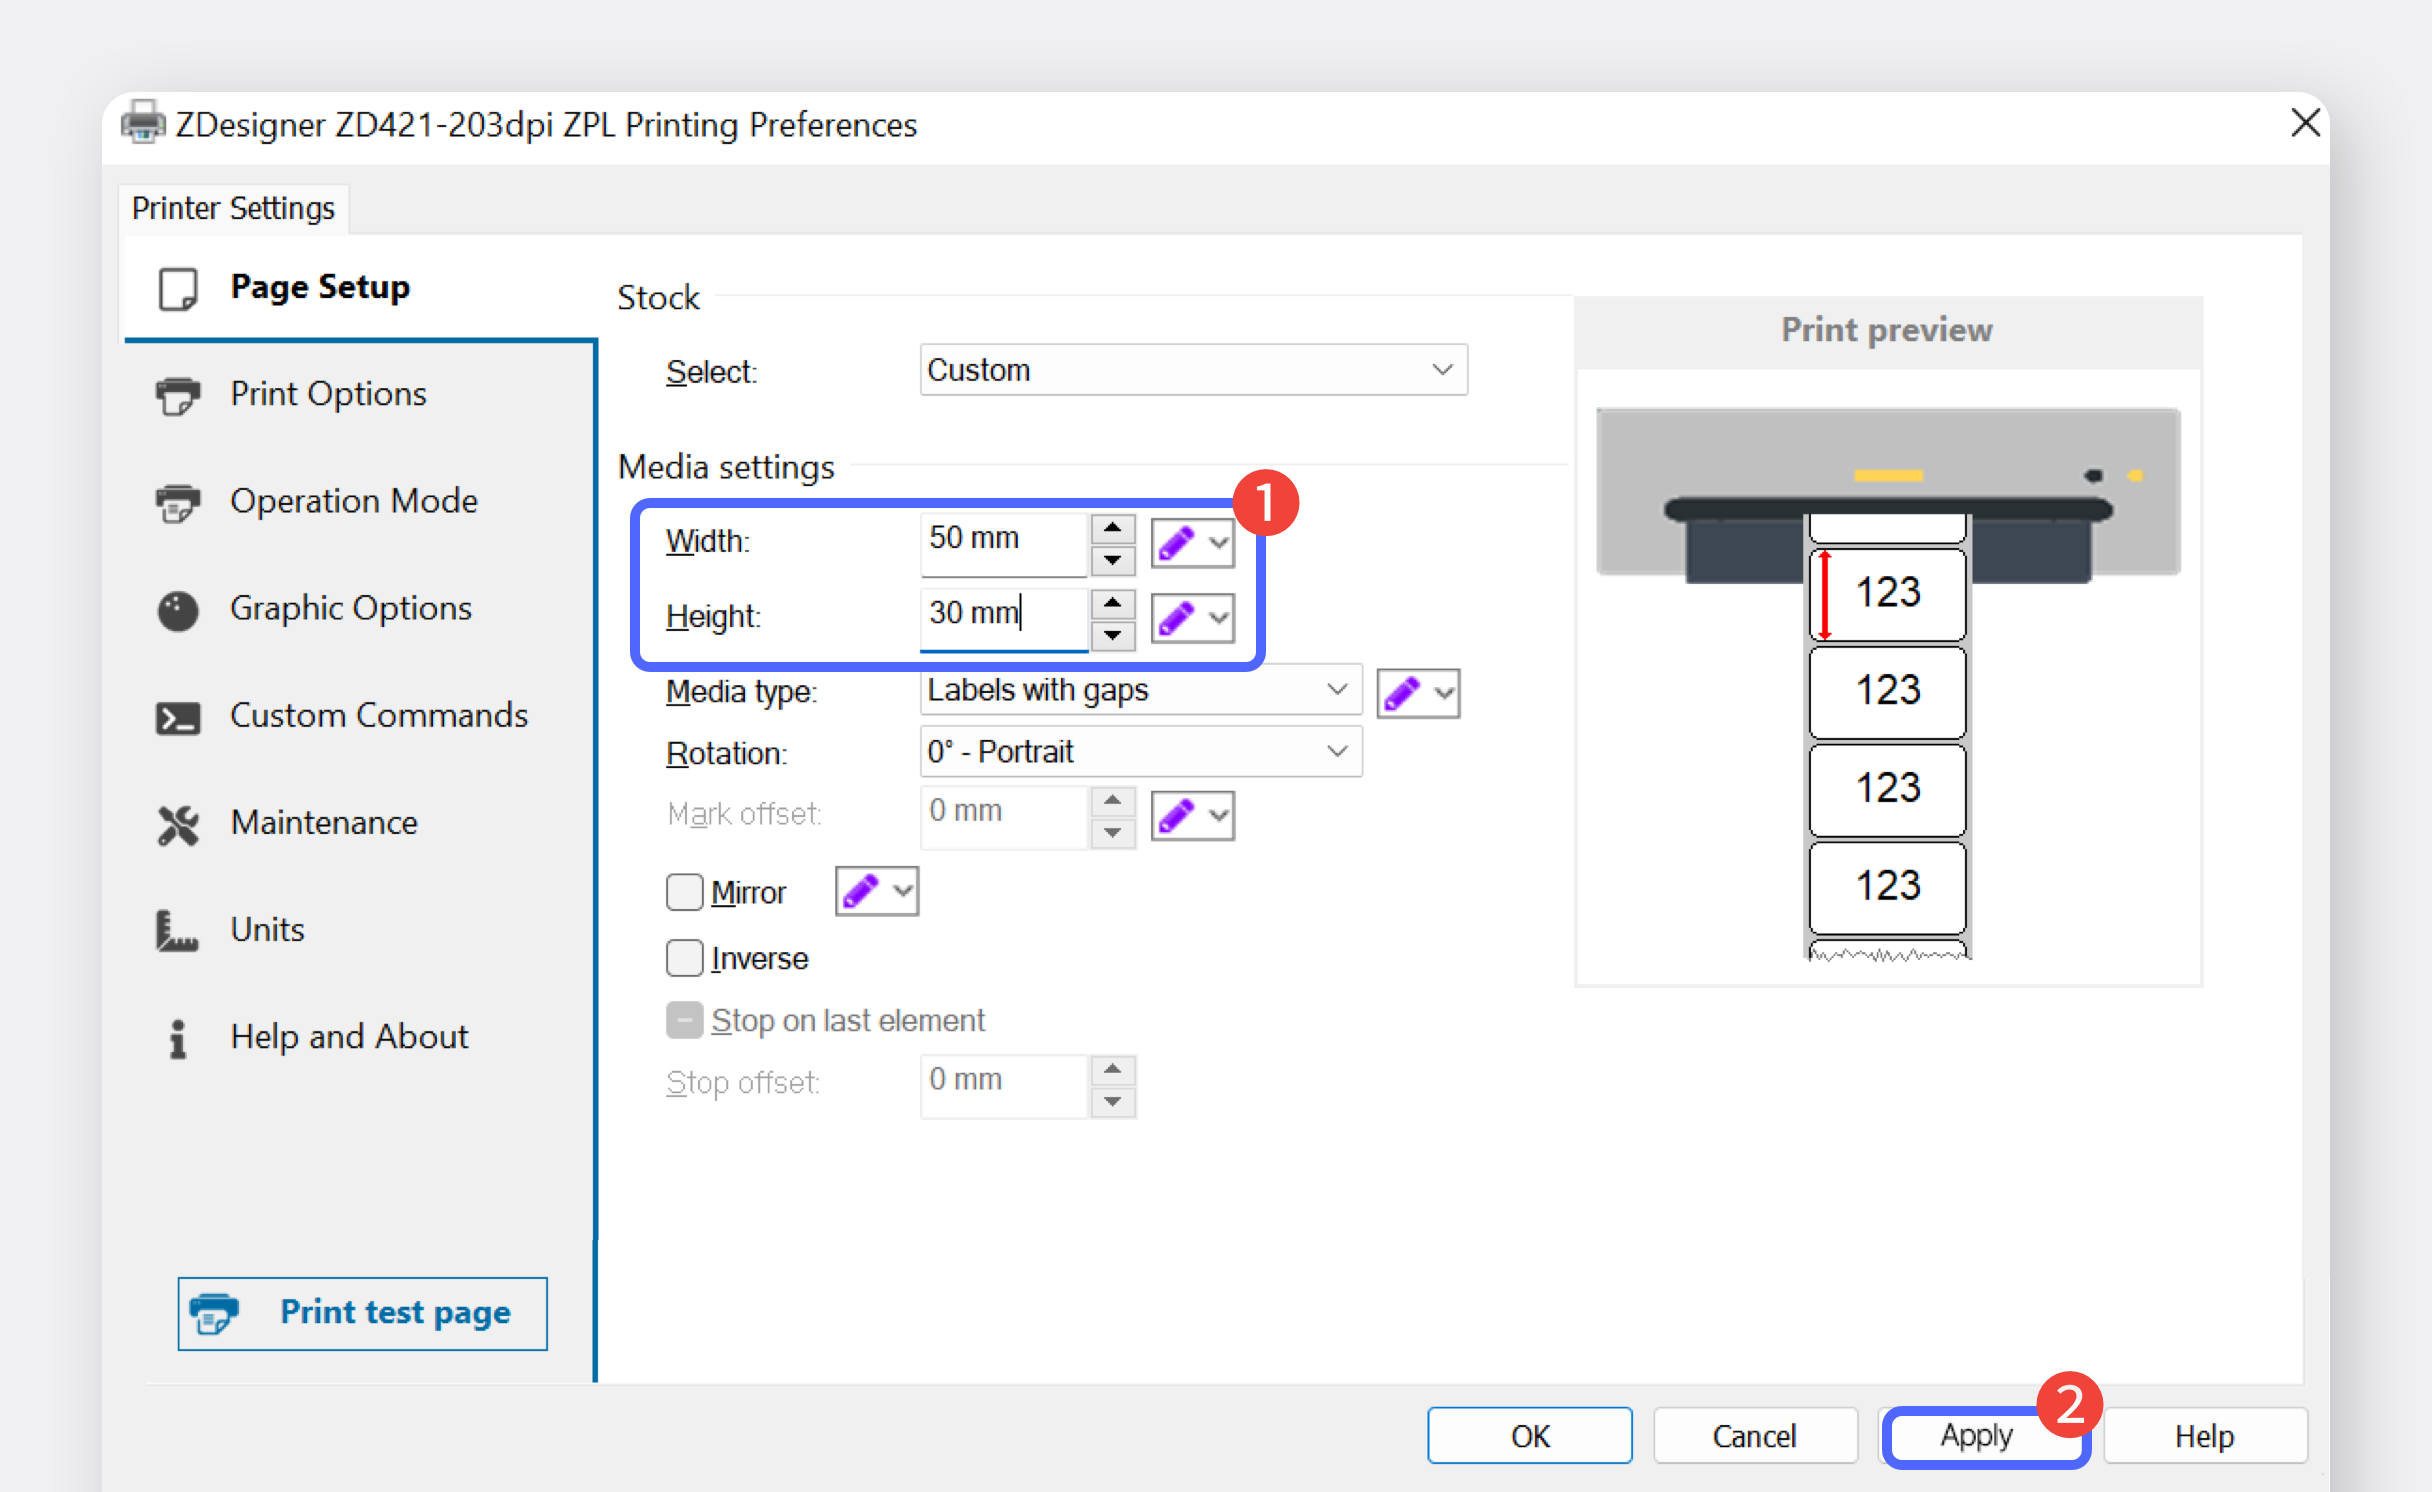
Now you need to set the paper size in the printer settings. Go to `Bluetooth & devices` > `Printers & scanners`.
{% hint style="danger" %}
If the paper size is not set correctly in the printer settings, the printout may not align properly.
{% endhint %}
{% endstep %}
{% endstepper %}
## II. Label Printing
{% hint style="success" %}
Once the driver is installed and paper size is set, you can print labels from BoxHero.
{% endhint %}
{% stepper %}
{% step %}
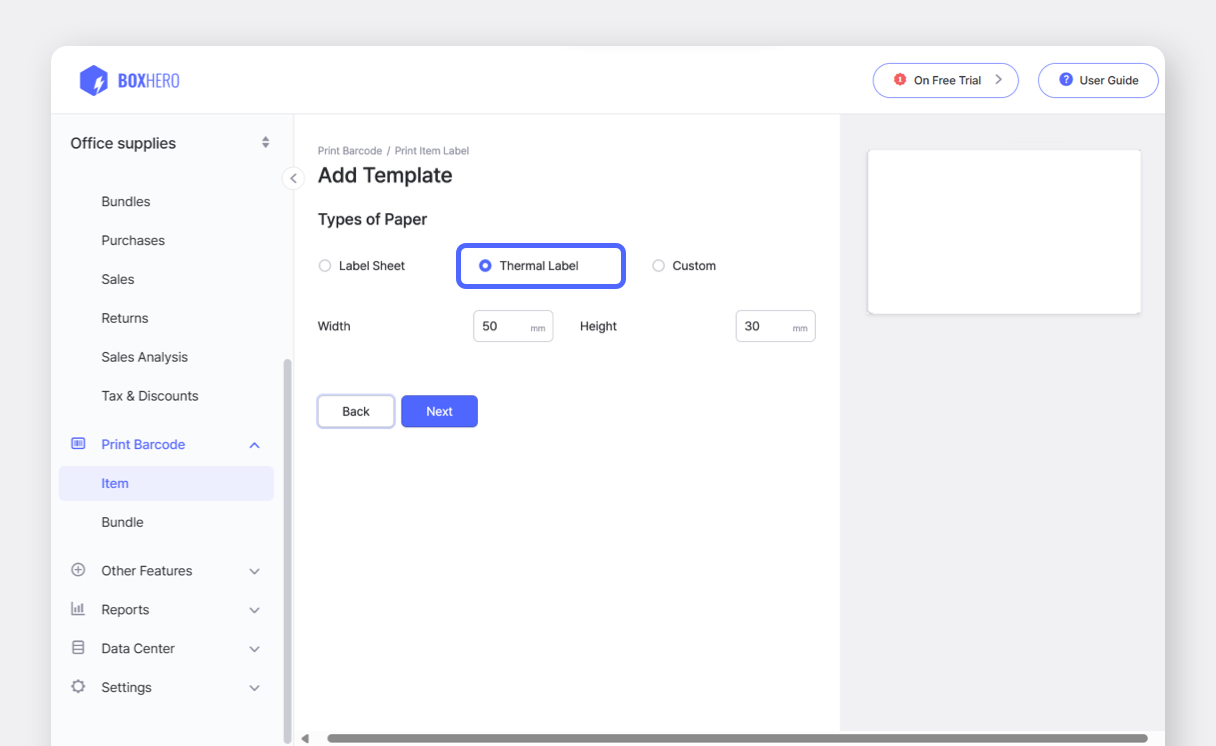
Log into BoxHero on your PC and navigate to the `Barcode Labels` section. Select `Thermal Roll` and enter the paper size you'll be using.
{% endstep %}
{% step %}
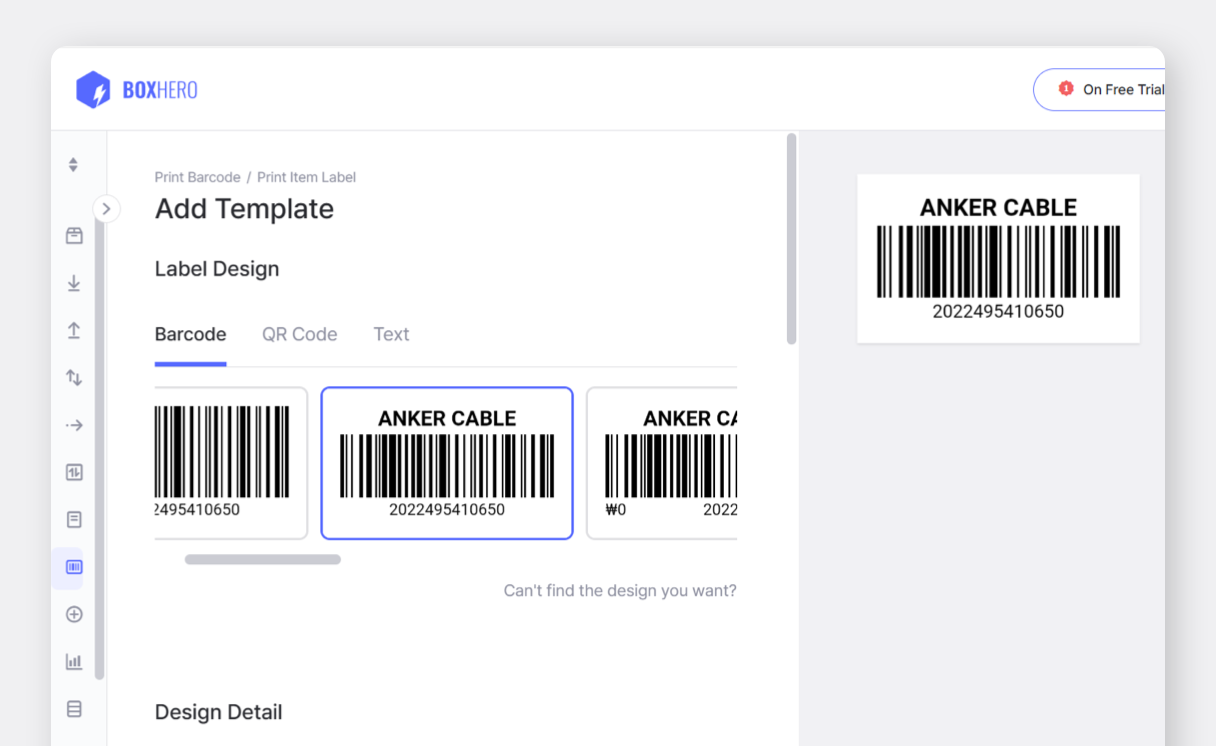
Choose your desired template: **Barcode** or **QR Code**.
{% hint style="info" %}
The preview screen on the right will display one of your registered items for reference.
{% endhint %}
{% endstep %}
{% step %}
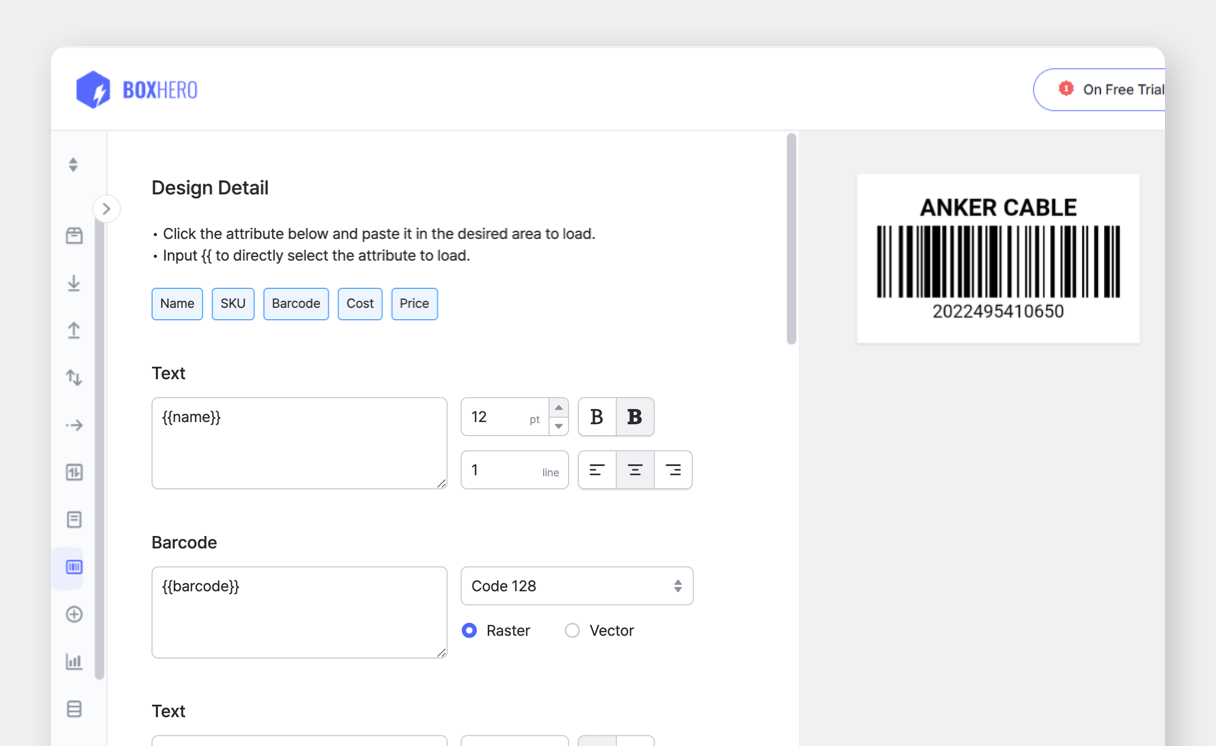
In the `Label Content` section at the bottom of the page, set up the item information you want to display on the label and click `Save`.
{% hint style="success" %}
Need help with design settings? Click [here](/docs/key-features/print-barcode.md#create-barcode-labels) for detailed instructions.
{% endhint %}
{% endstep %}
{% step %}
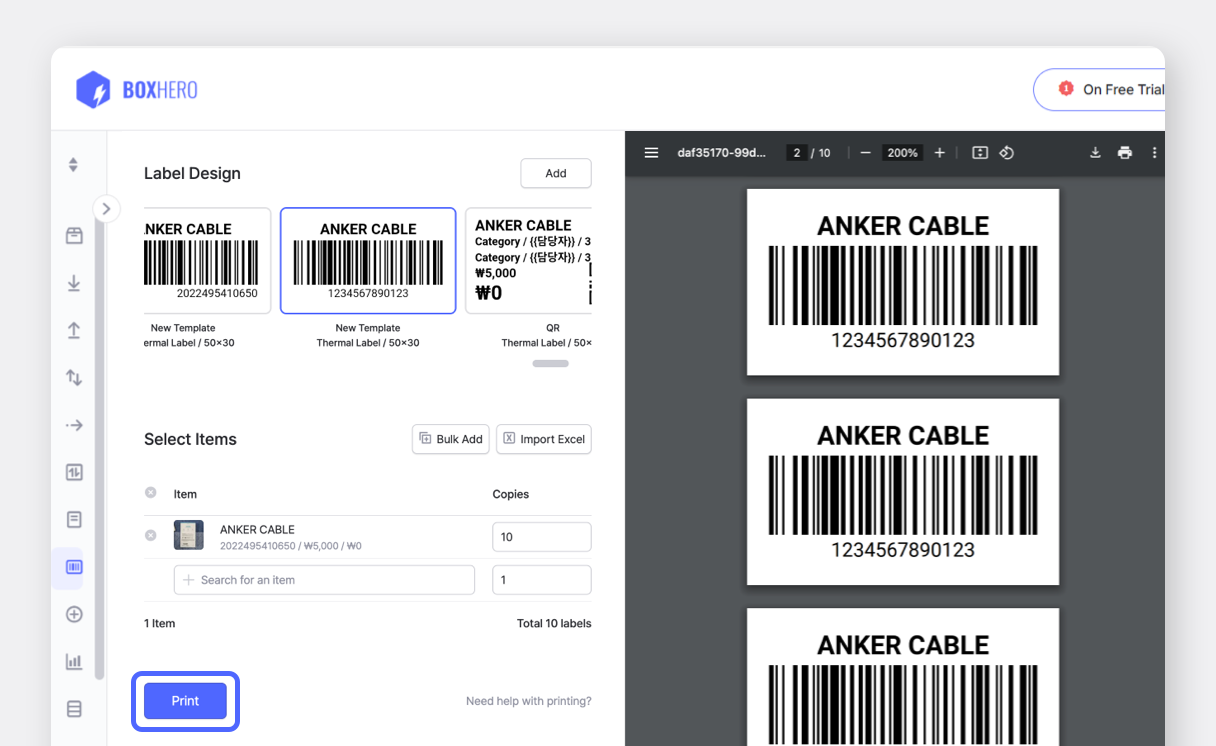
Add the items you want to print to the list, then click the `Print` button at the bottom.
{% endstep %}
{% step %}
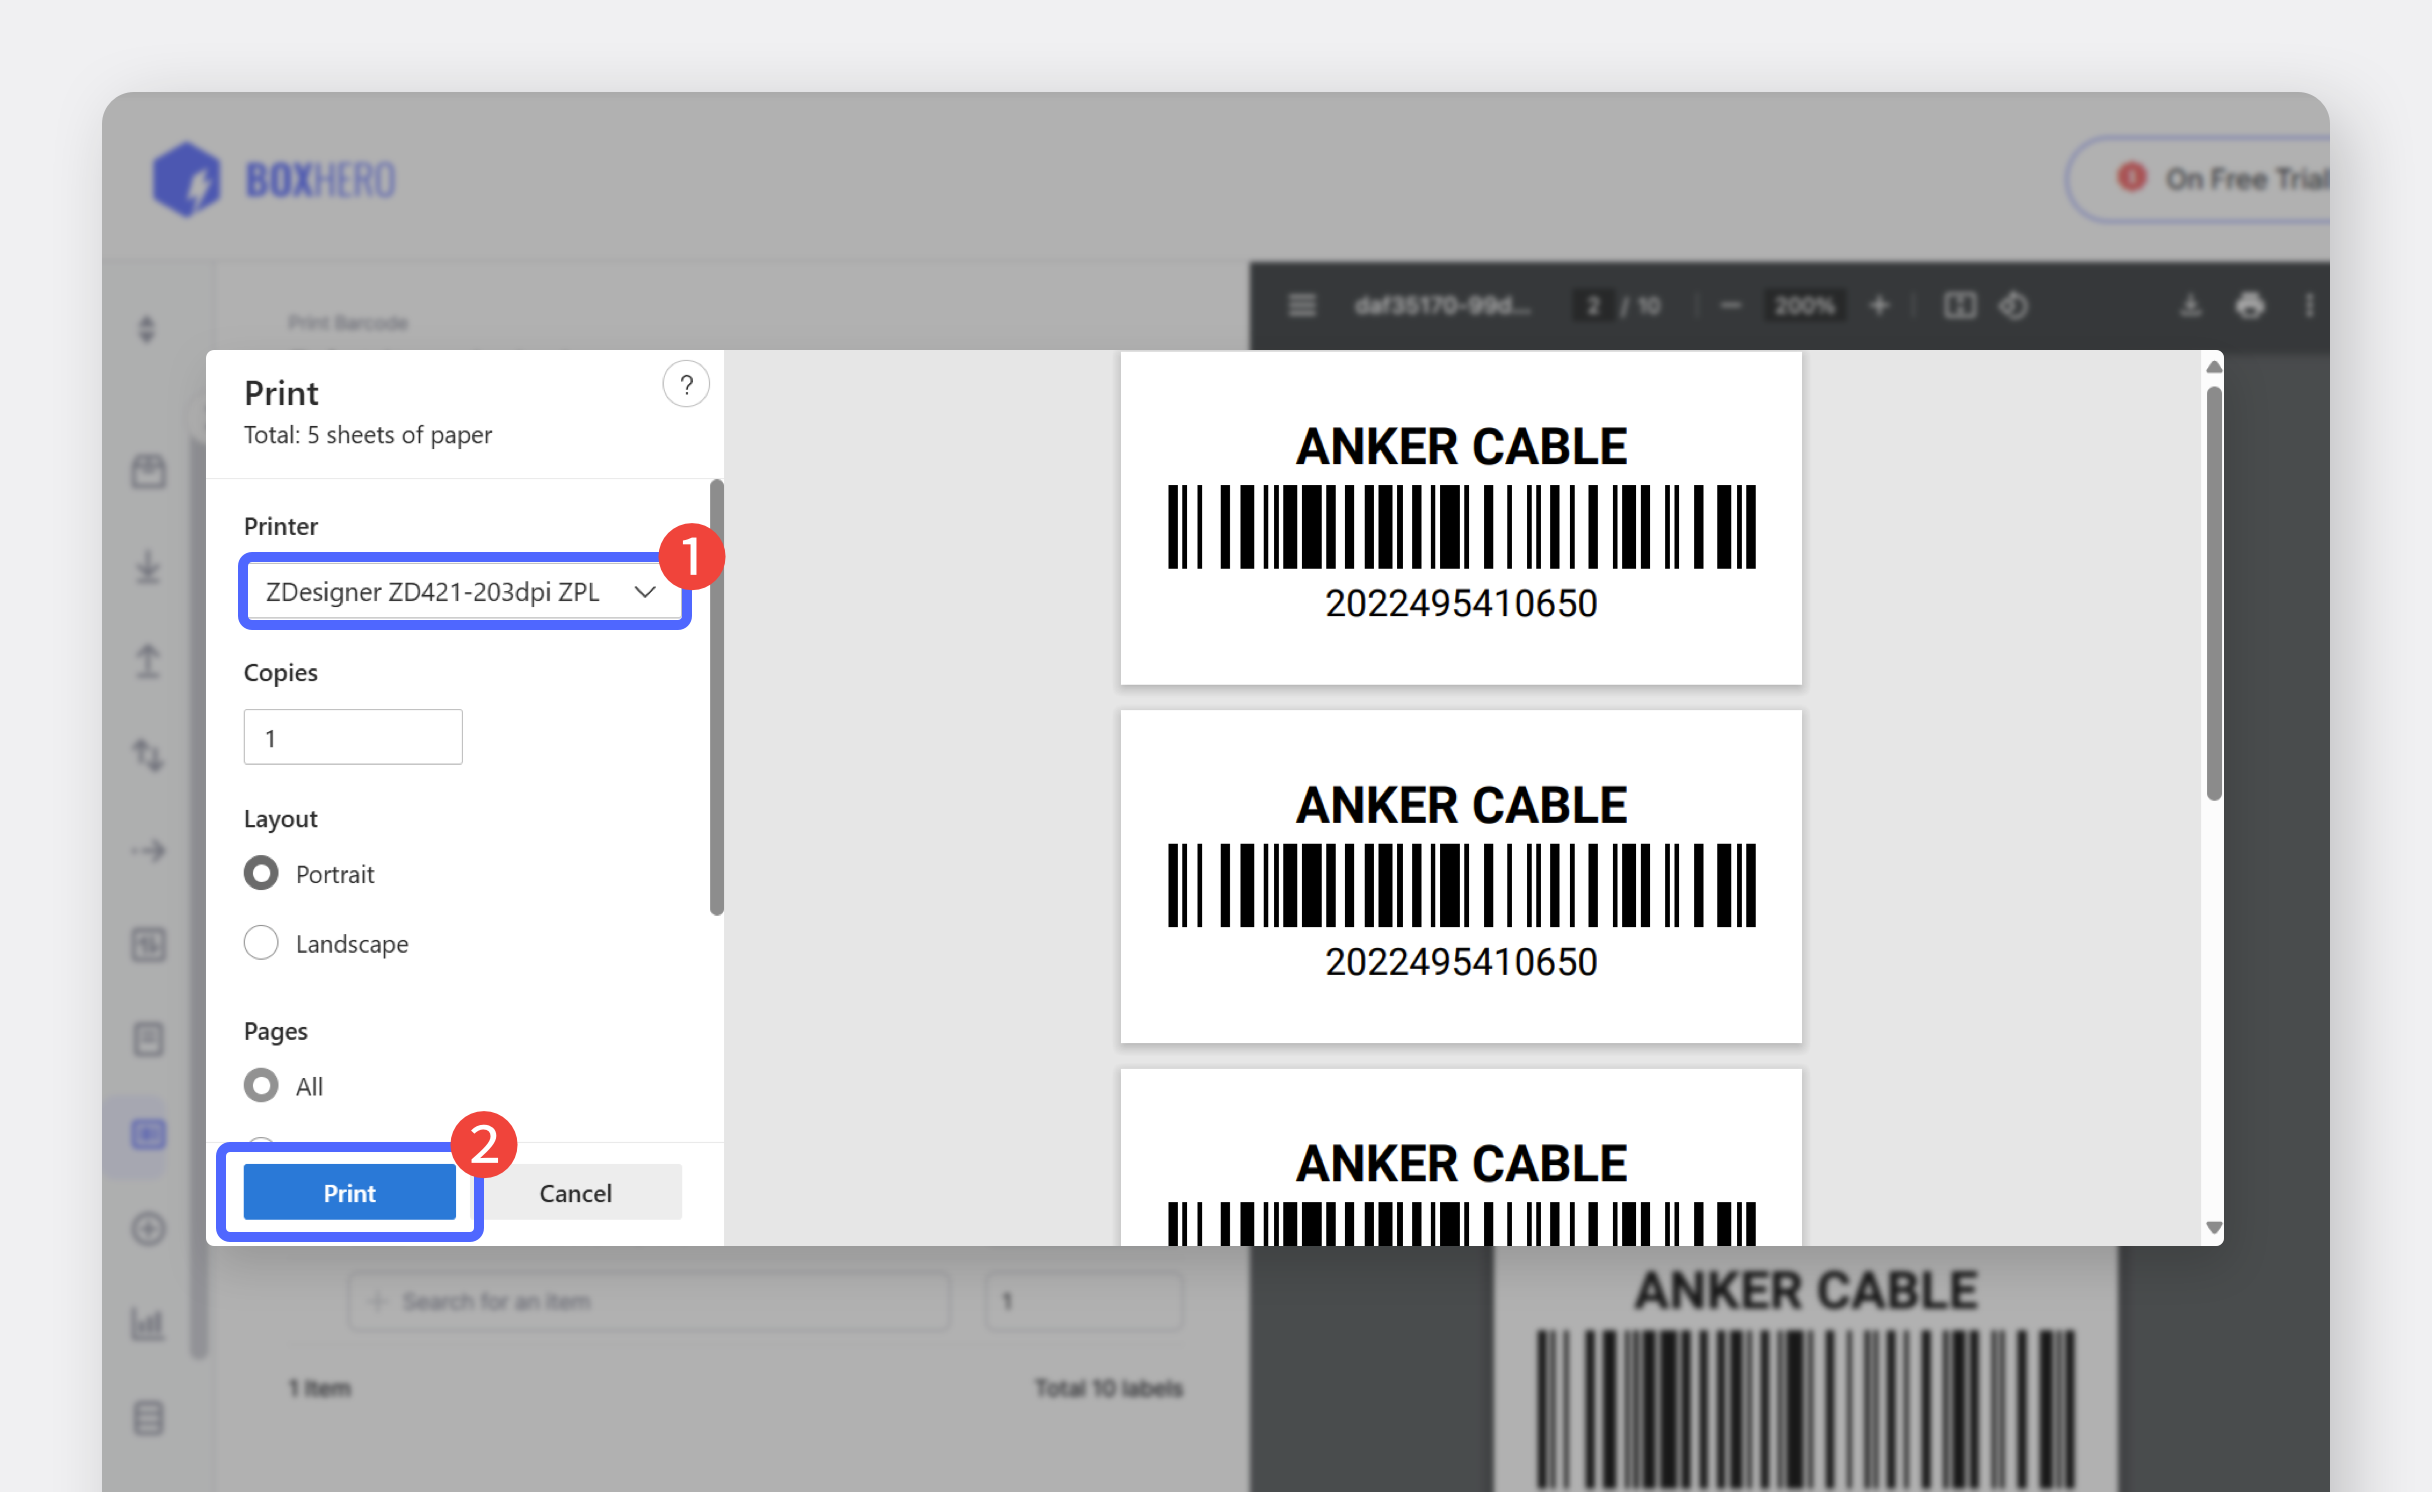
Select the printer you want to use and click `Print` to start the printing.
{% endstep %}
{% endstepper %}