
Attributes
Attributes let you add extra details to each item in BoxHero, such as category, brand, size, color, and more. You can create and use these fields to organize and manage your items more easily.
When to Use Attributes
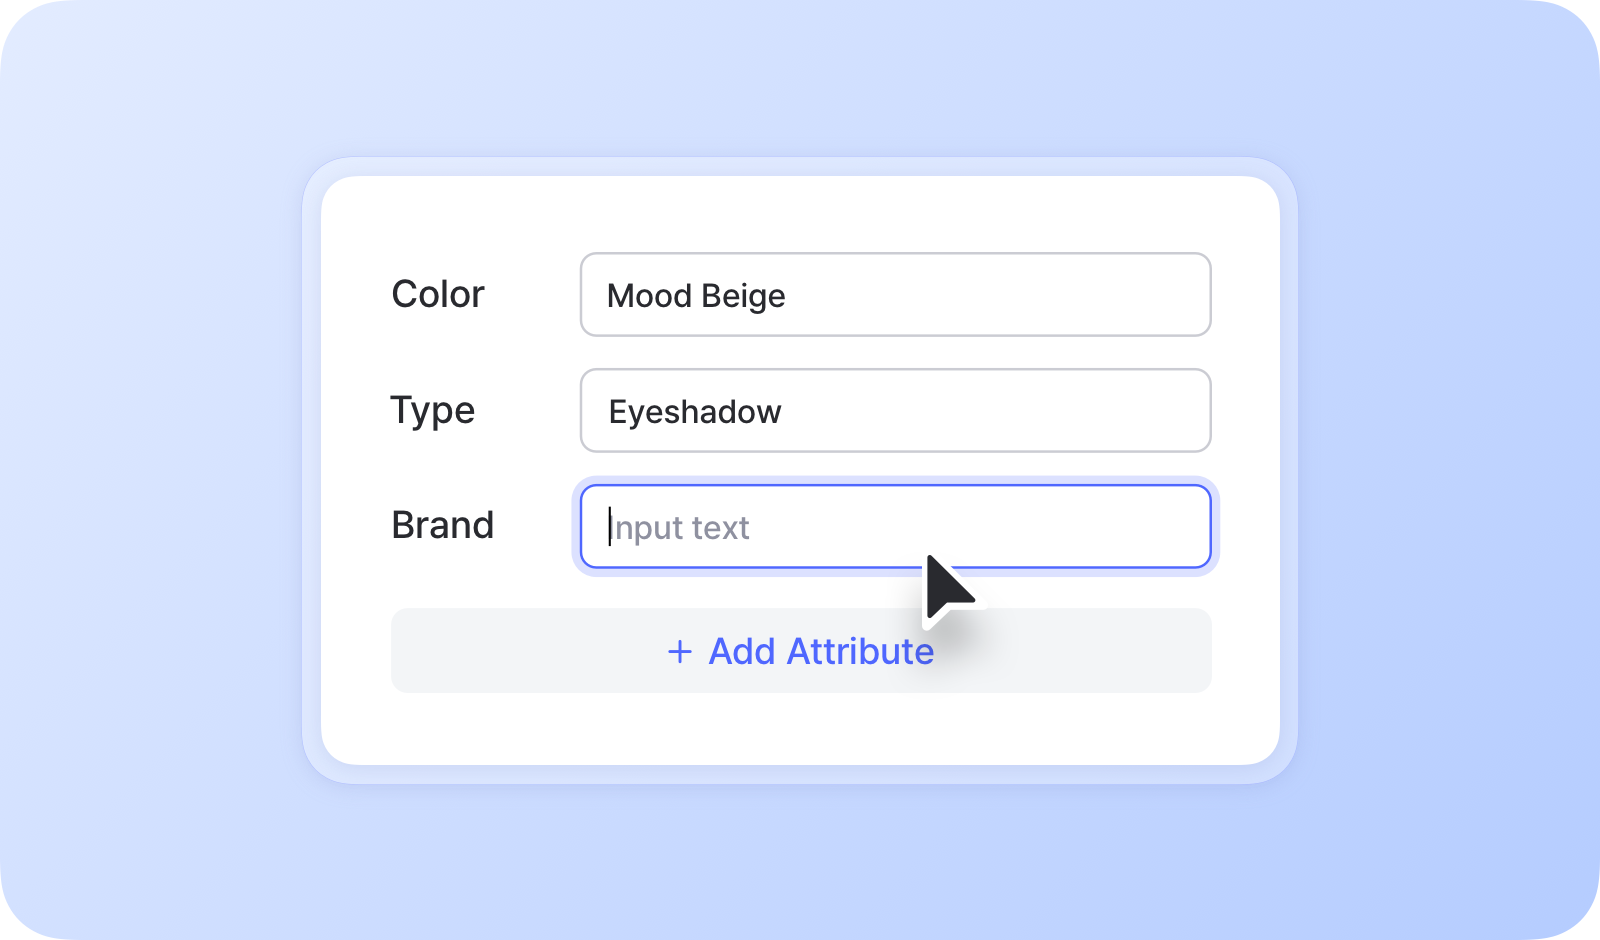
Section titled “When to Use Attributes”- To tell apart variants of an item that share the same name, such as different colors or sizes
- To add details like brand or category
- To keep a memo field on each item
- To attach files such as drawings, product manuals, or certificates
- To add more photos beyond the main item photo
How to Add Attributes
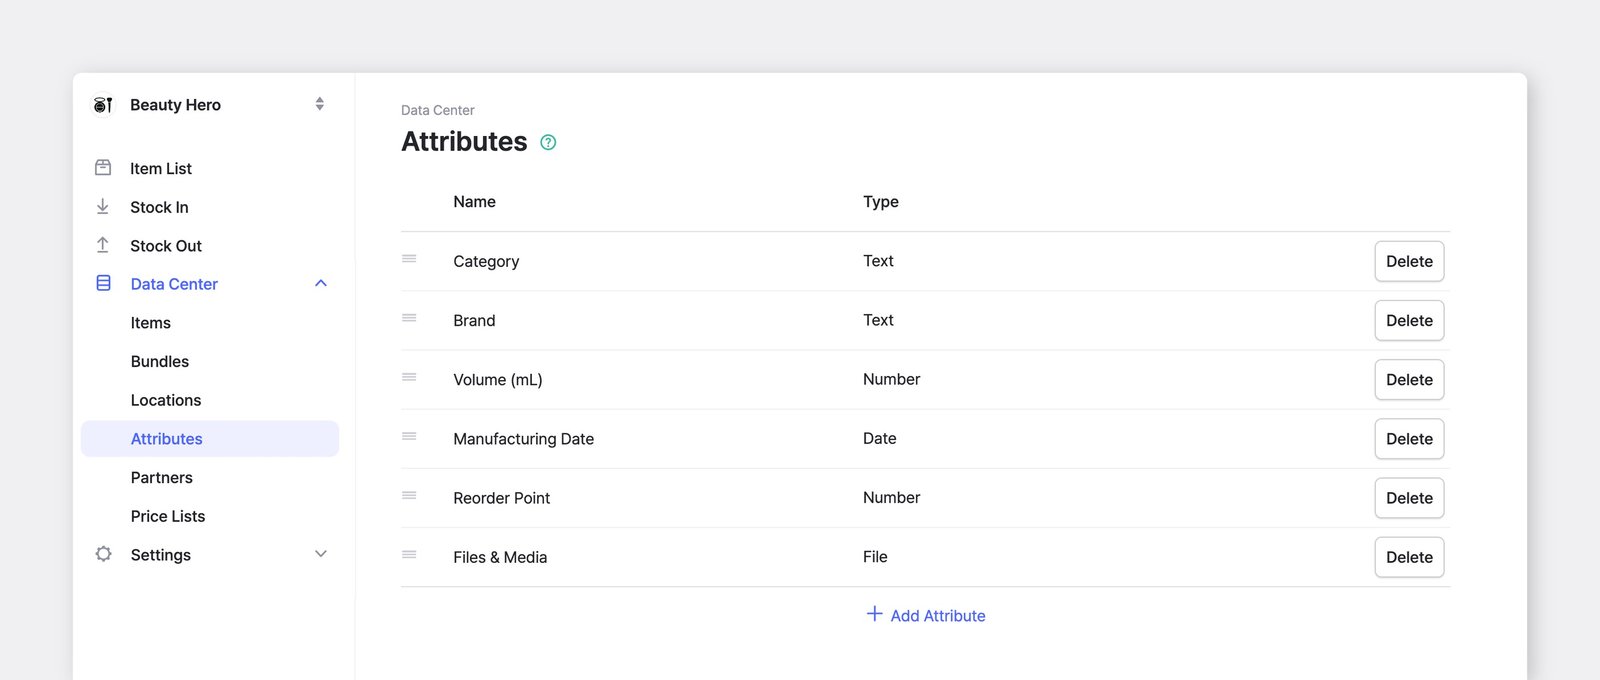
Section titled “How to Add Attributes”To add and manage your item attributes, go to Data Center > Attributes. Attributes apply to all items in your team.
Types of Attributes
Section titled “Types of Attributes”- Text: Enter general text or numbers.
- Number: Enter whole or decimal numbers.
- Date: Enter a date (e.g., 2027-10-08).
- Barcode: Register an additional barcode for printing and scanning — useful when an item carries more than one barcode.
- File: Upload images, documents, and other files to your items, including extra item photos (Max: 3 MB for images, 10 MB for other files).
Attribute Order
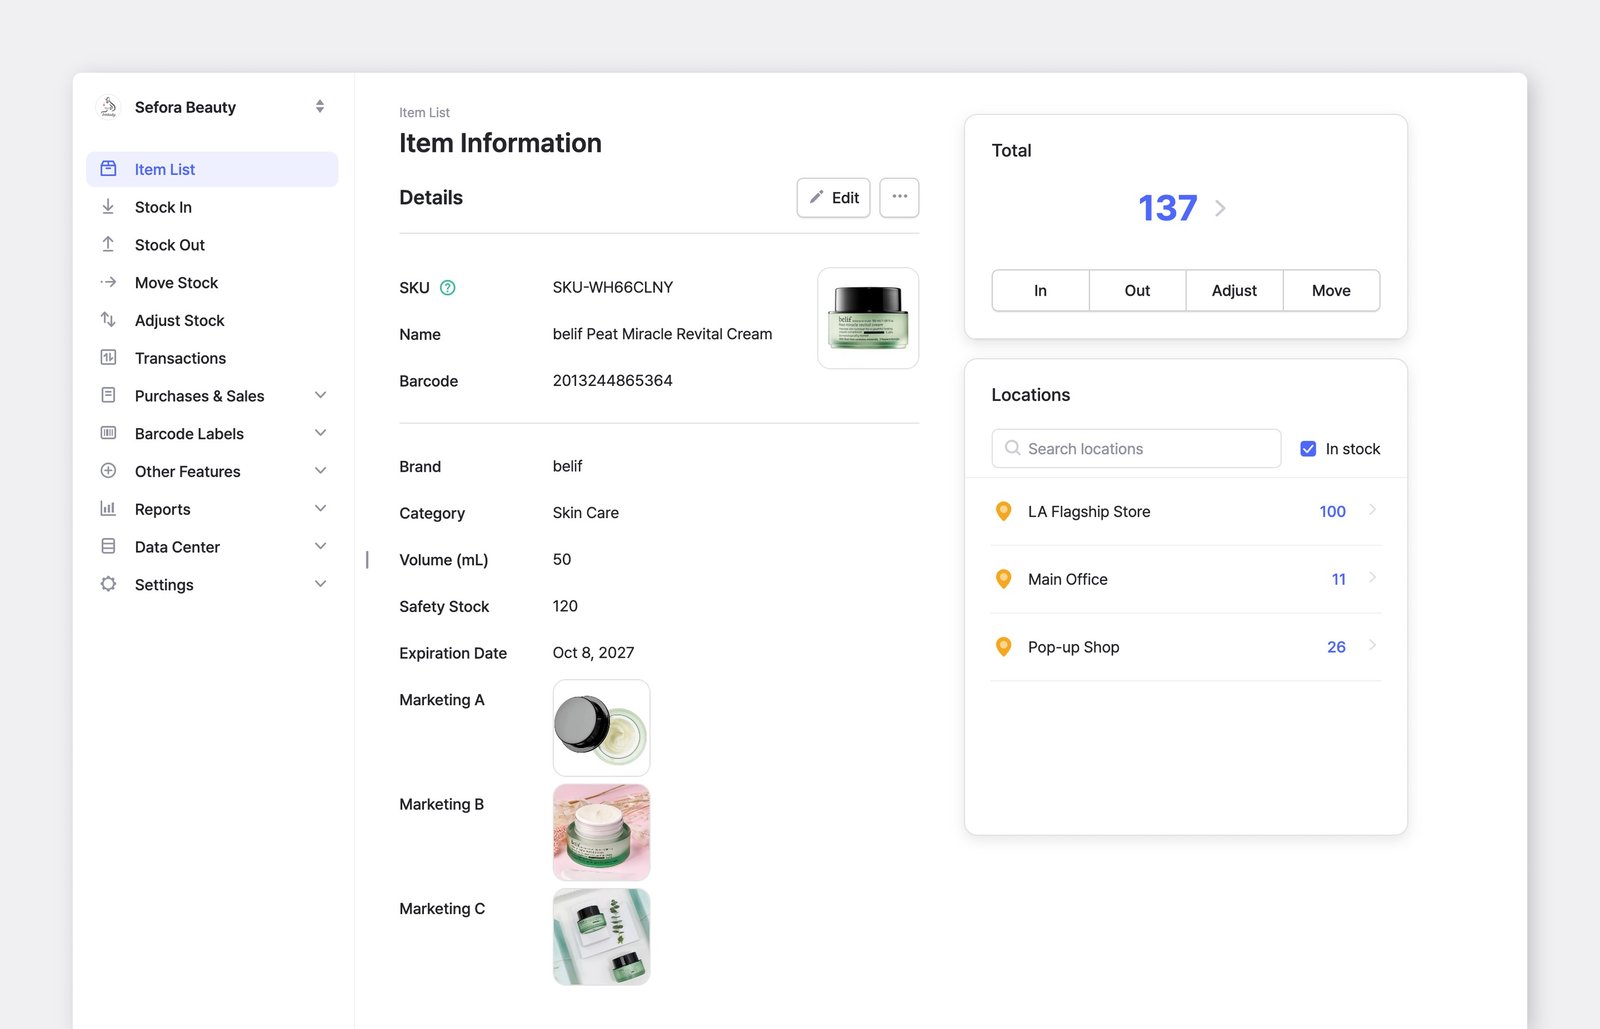
Section titled “Attribute Order”Attributes appear in the order set under Data Center > Attributes.
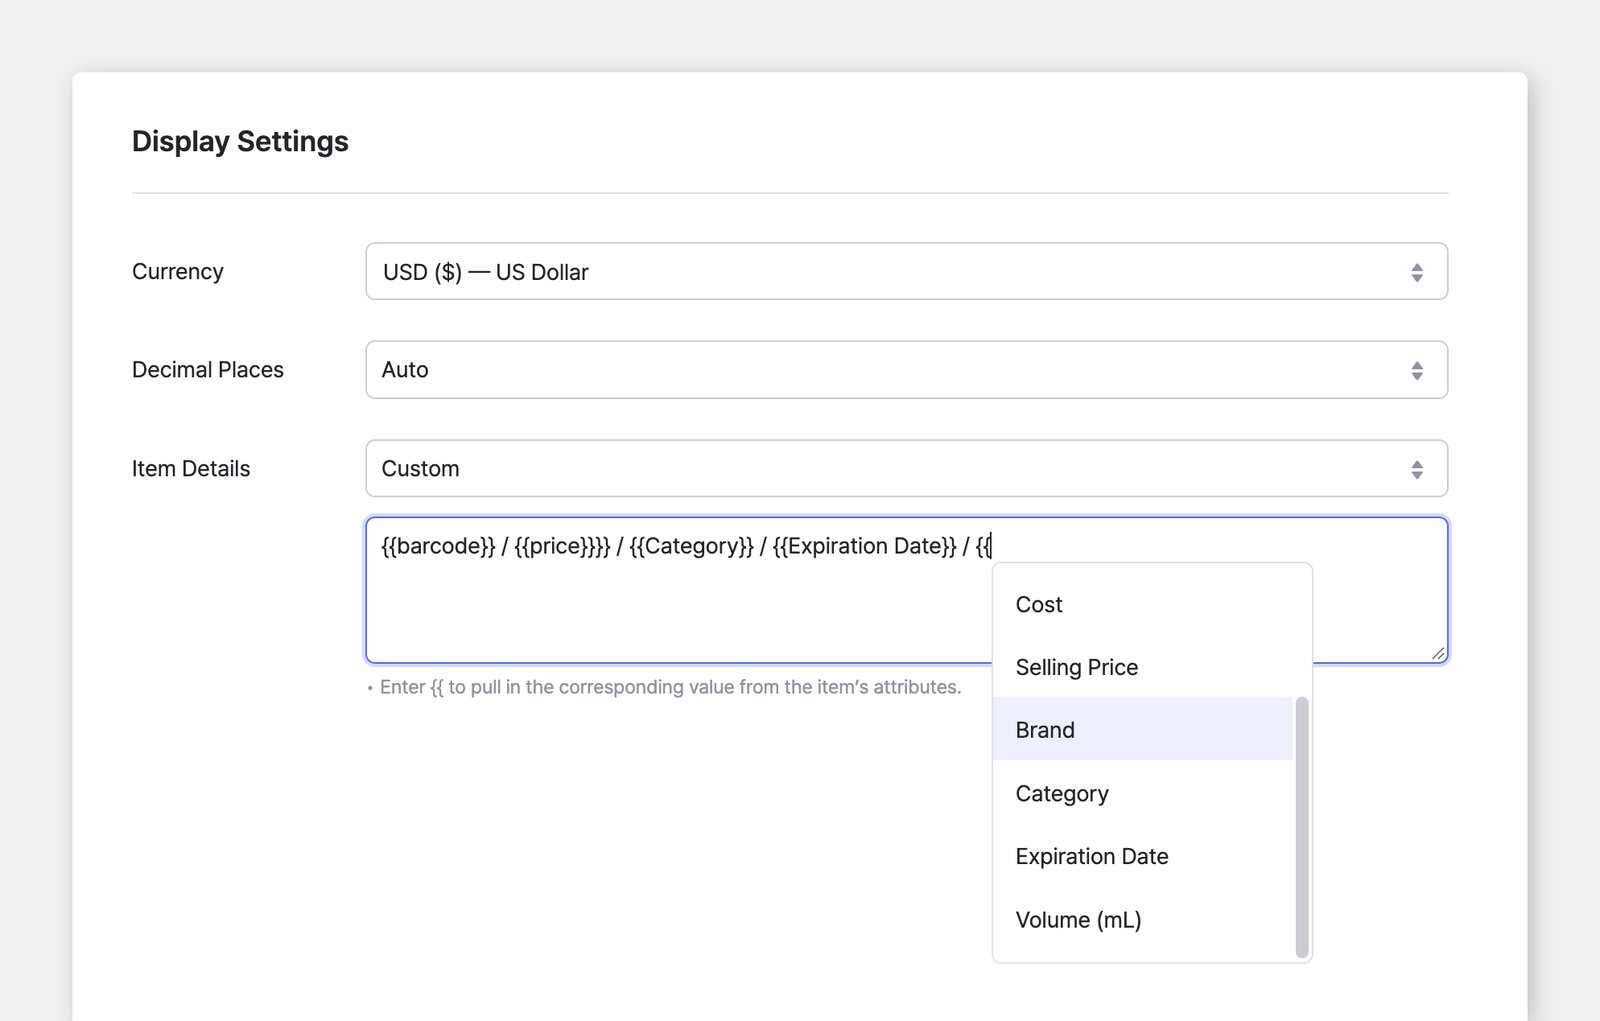
To show only the attributes you want in these lists, go to Settings > Team > Display Settings > Item Details. Choose "Custom" to show the SKU or barcode alongside item names, or to display only selected attributes.
Attribute Data
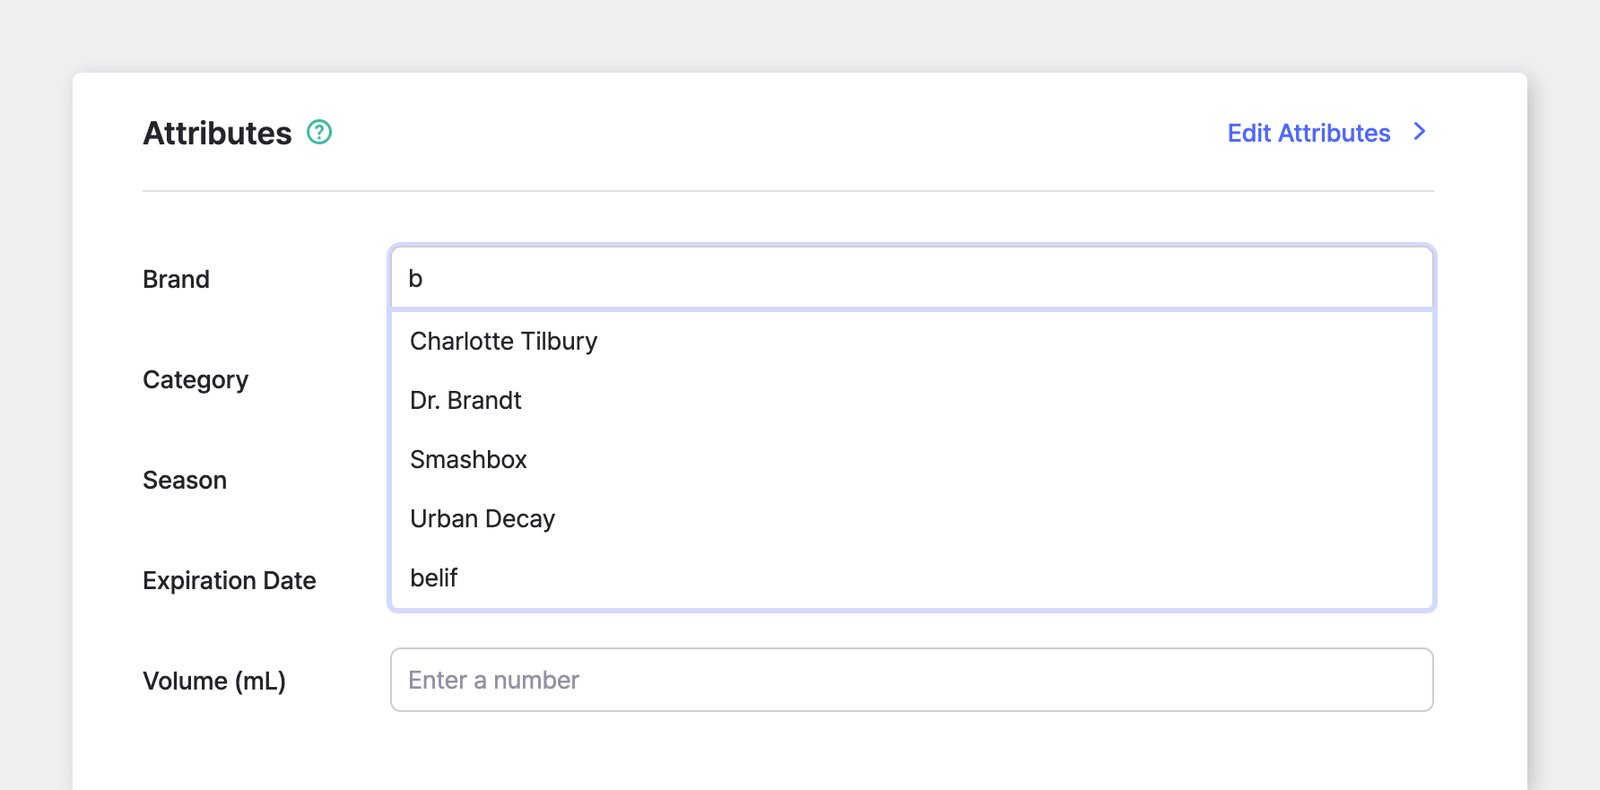
Section titled “Attribute Data”Once you've added attributes, you can enter the relevant data for each one during the item registration process.
Grouping & Sorting
Section titled “Grouping & Sorting”Items can be grouped and viewed based on attributes. For example, you can view items by color or brand.
A. On Your Computer
Section titled “A. On Your Computer”Group by
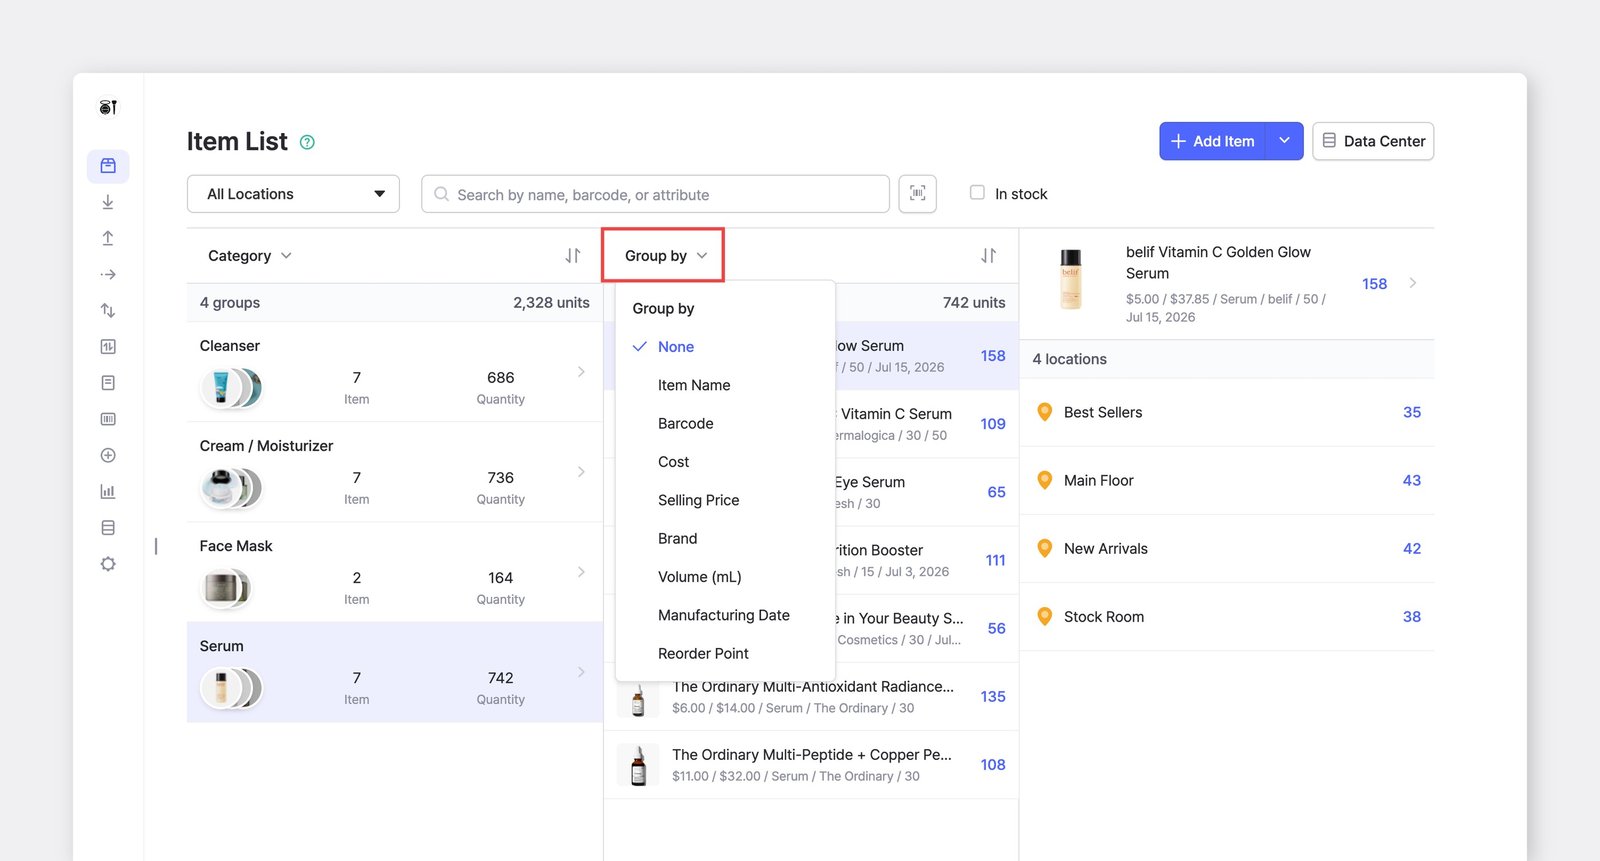
Section titled “Group by”You can group items multiple times and create nested categories. For example, you can first group by type, then further group by brand, and then by name, for a more detailed and organized structure.
Sort by
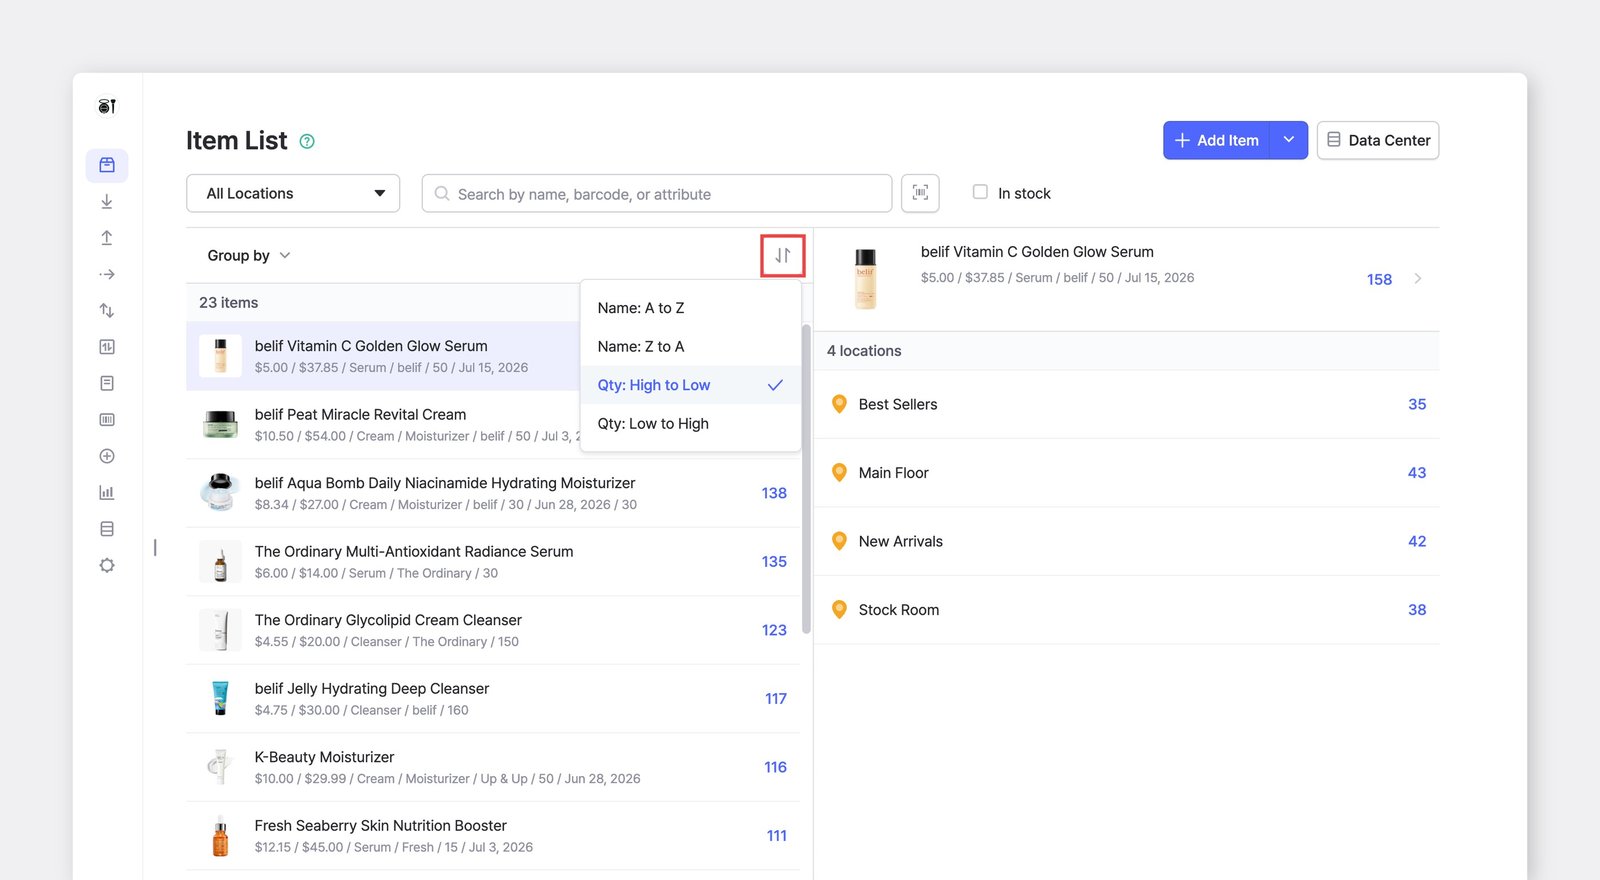
Section titled “Sort by”You can also sort items alphabetically (A to Z) or by stock quantity, either from largest to smallest or vice versa.
B. On Your Phone
Section titled “B. On Your Phone”You can group, filter, and sort items in the same way on the mobile app.
Edit History
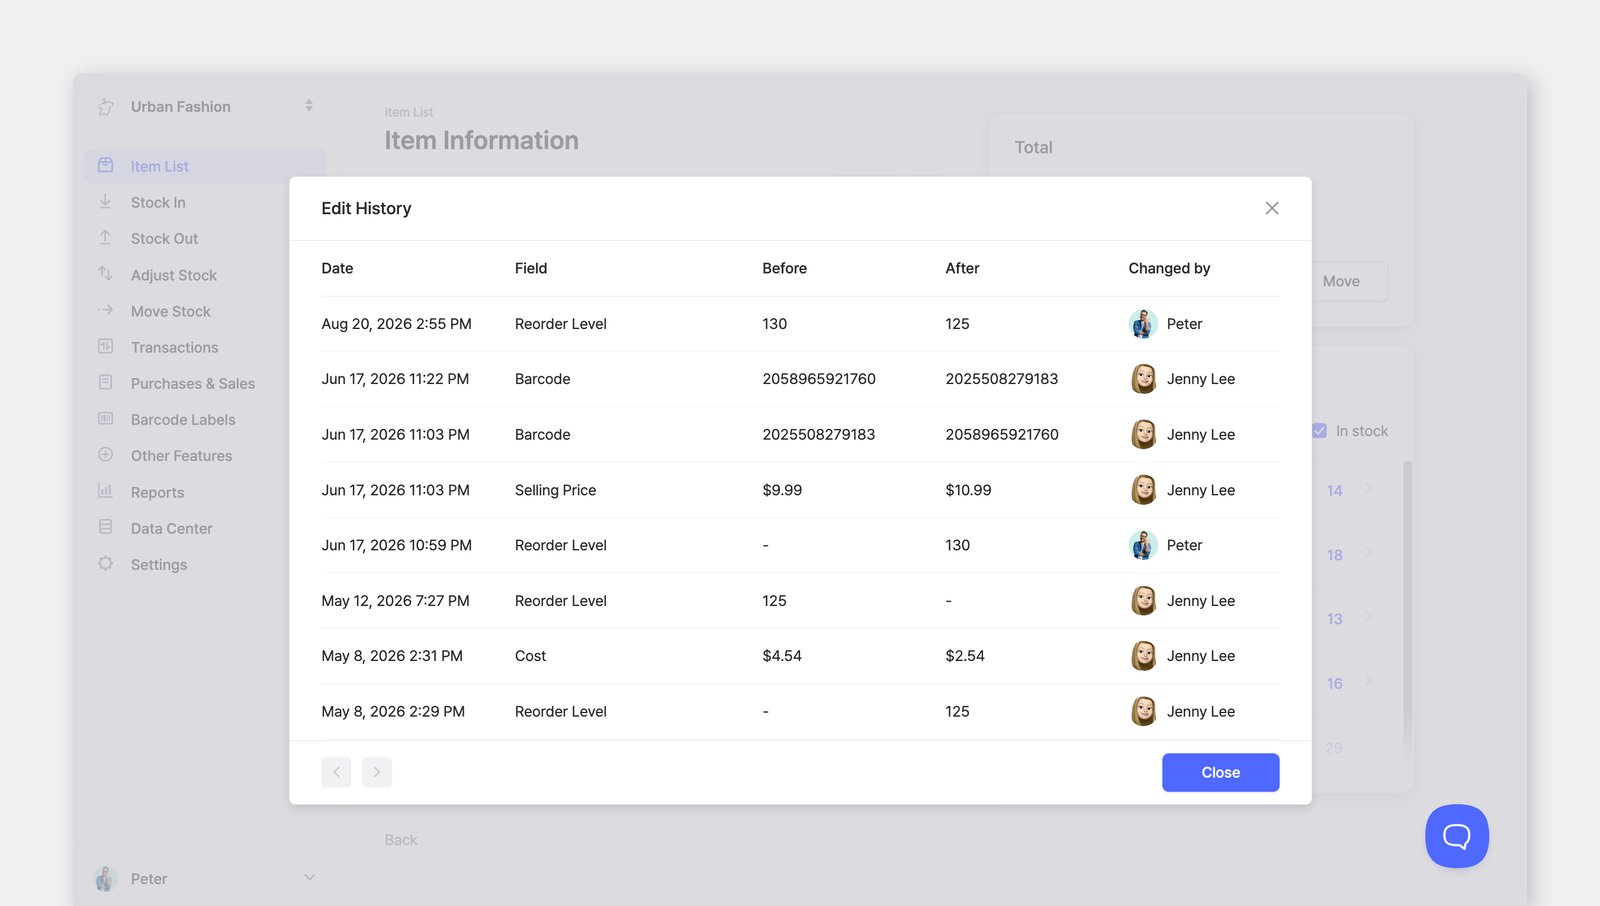
Section titled “Edit History”Edit History shows a record of edits made to an item — the field that changed, its value before and after, when it happened, and who made the change.
To view changes to an item's details and attribute values, go to Item List > select an item > ··· (more) > Edit History.
Restore Deleted Attributes
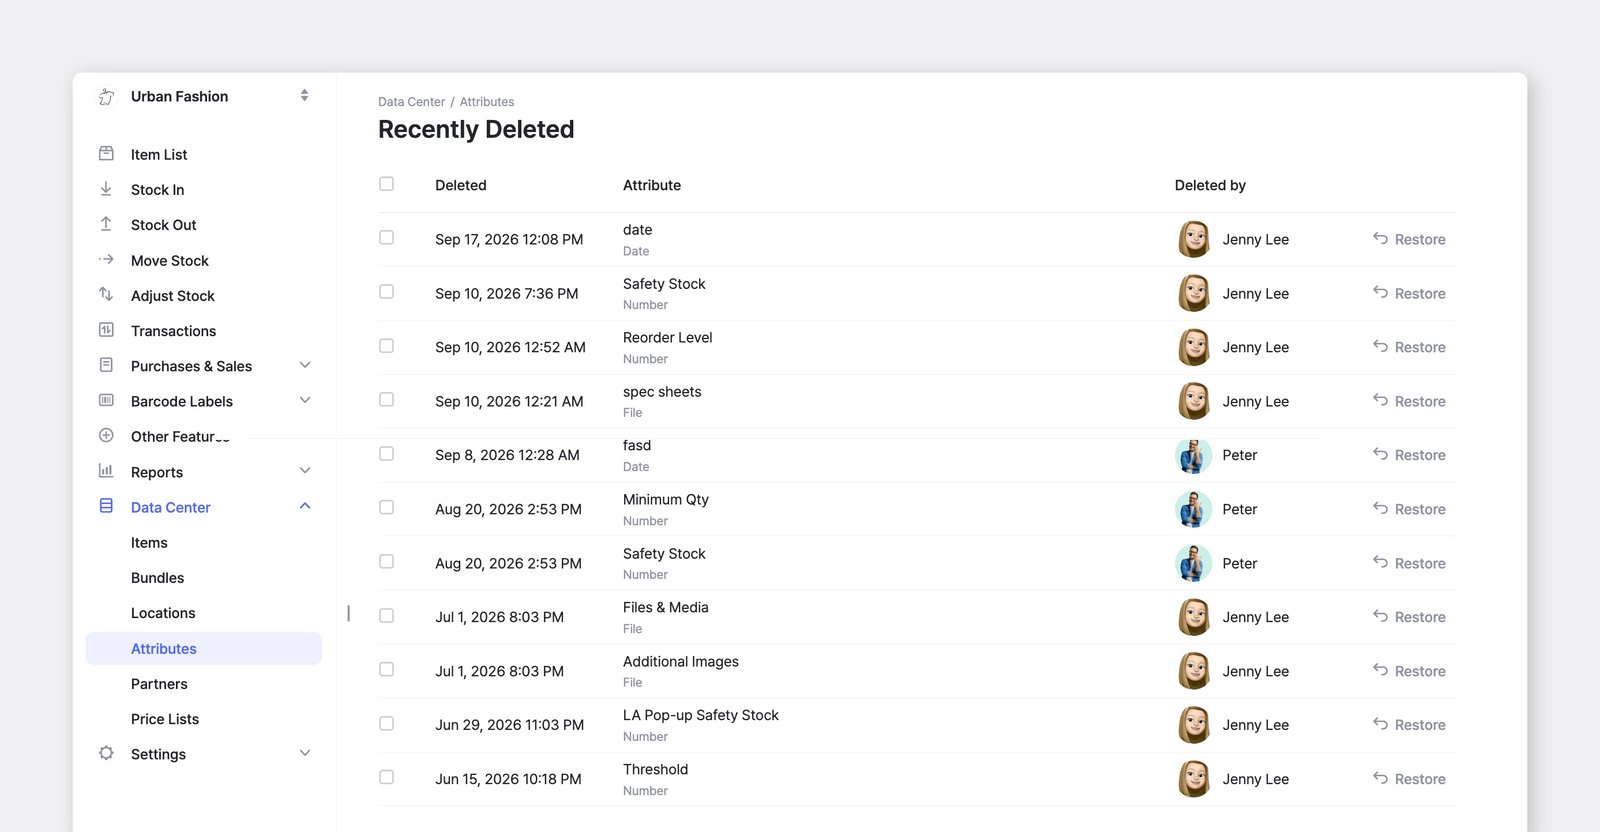
Section titled “Restore Deleted Attributes”If you delete an attribute by mistake, you can restore it from Recently Deleted.
Go to Data Center > Attributes, click the ··· (more) button in the top-right corner, and select Recently Deleted. Find the attribute you want and click Restore.
Frequently Asked Questions
Section titled “Frequently Asked Questions”Looking for more info? Find answers to common questions in our FAQ.